Modeling & Materials

Weekly Design Challenge Template

Xu Zhang-A collection of my modeling explorations and chanllenges for Project 1


Module 1


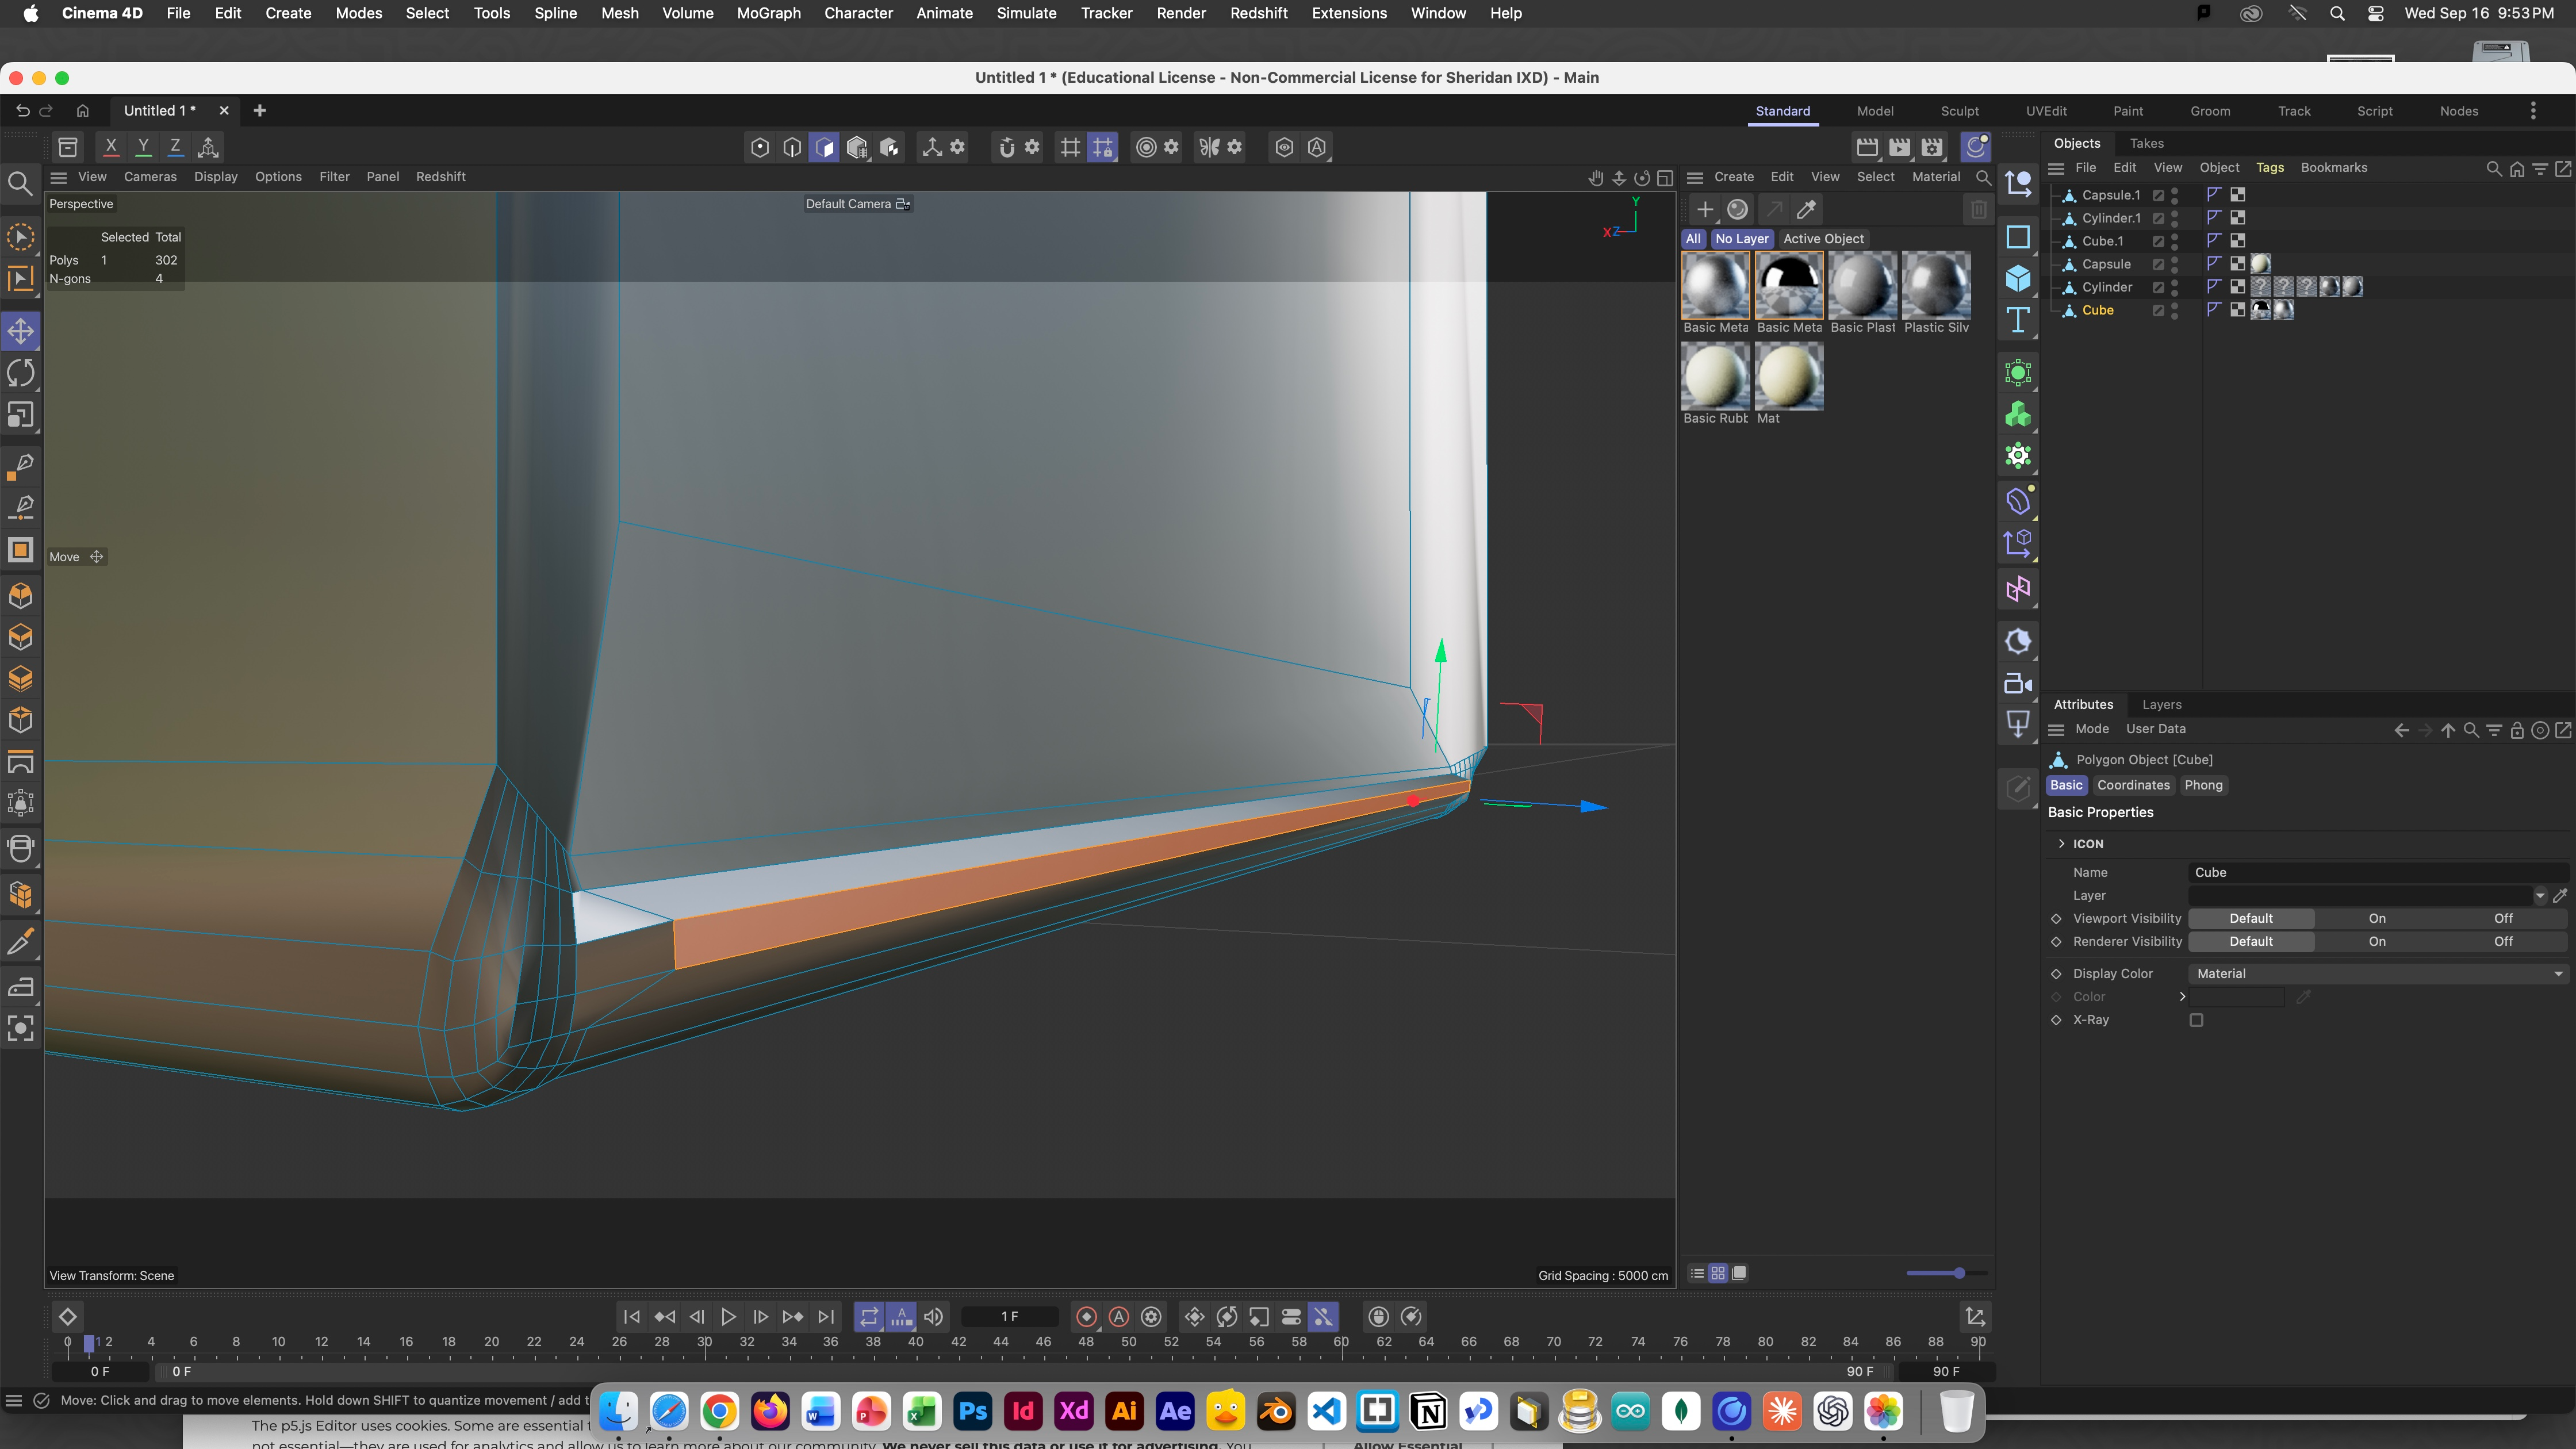
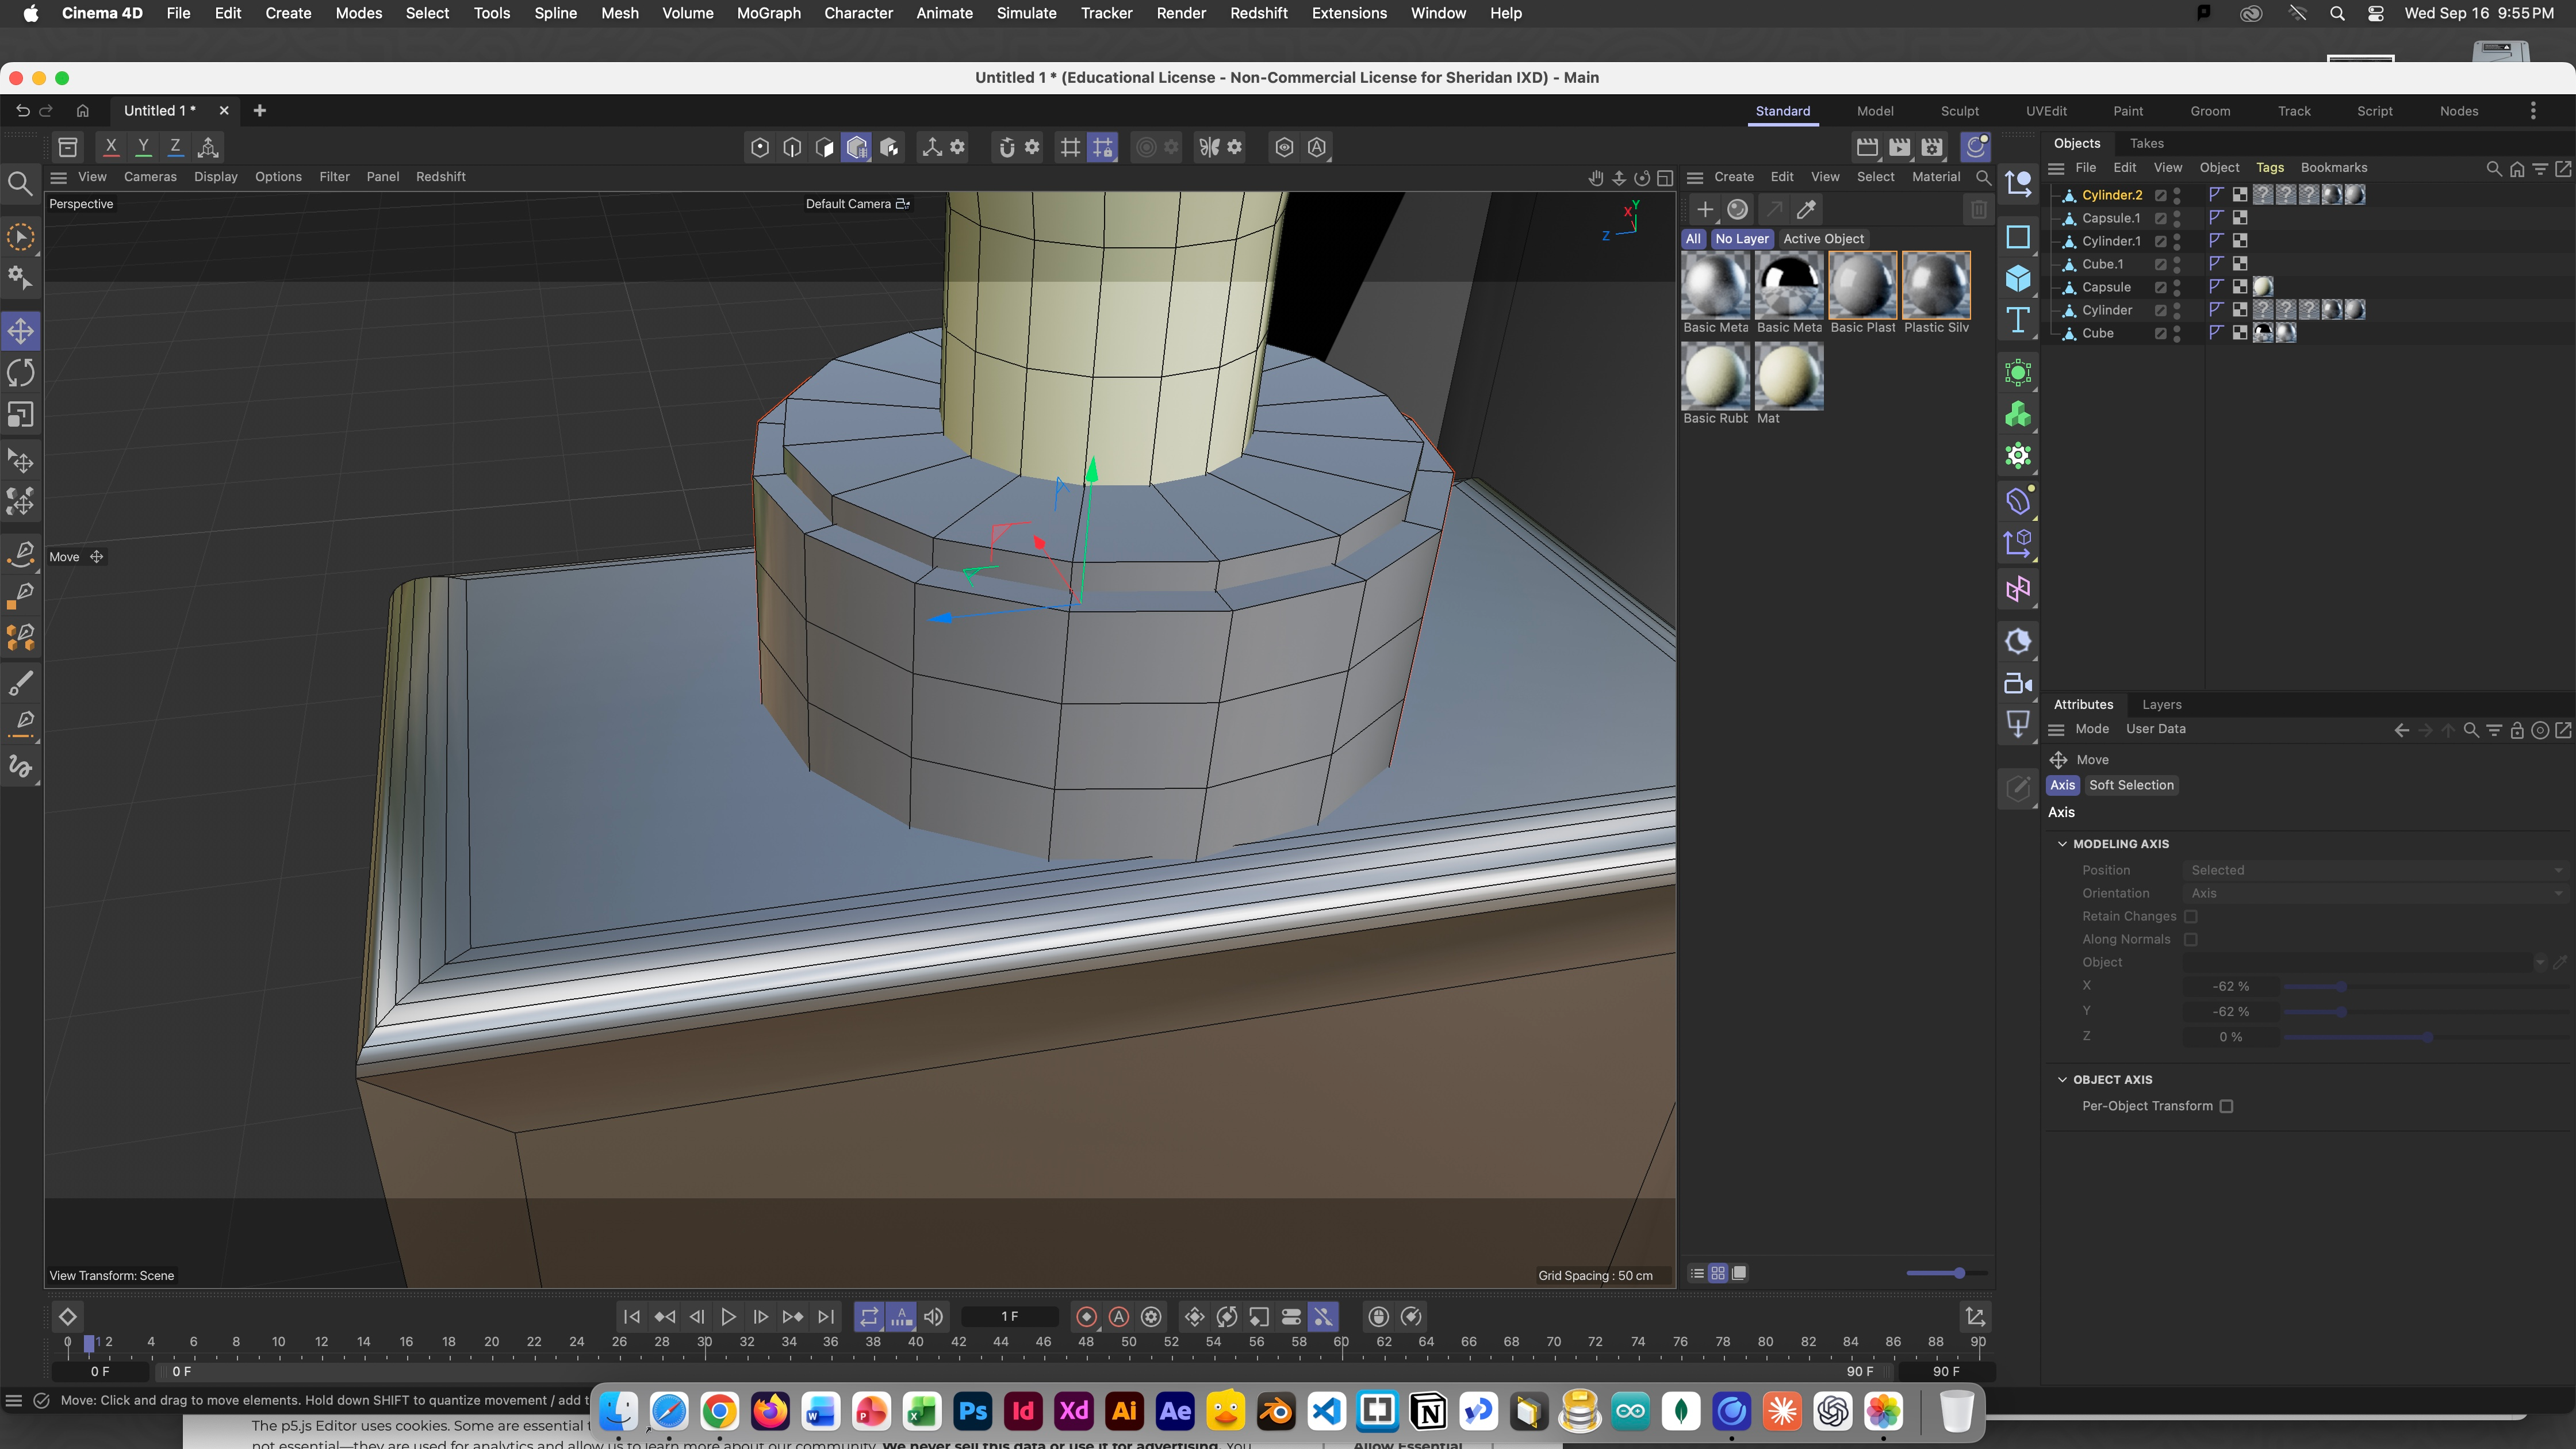
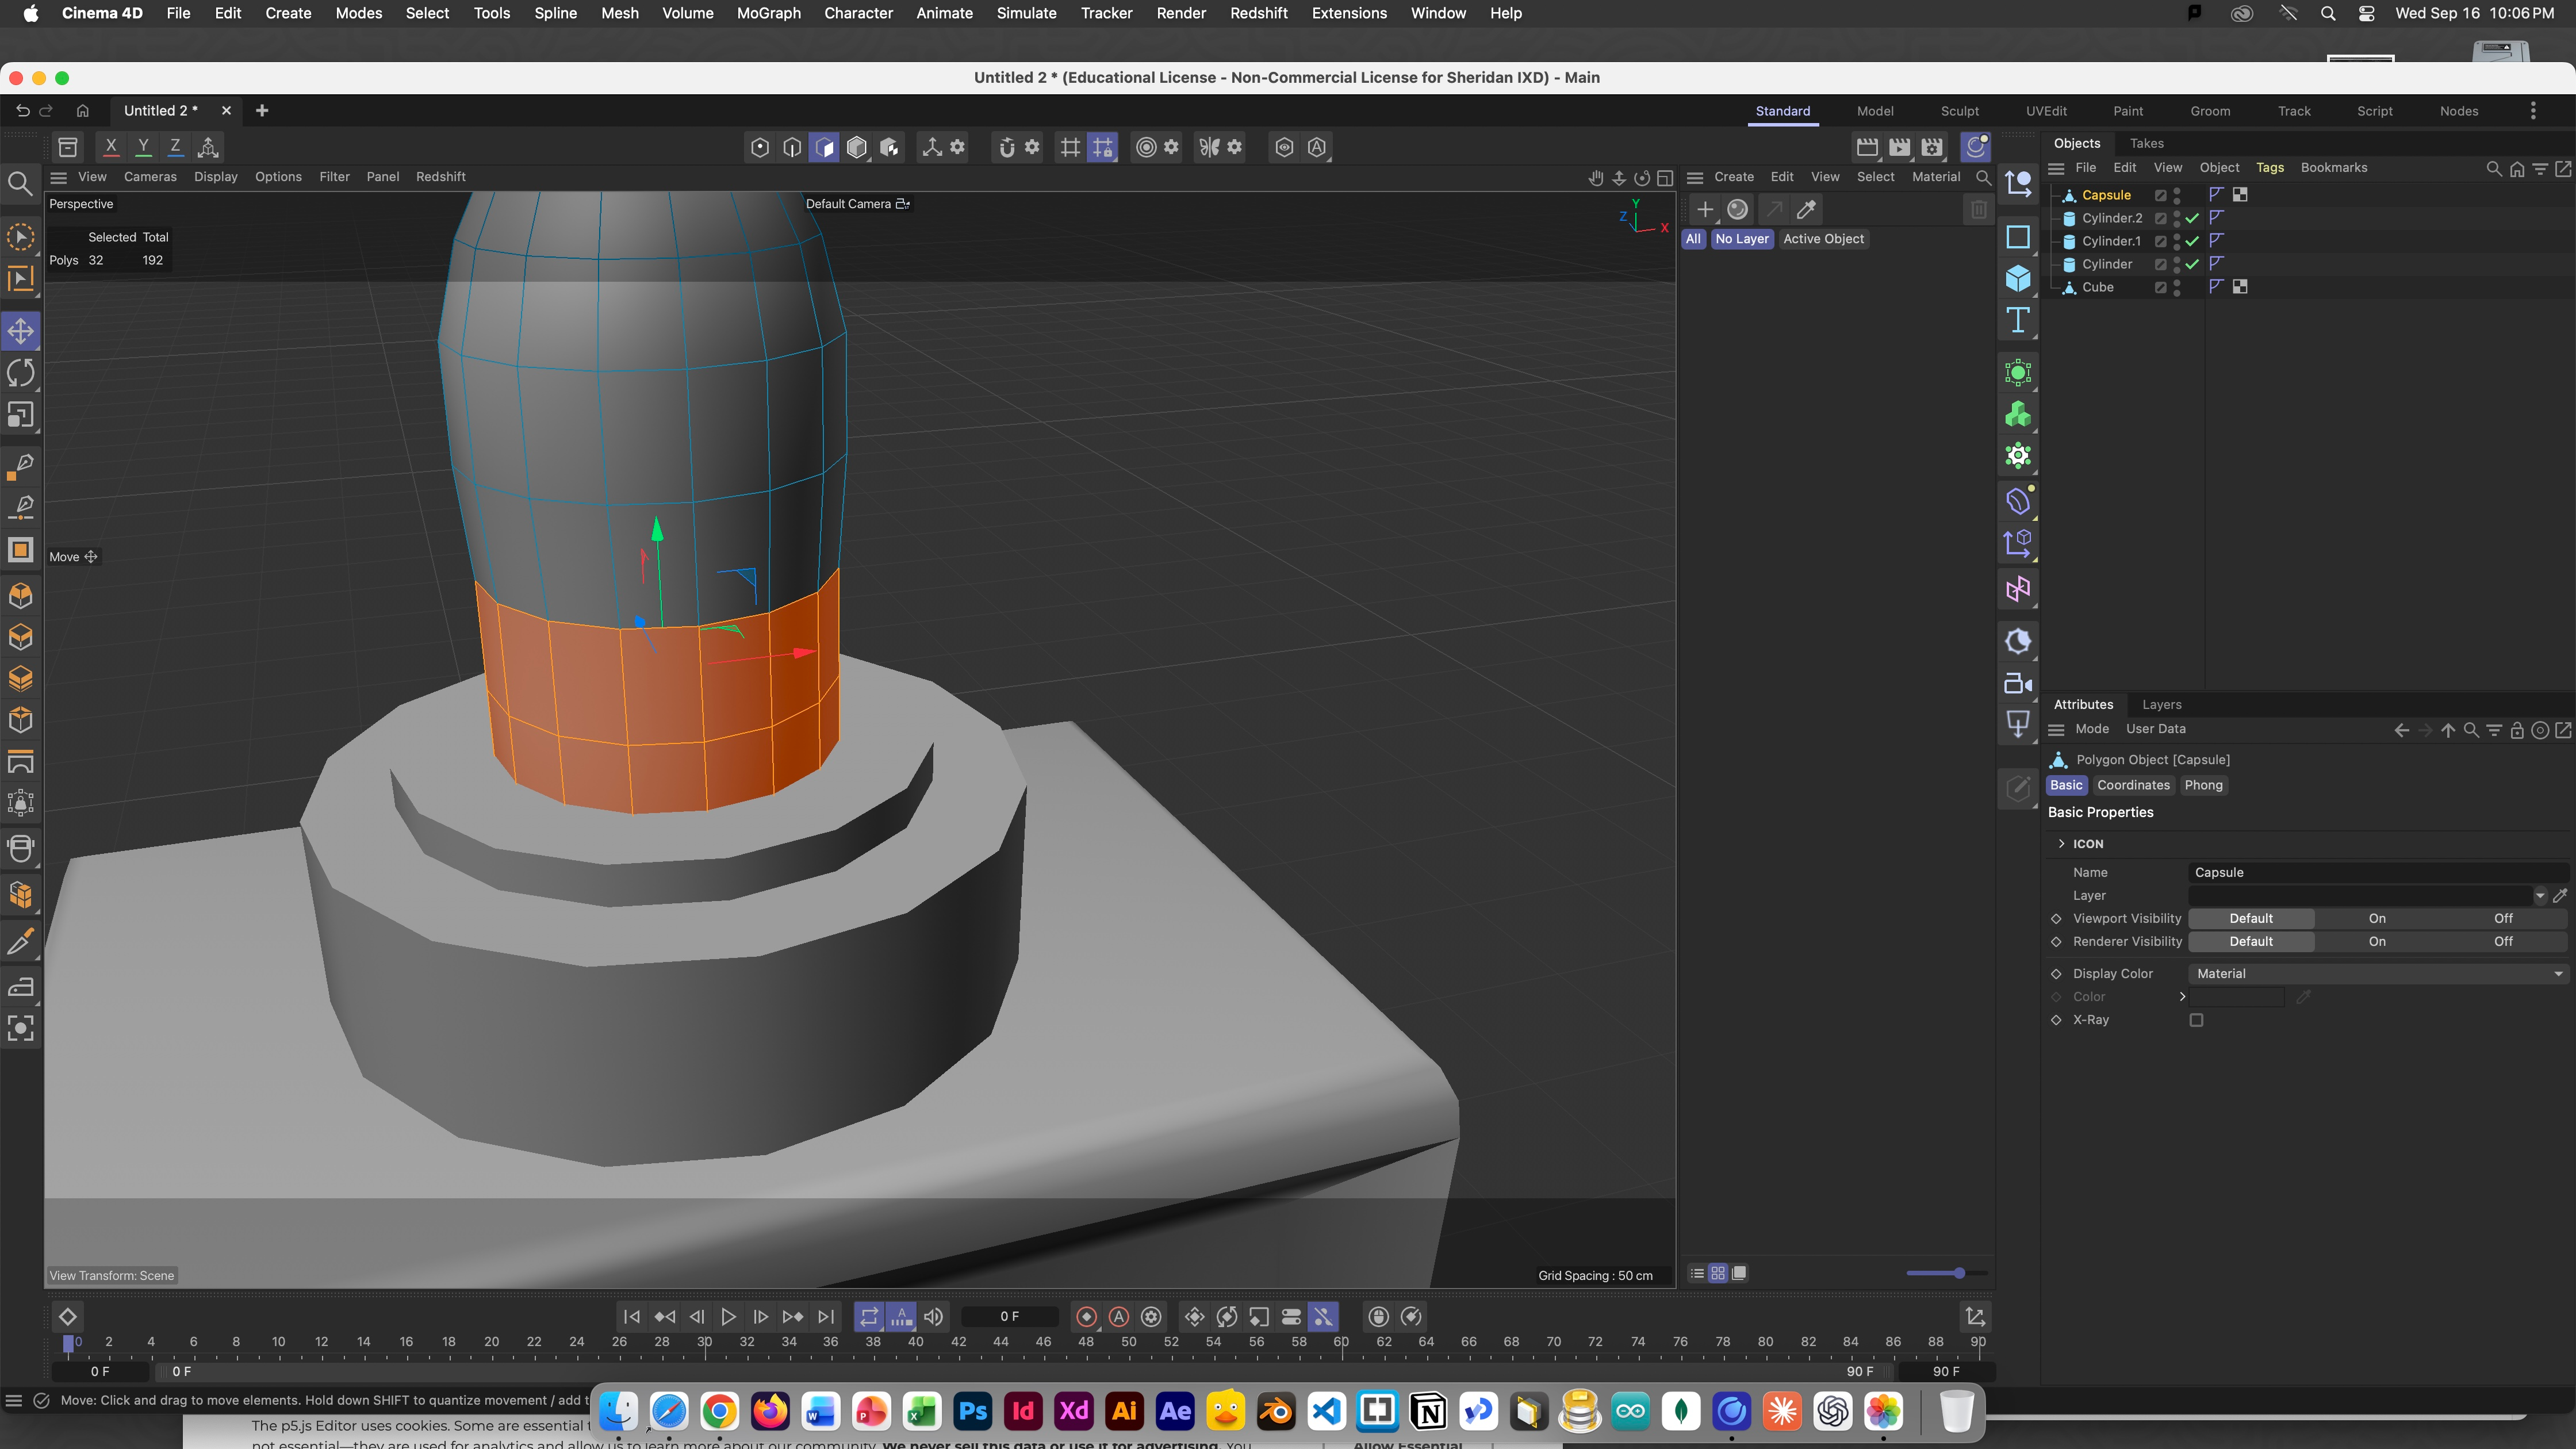
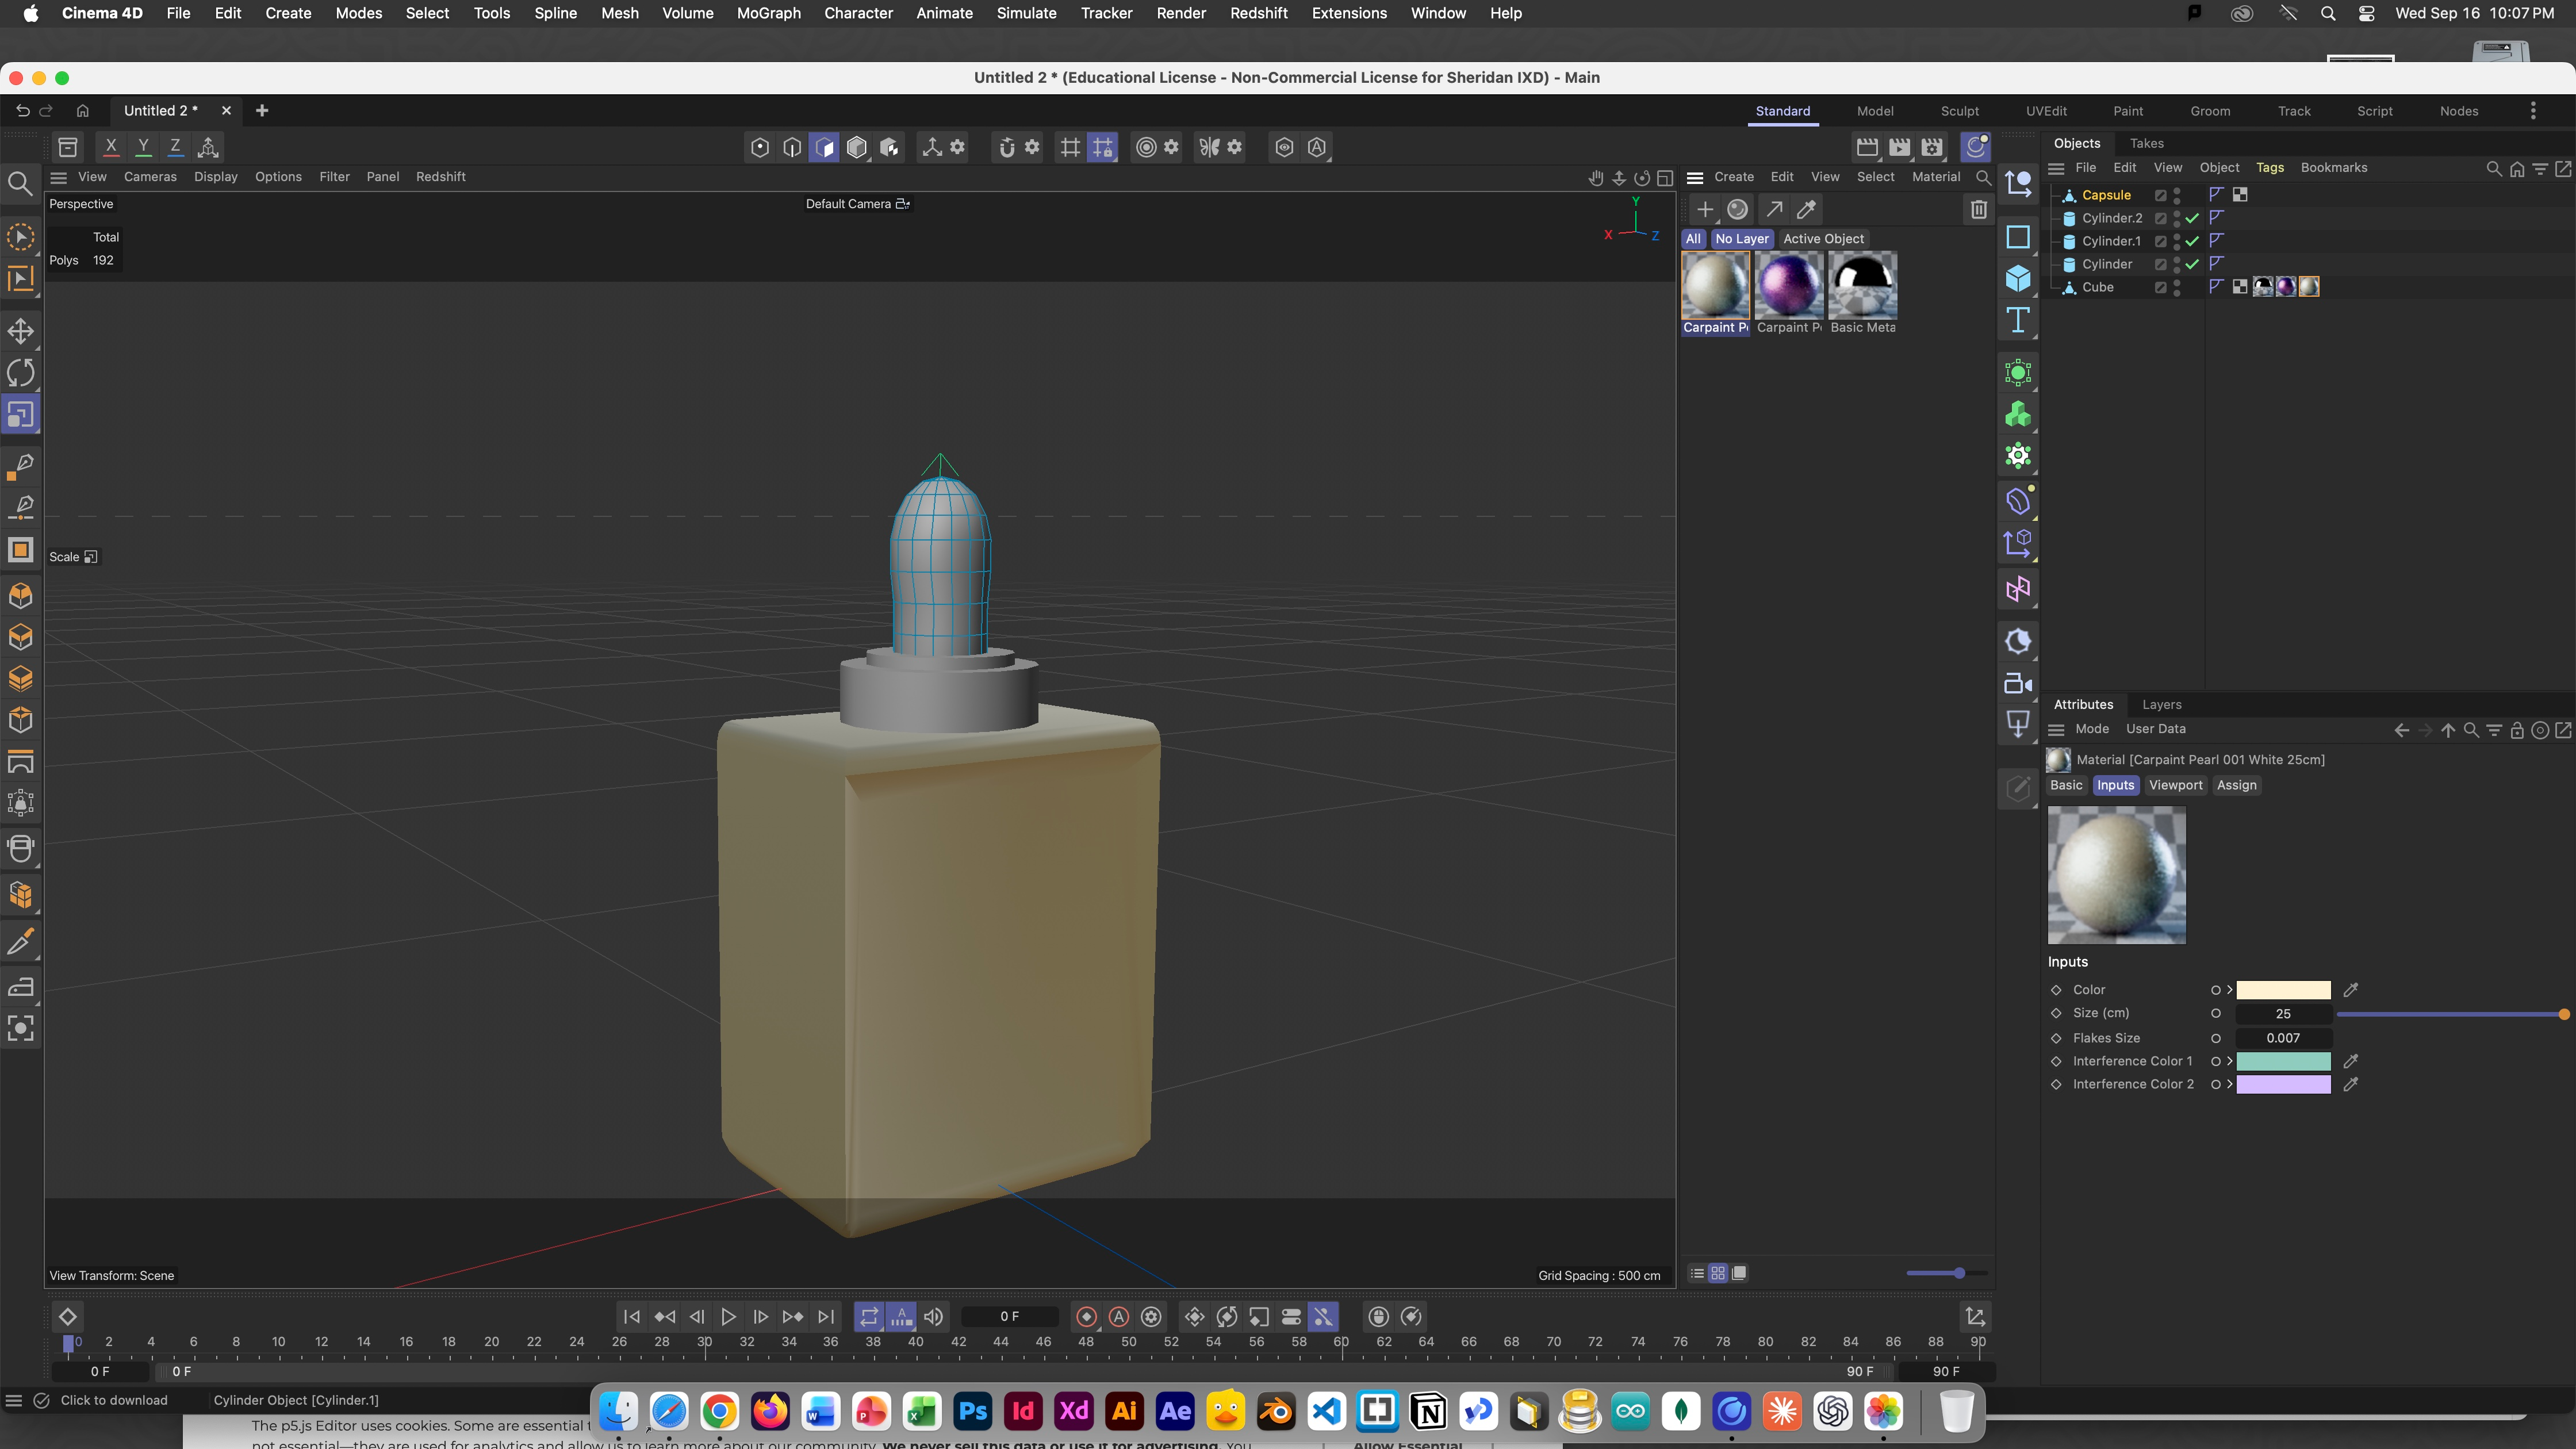
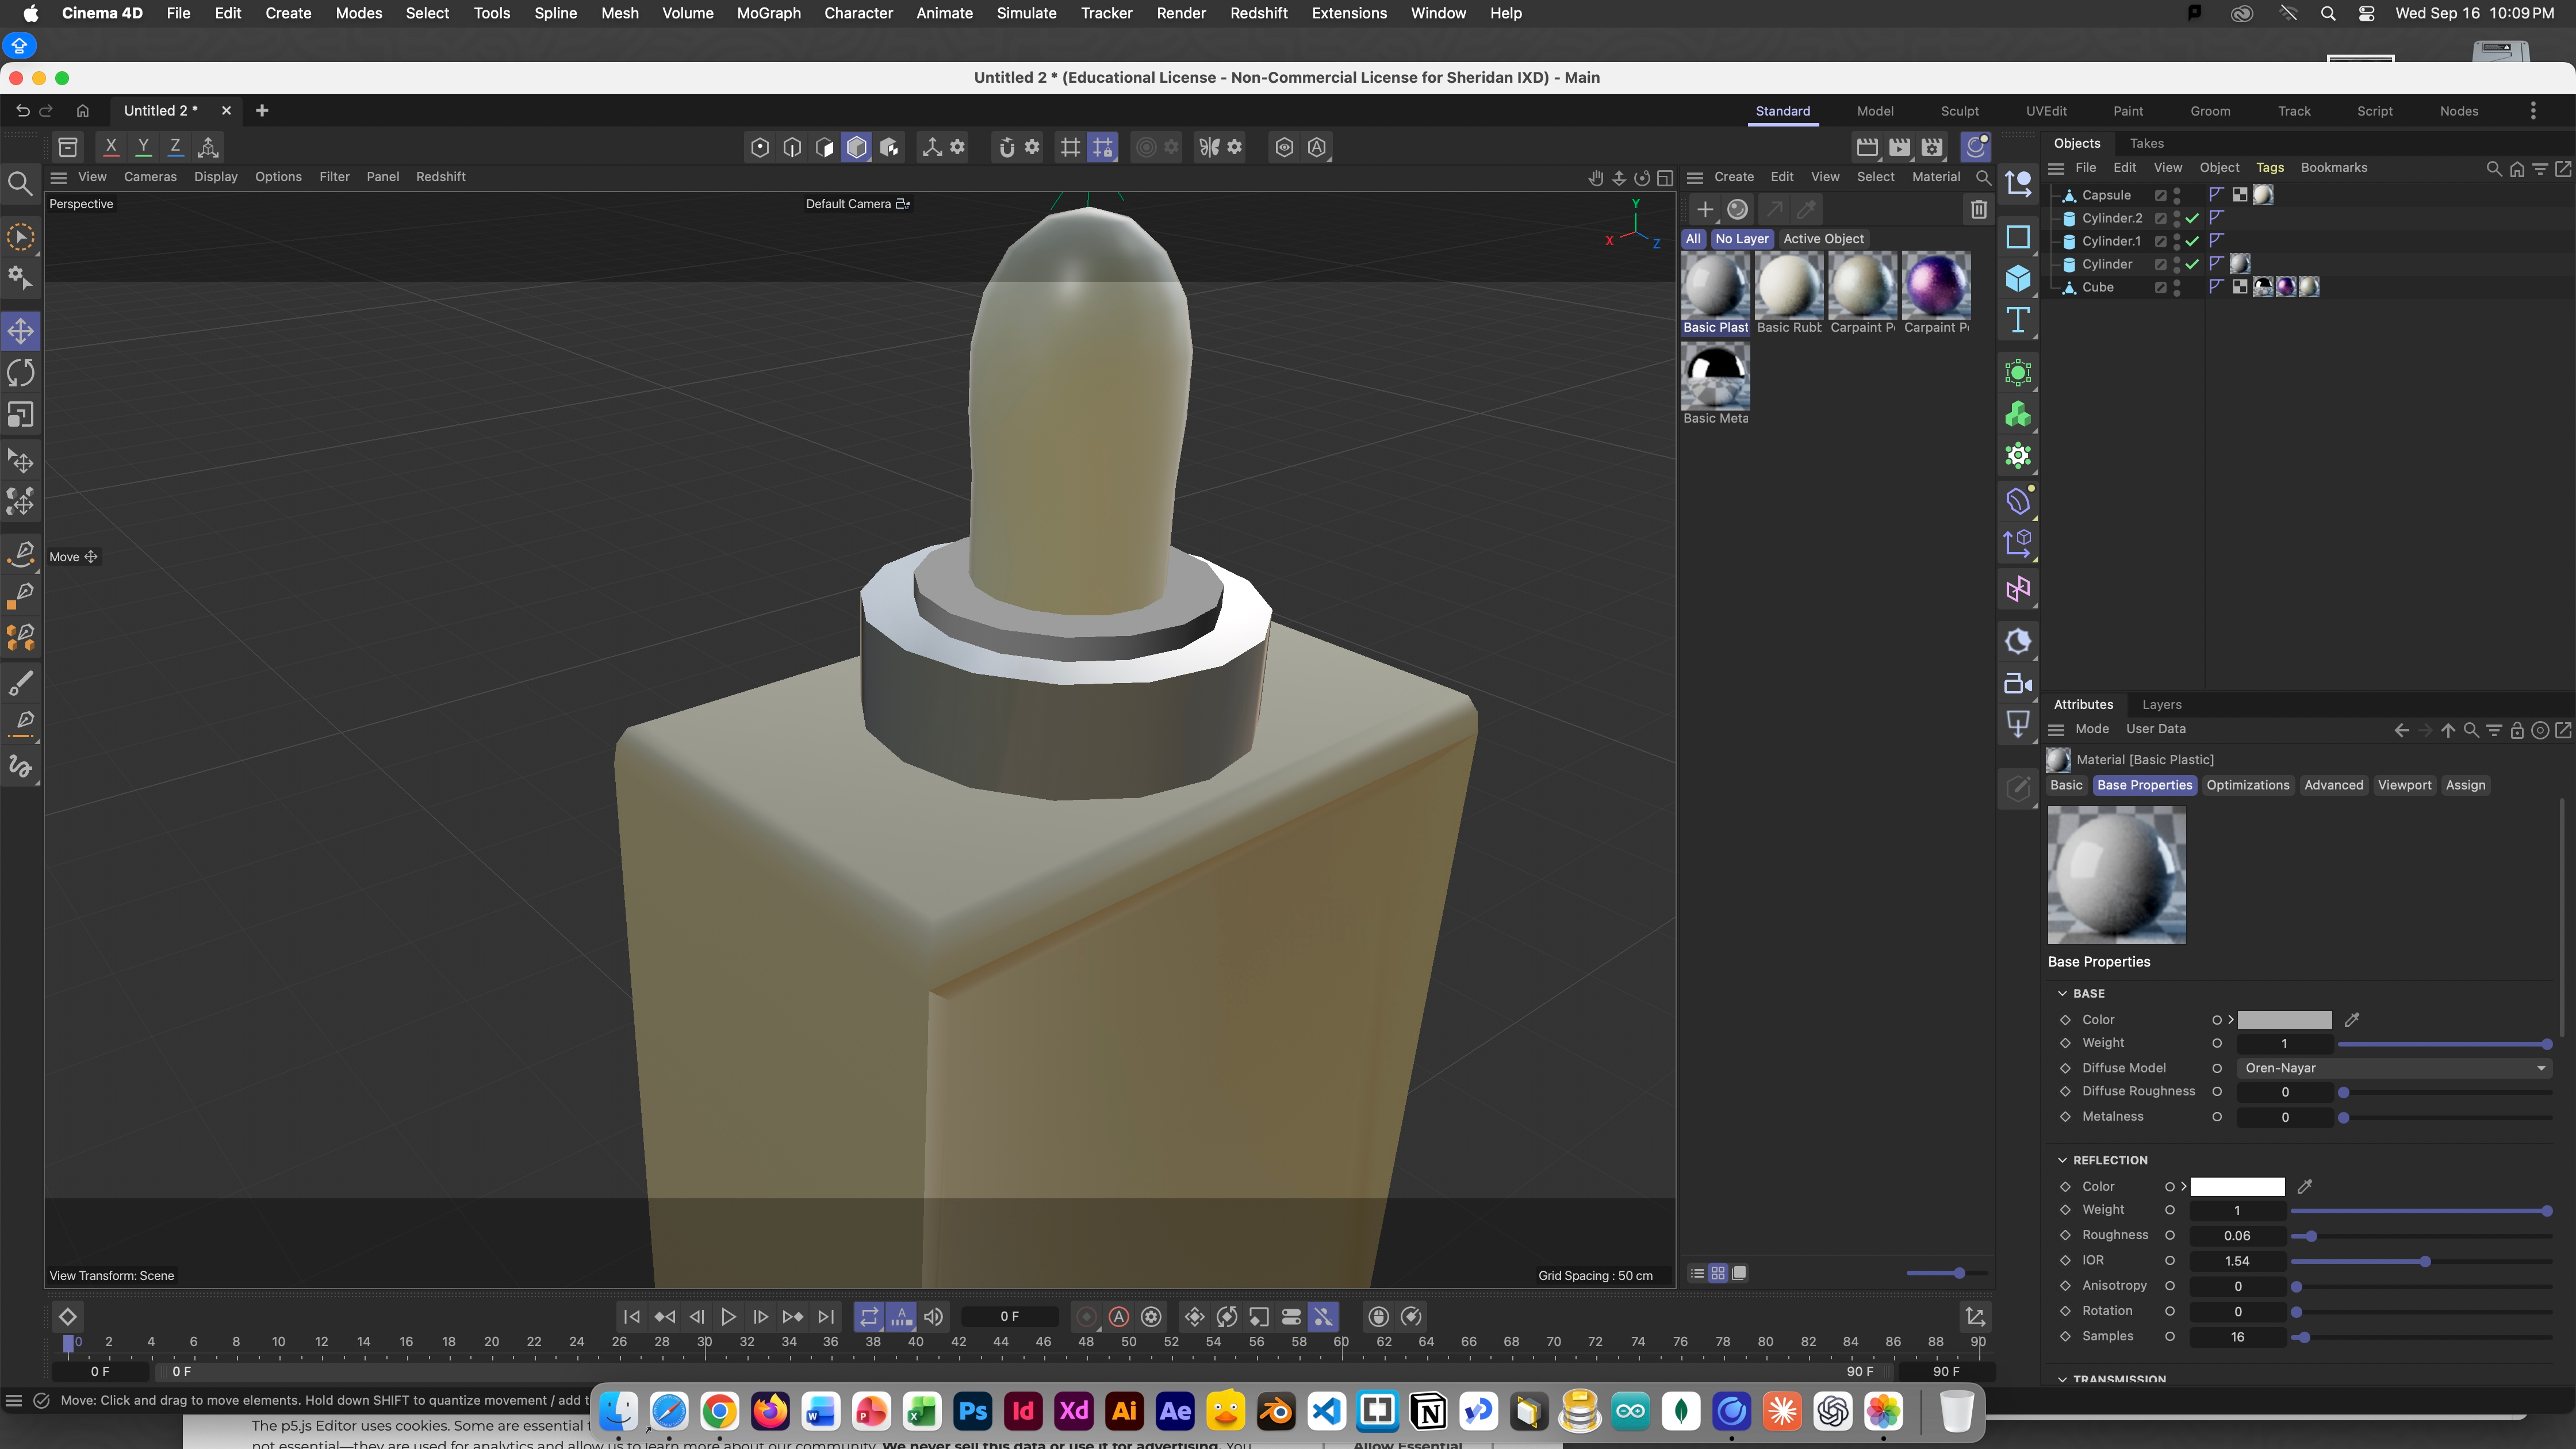
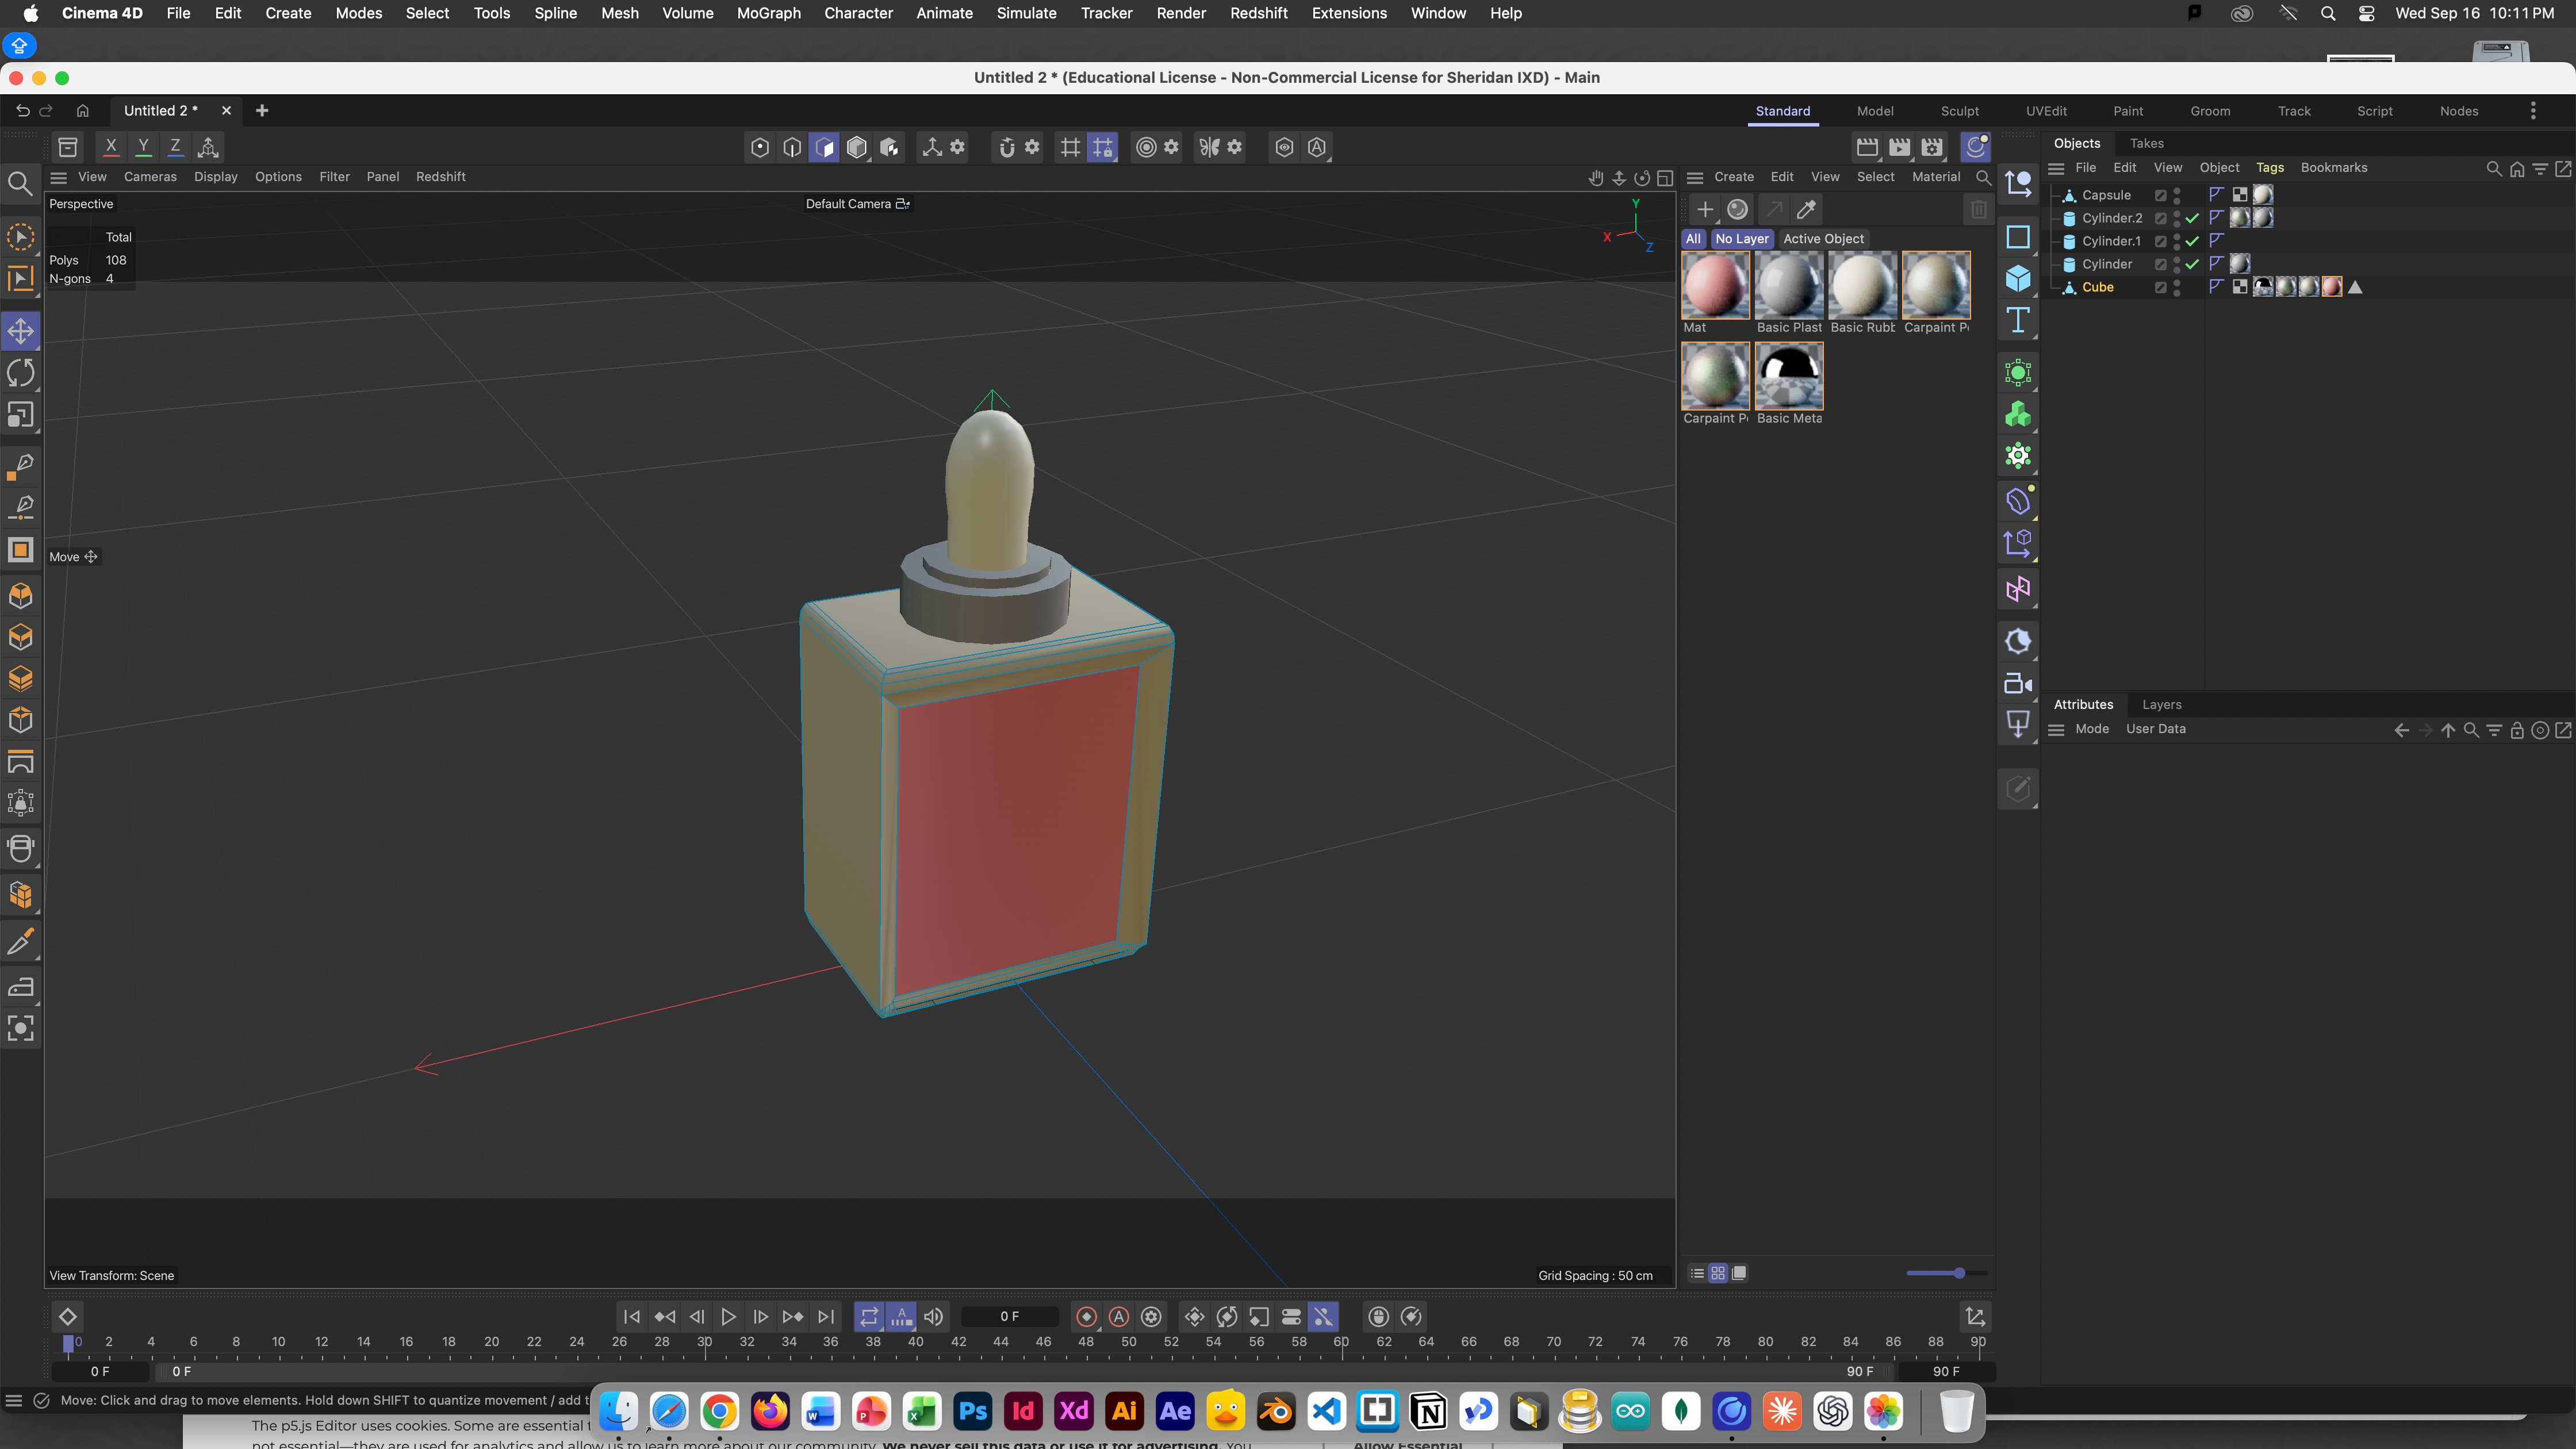
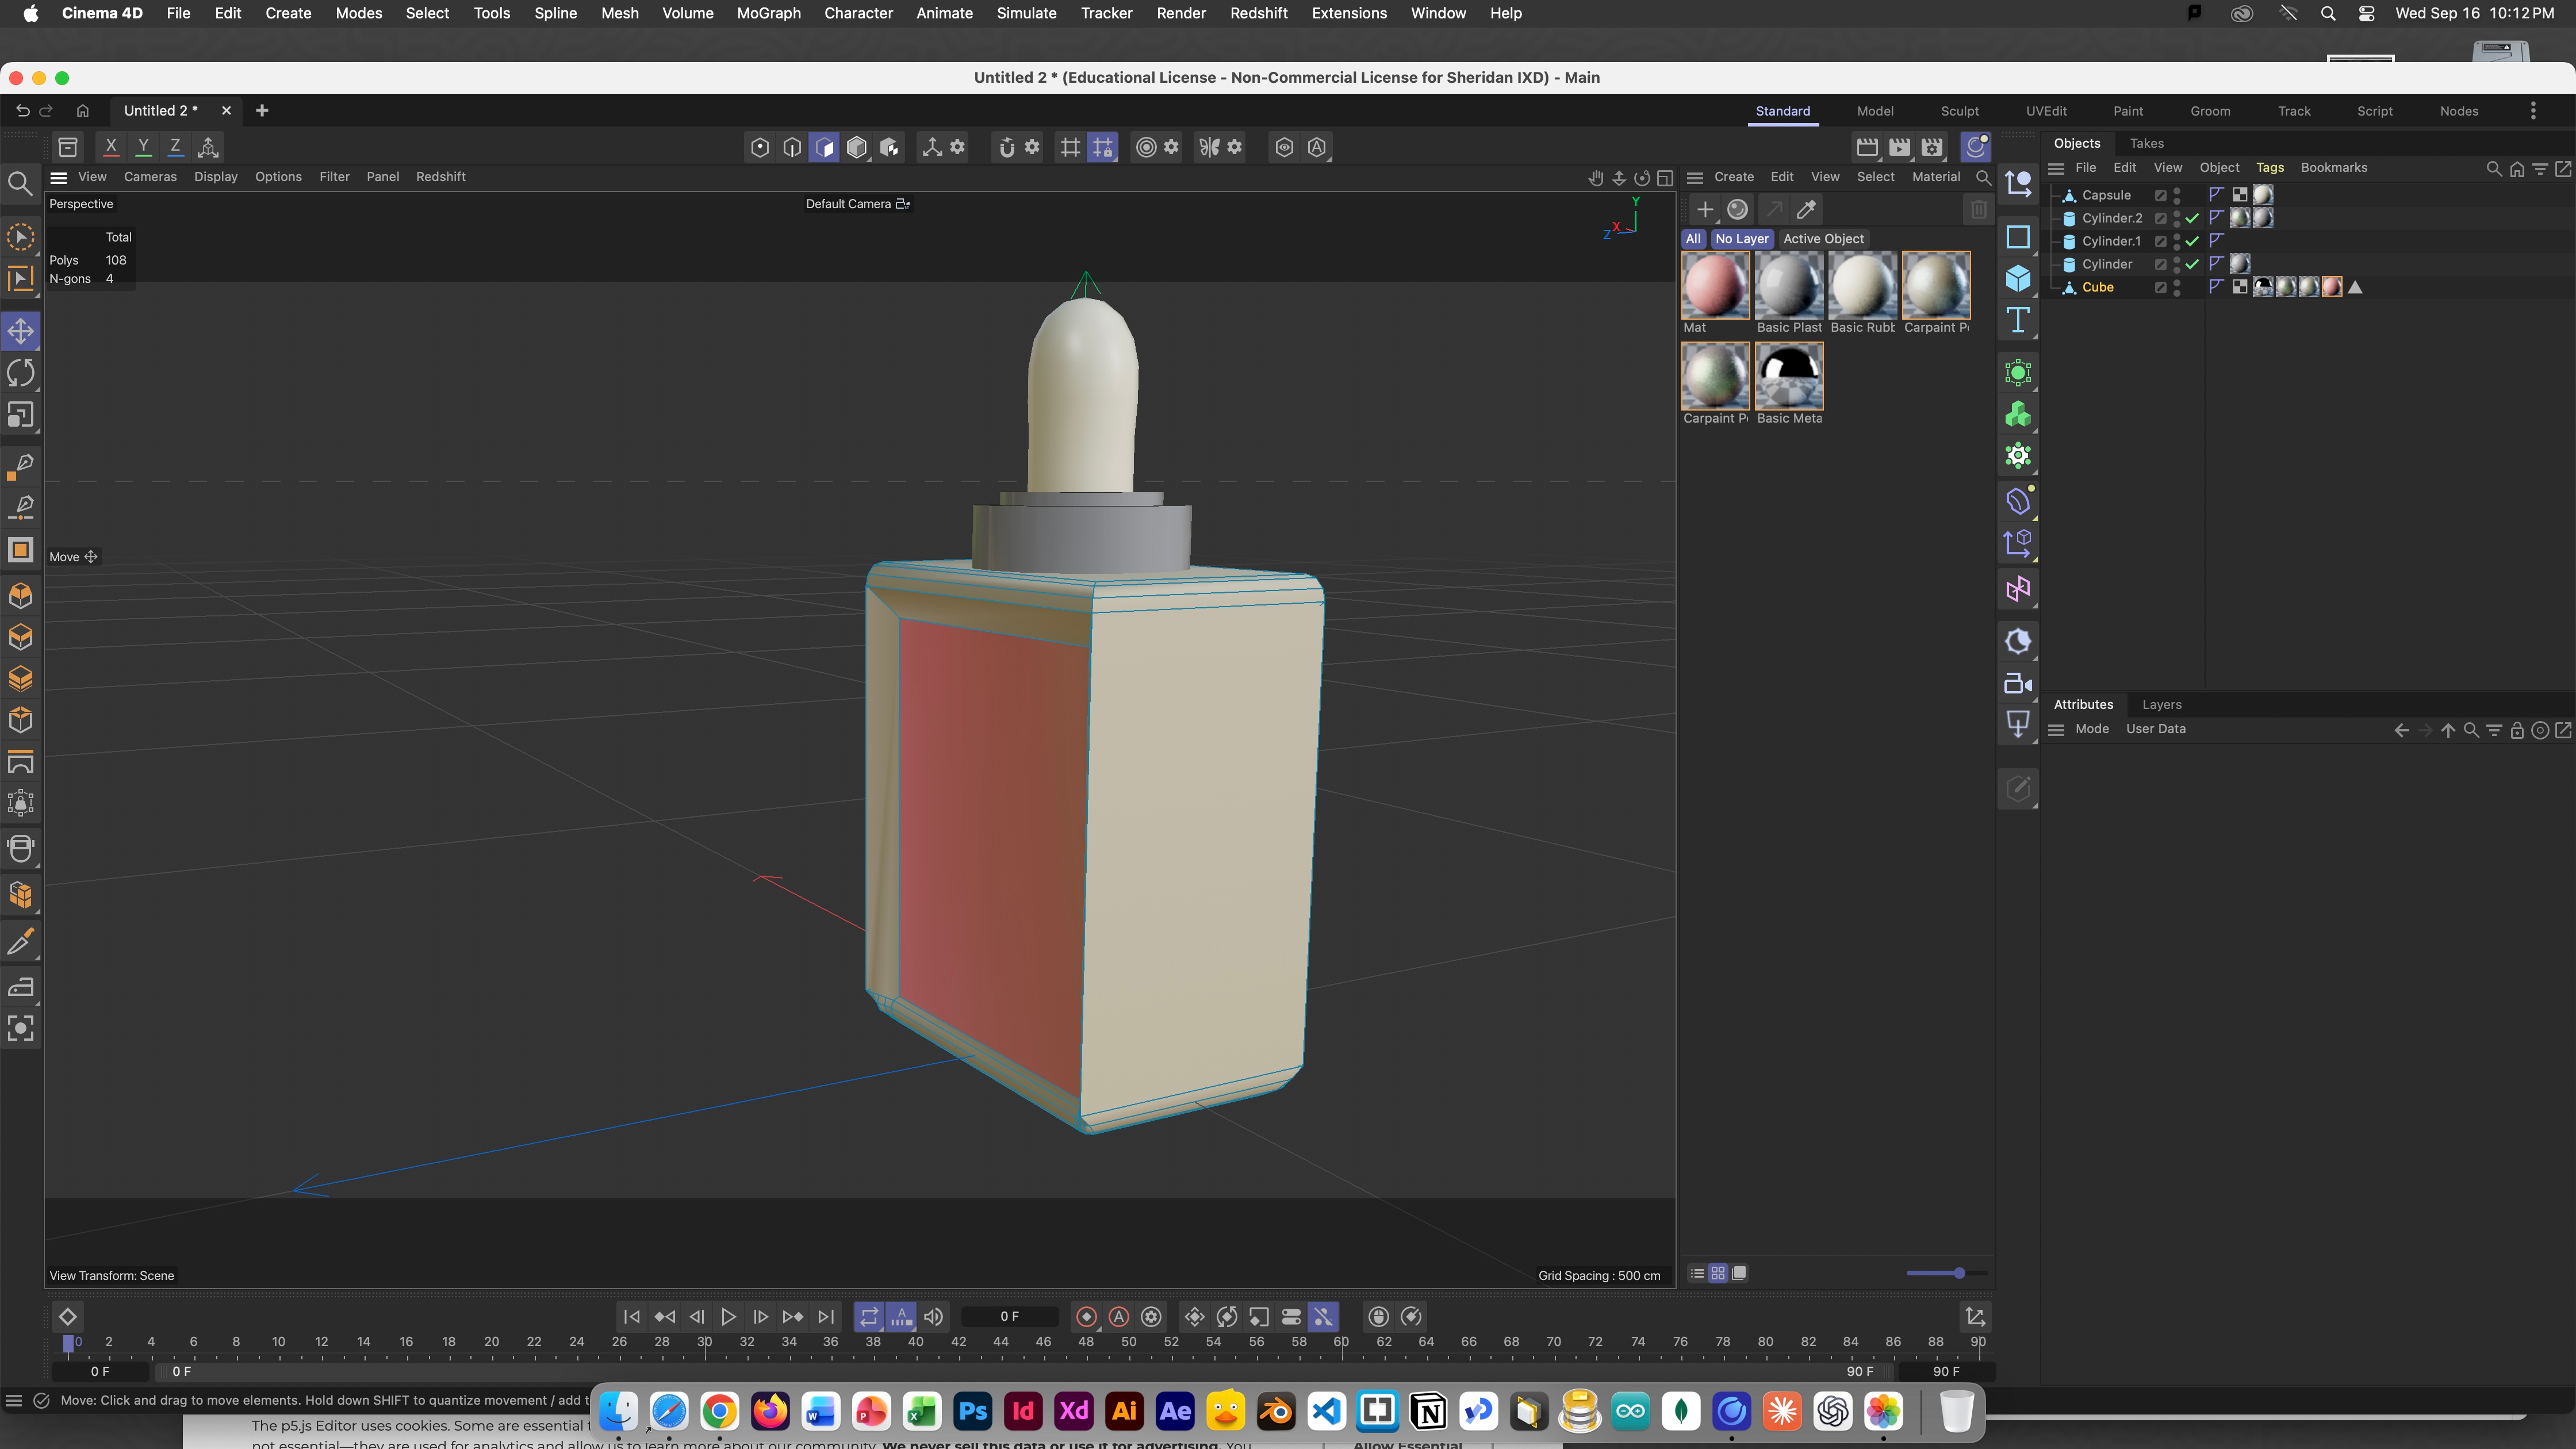
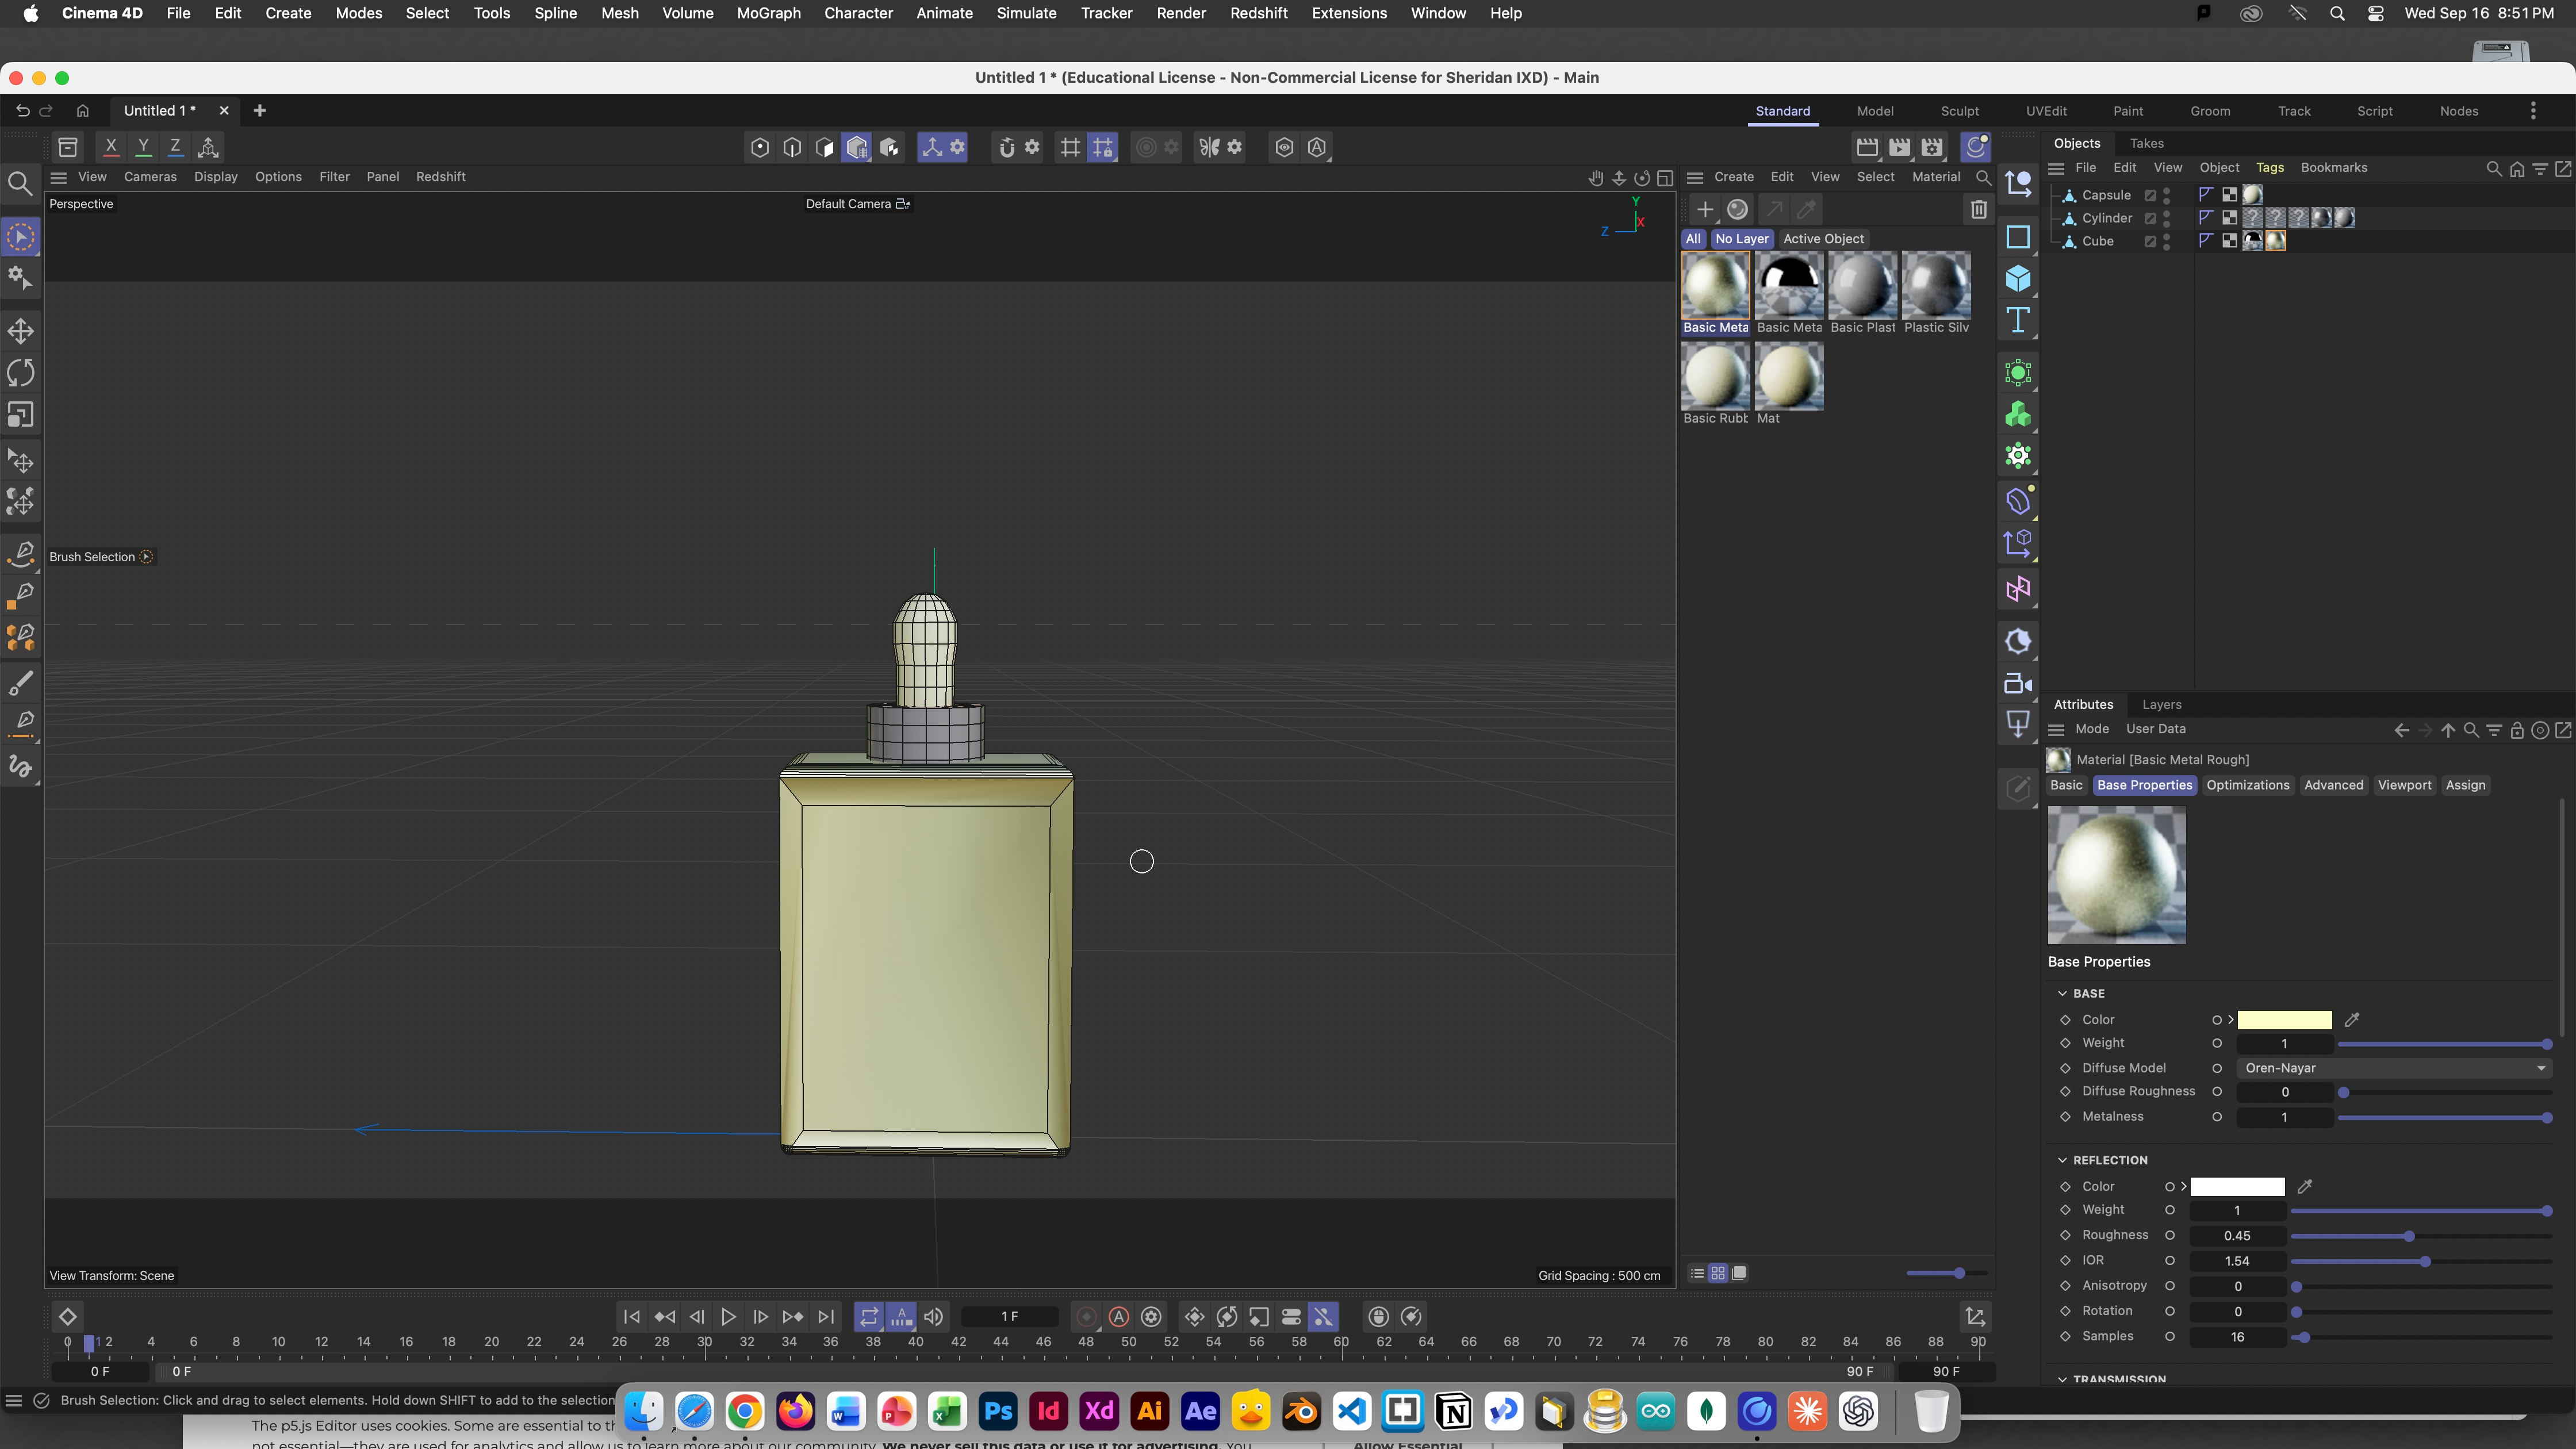
For this design challenge, I created a 3D model of an essential oil bottle using Cinema 4D. I started with basic geometric forms and gradually refined the shape by adjusting proportions adding details, and modifying different parts of the model.

I think the most challenging part of this exercise is learning how to select, move, or edit a very small section. This requires at least a basic understanding of the software’s features. I often get stuck or make mistakes. But once I’ve mastered it, I can explore how to develop simple shapes into recognizable everyday objects. It’s both challenging and interesting.

Design Challenge 1
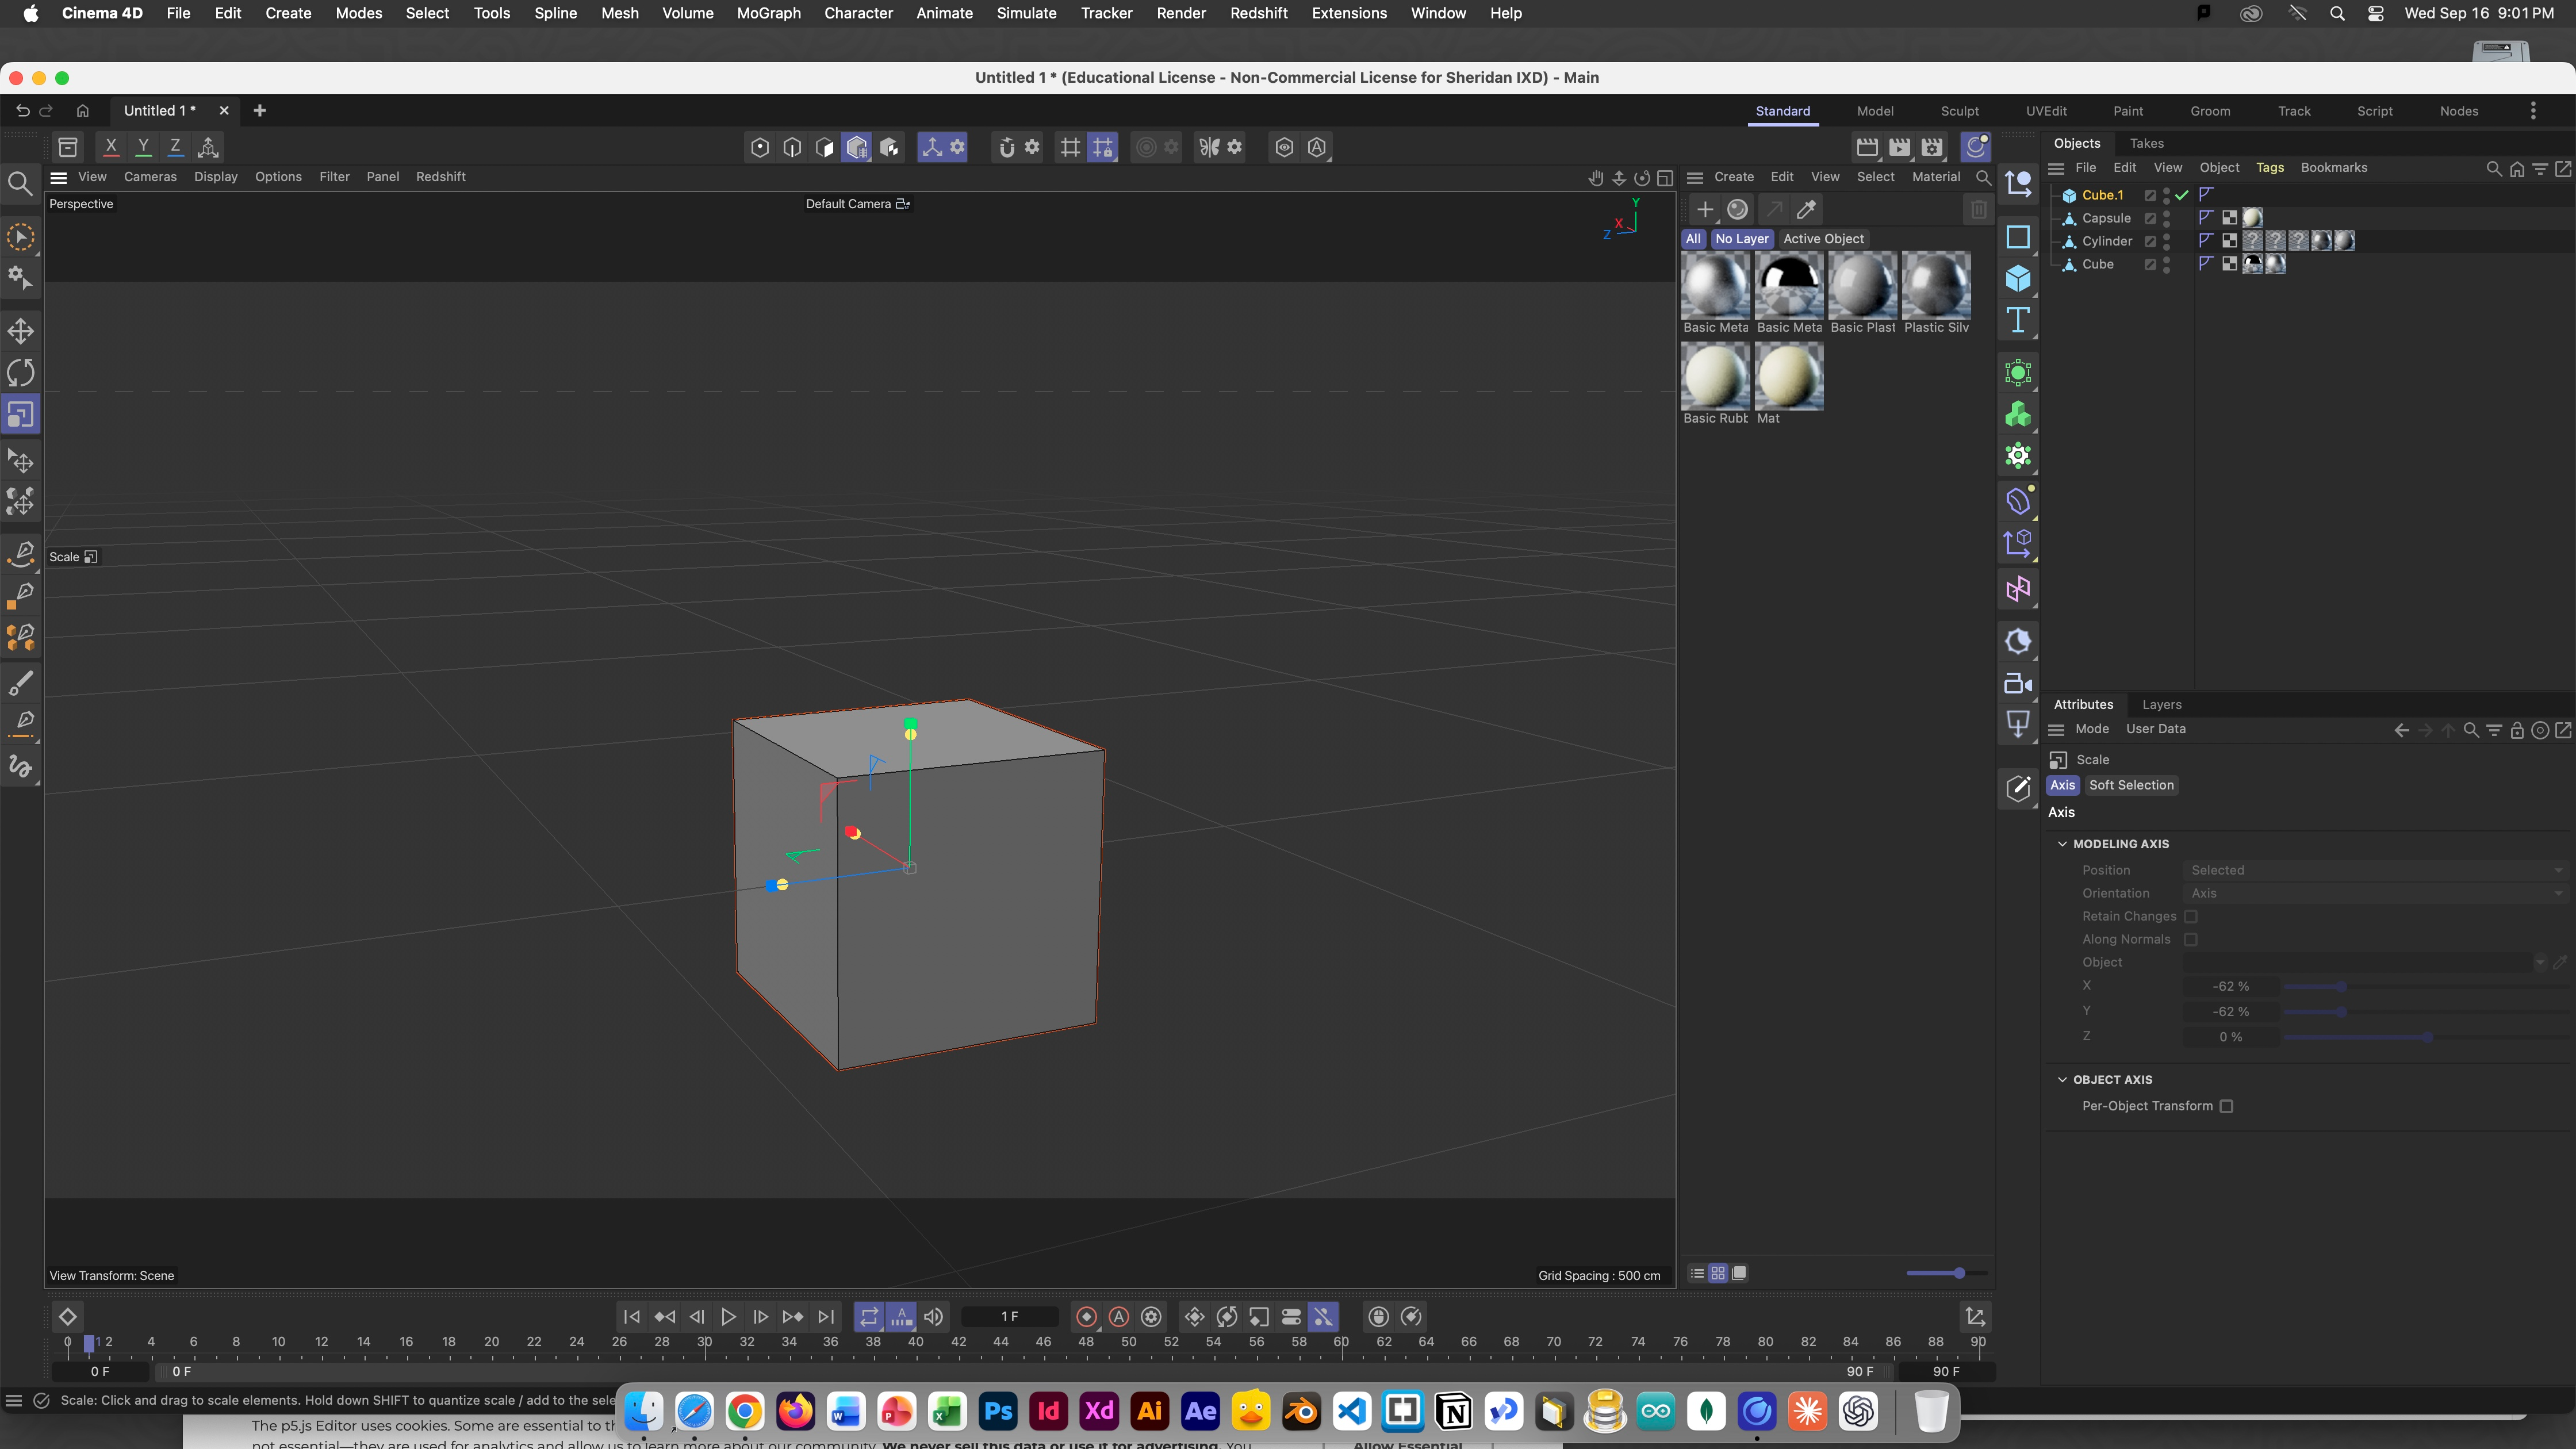
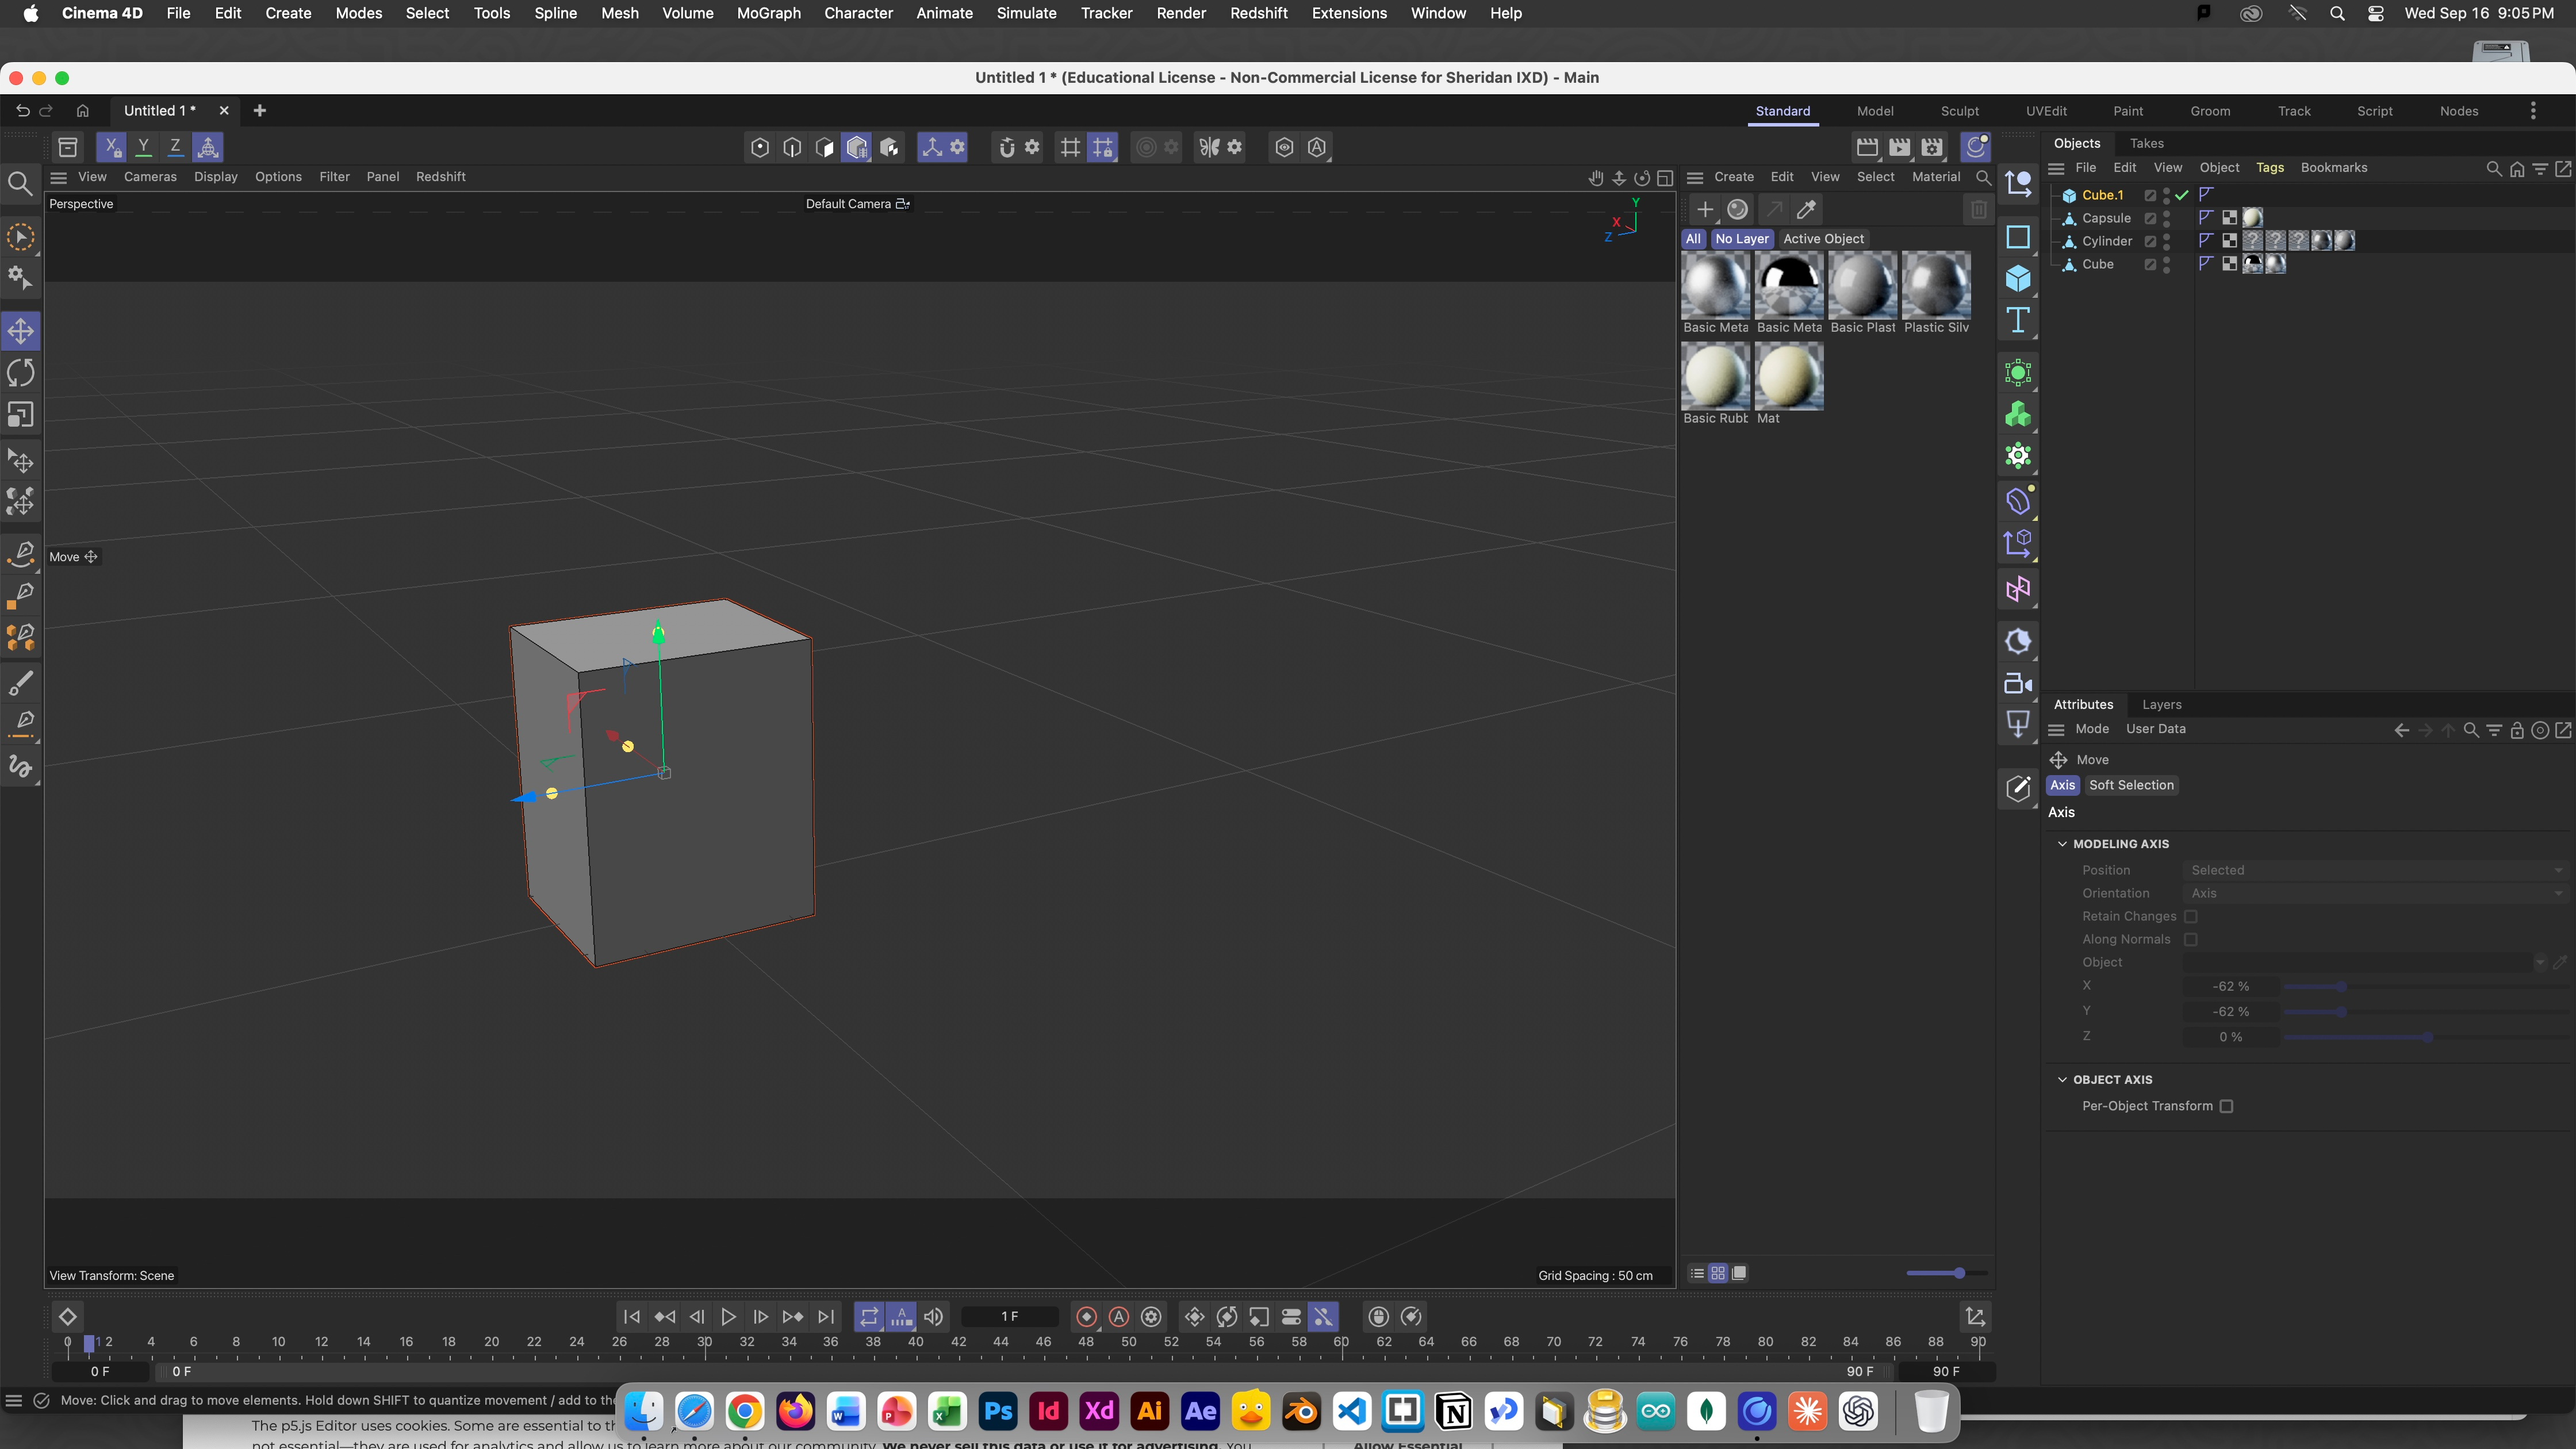
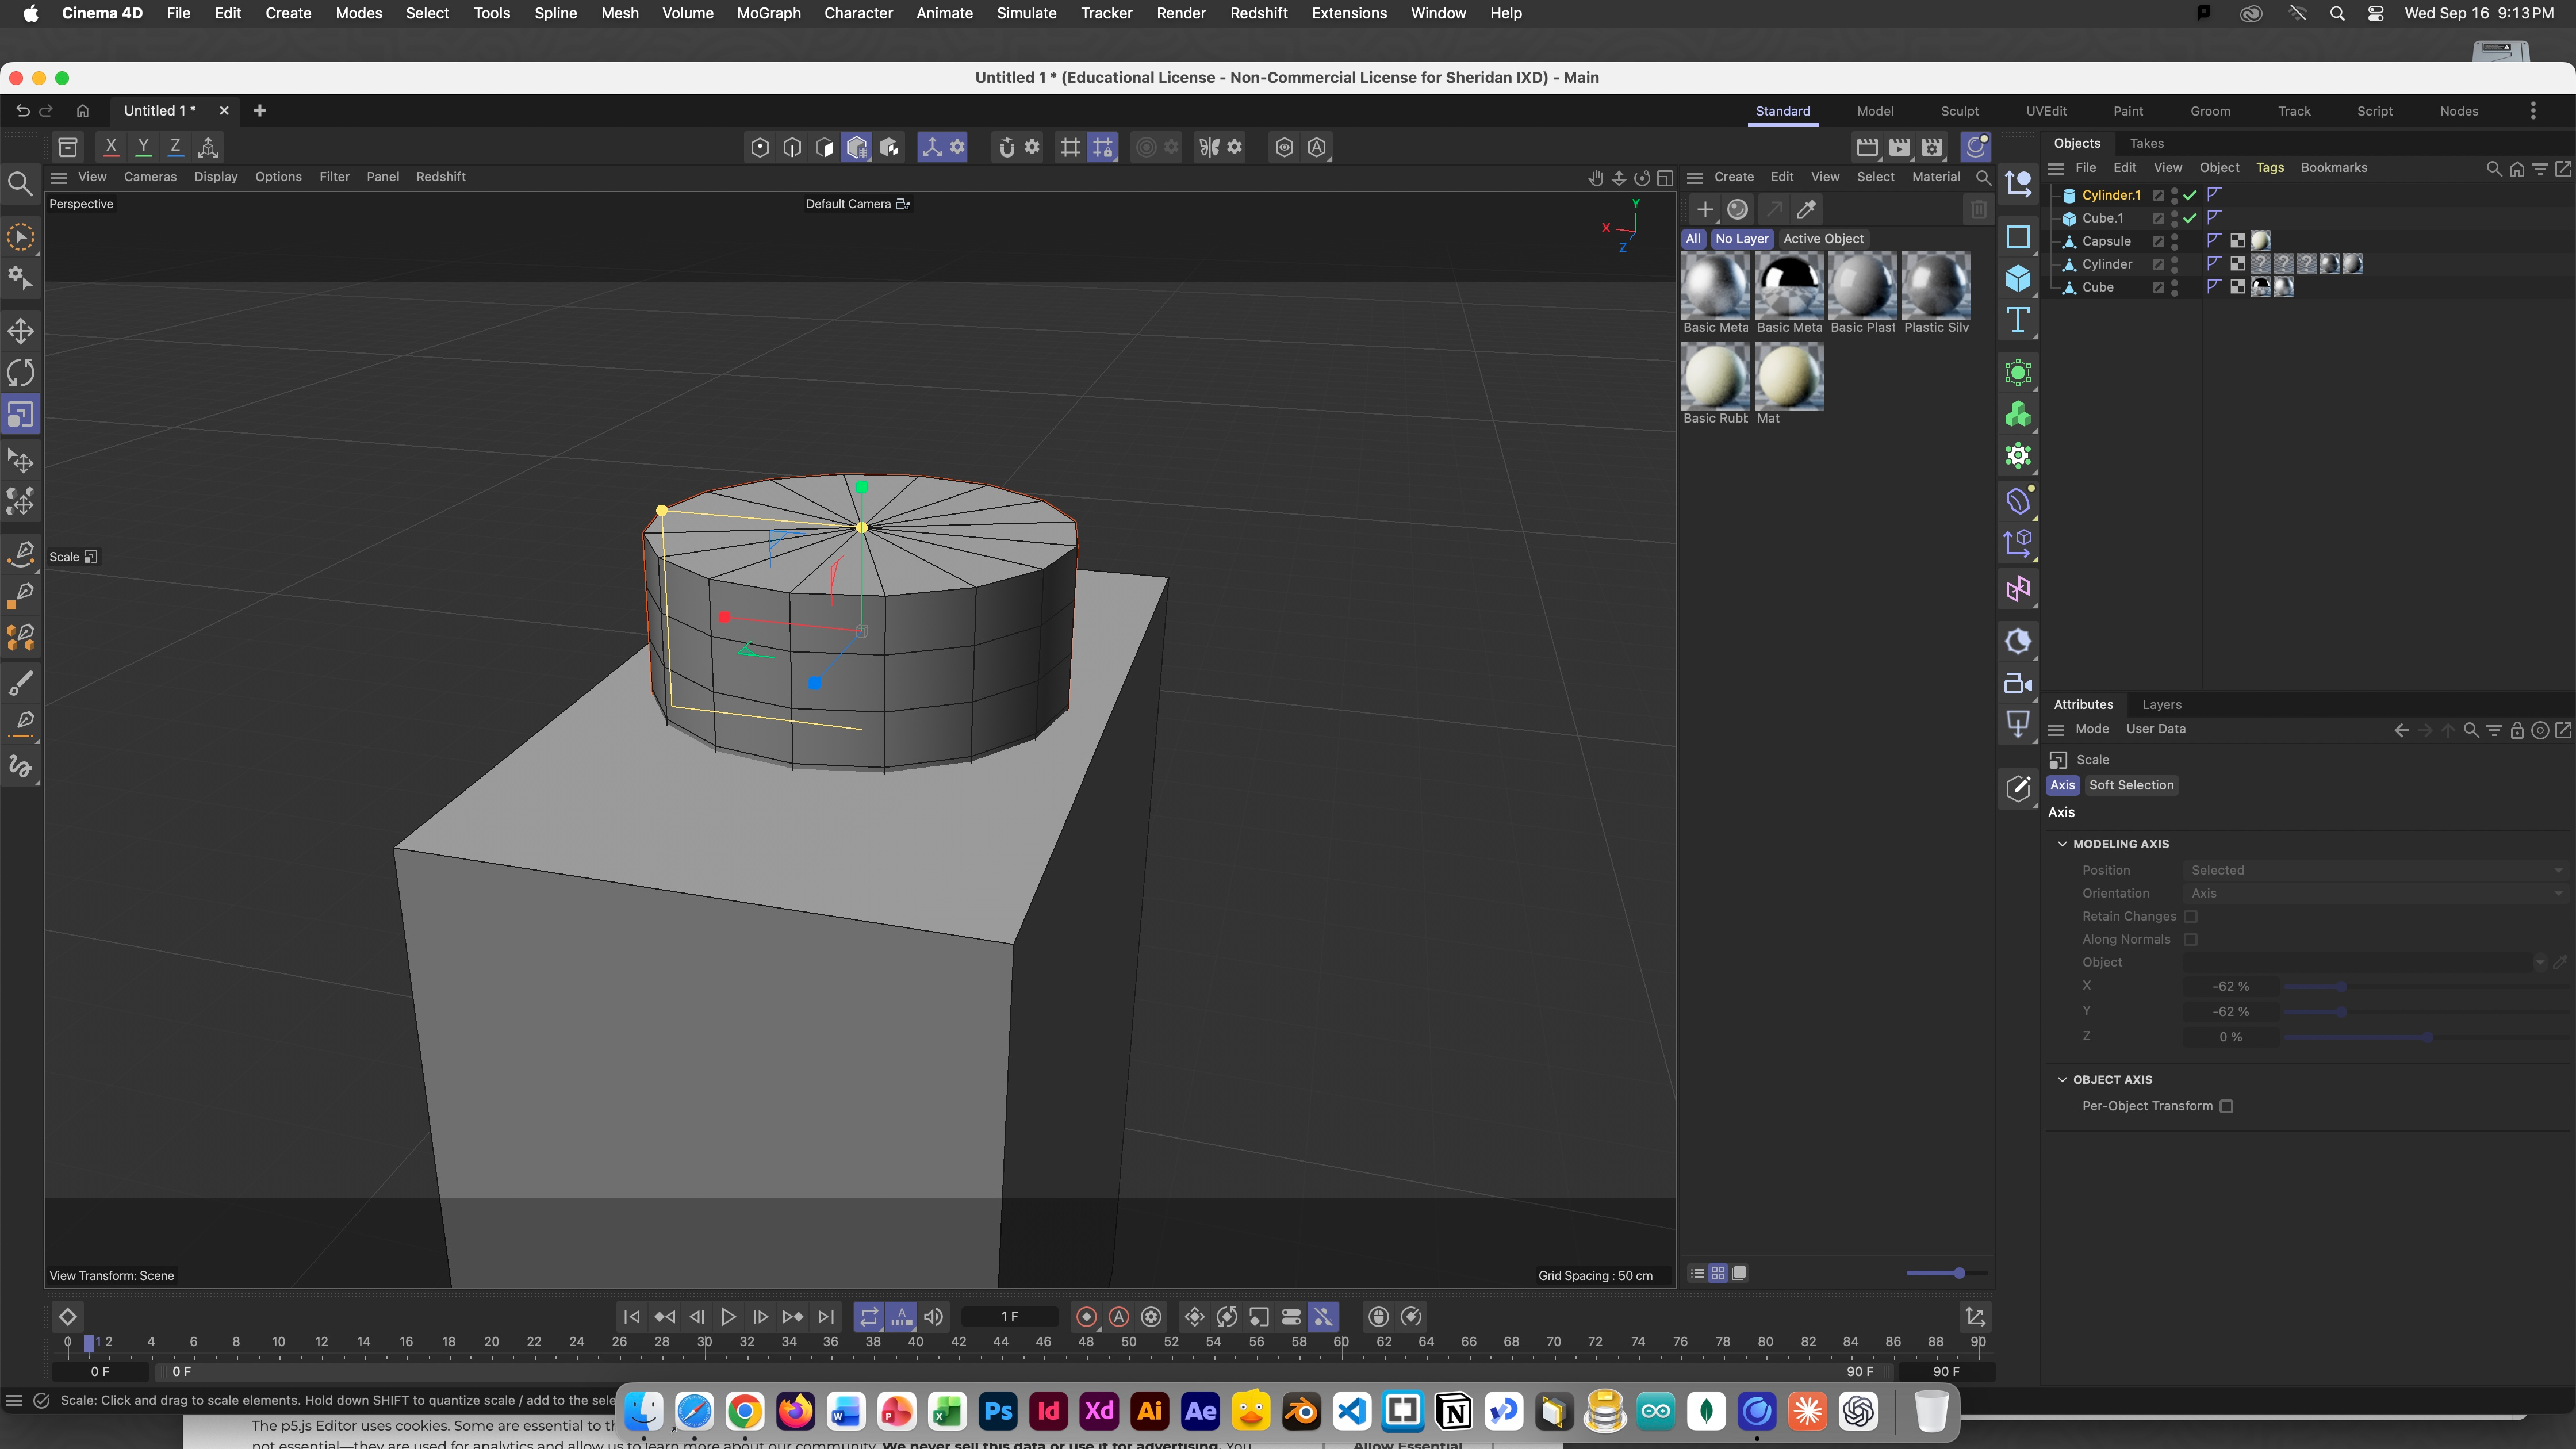
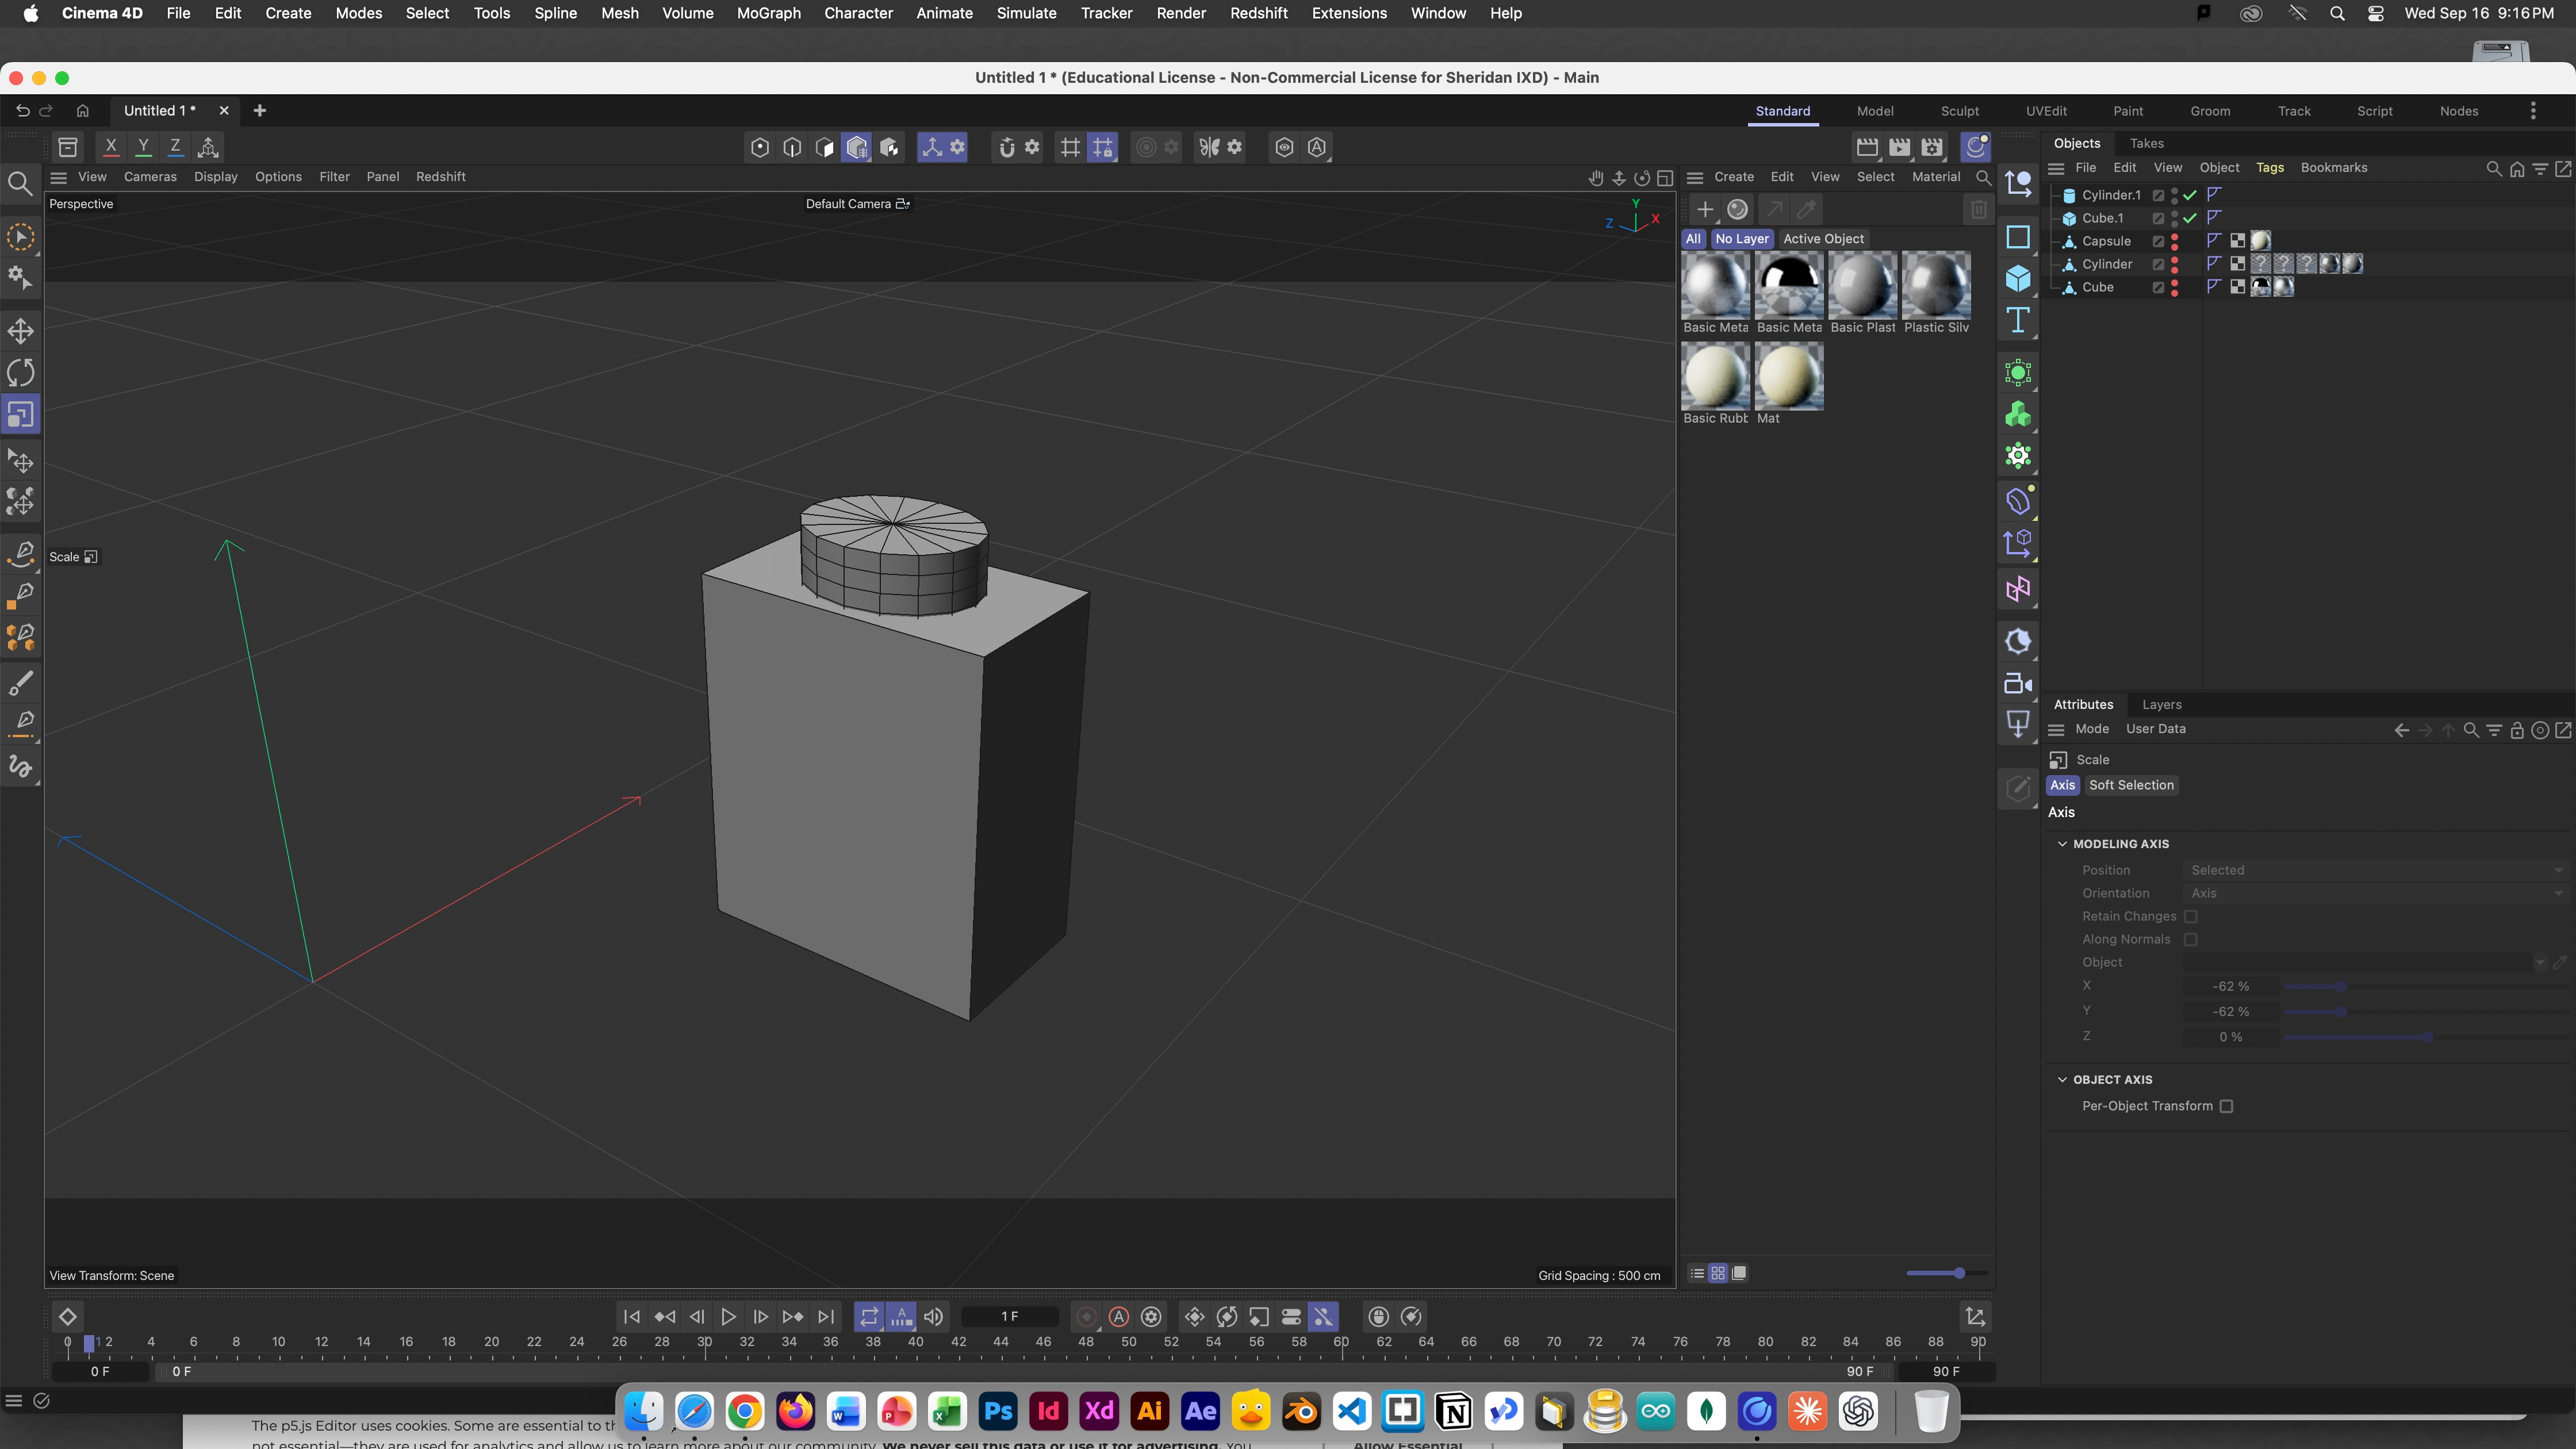
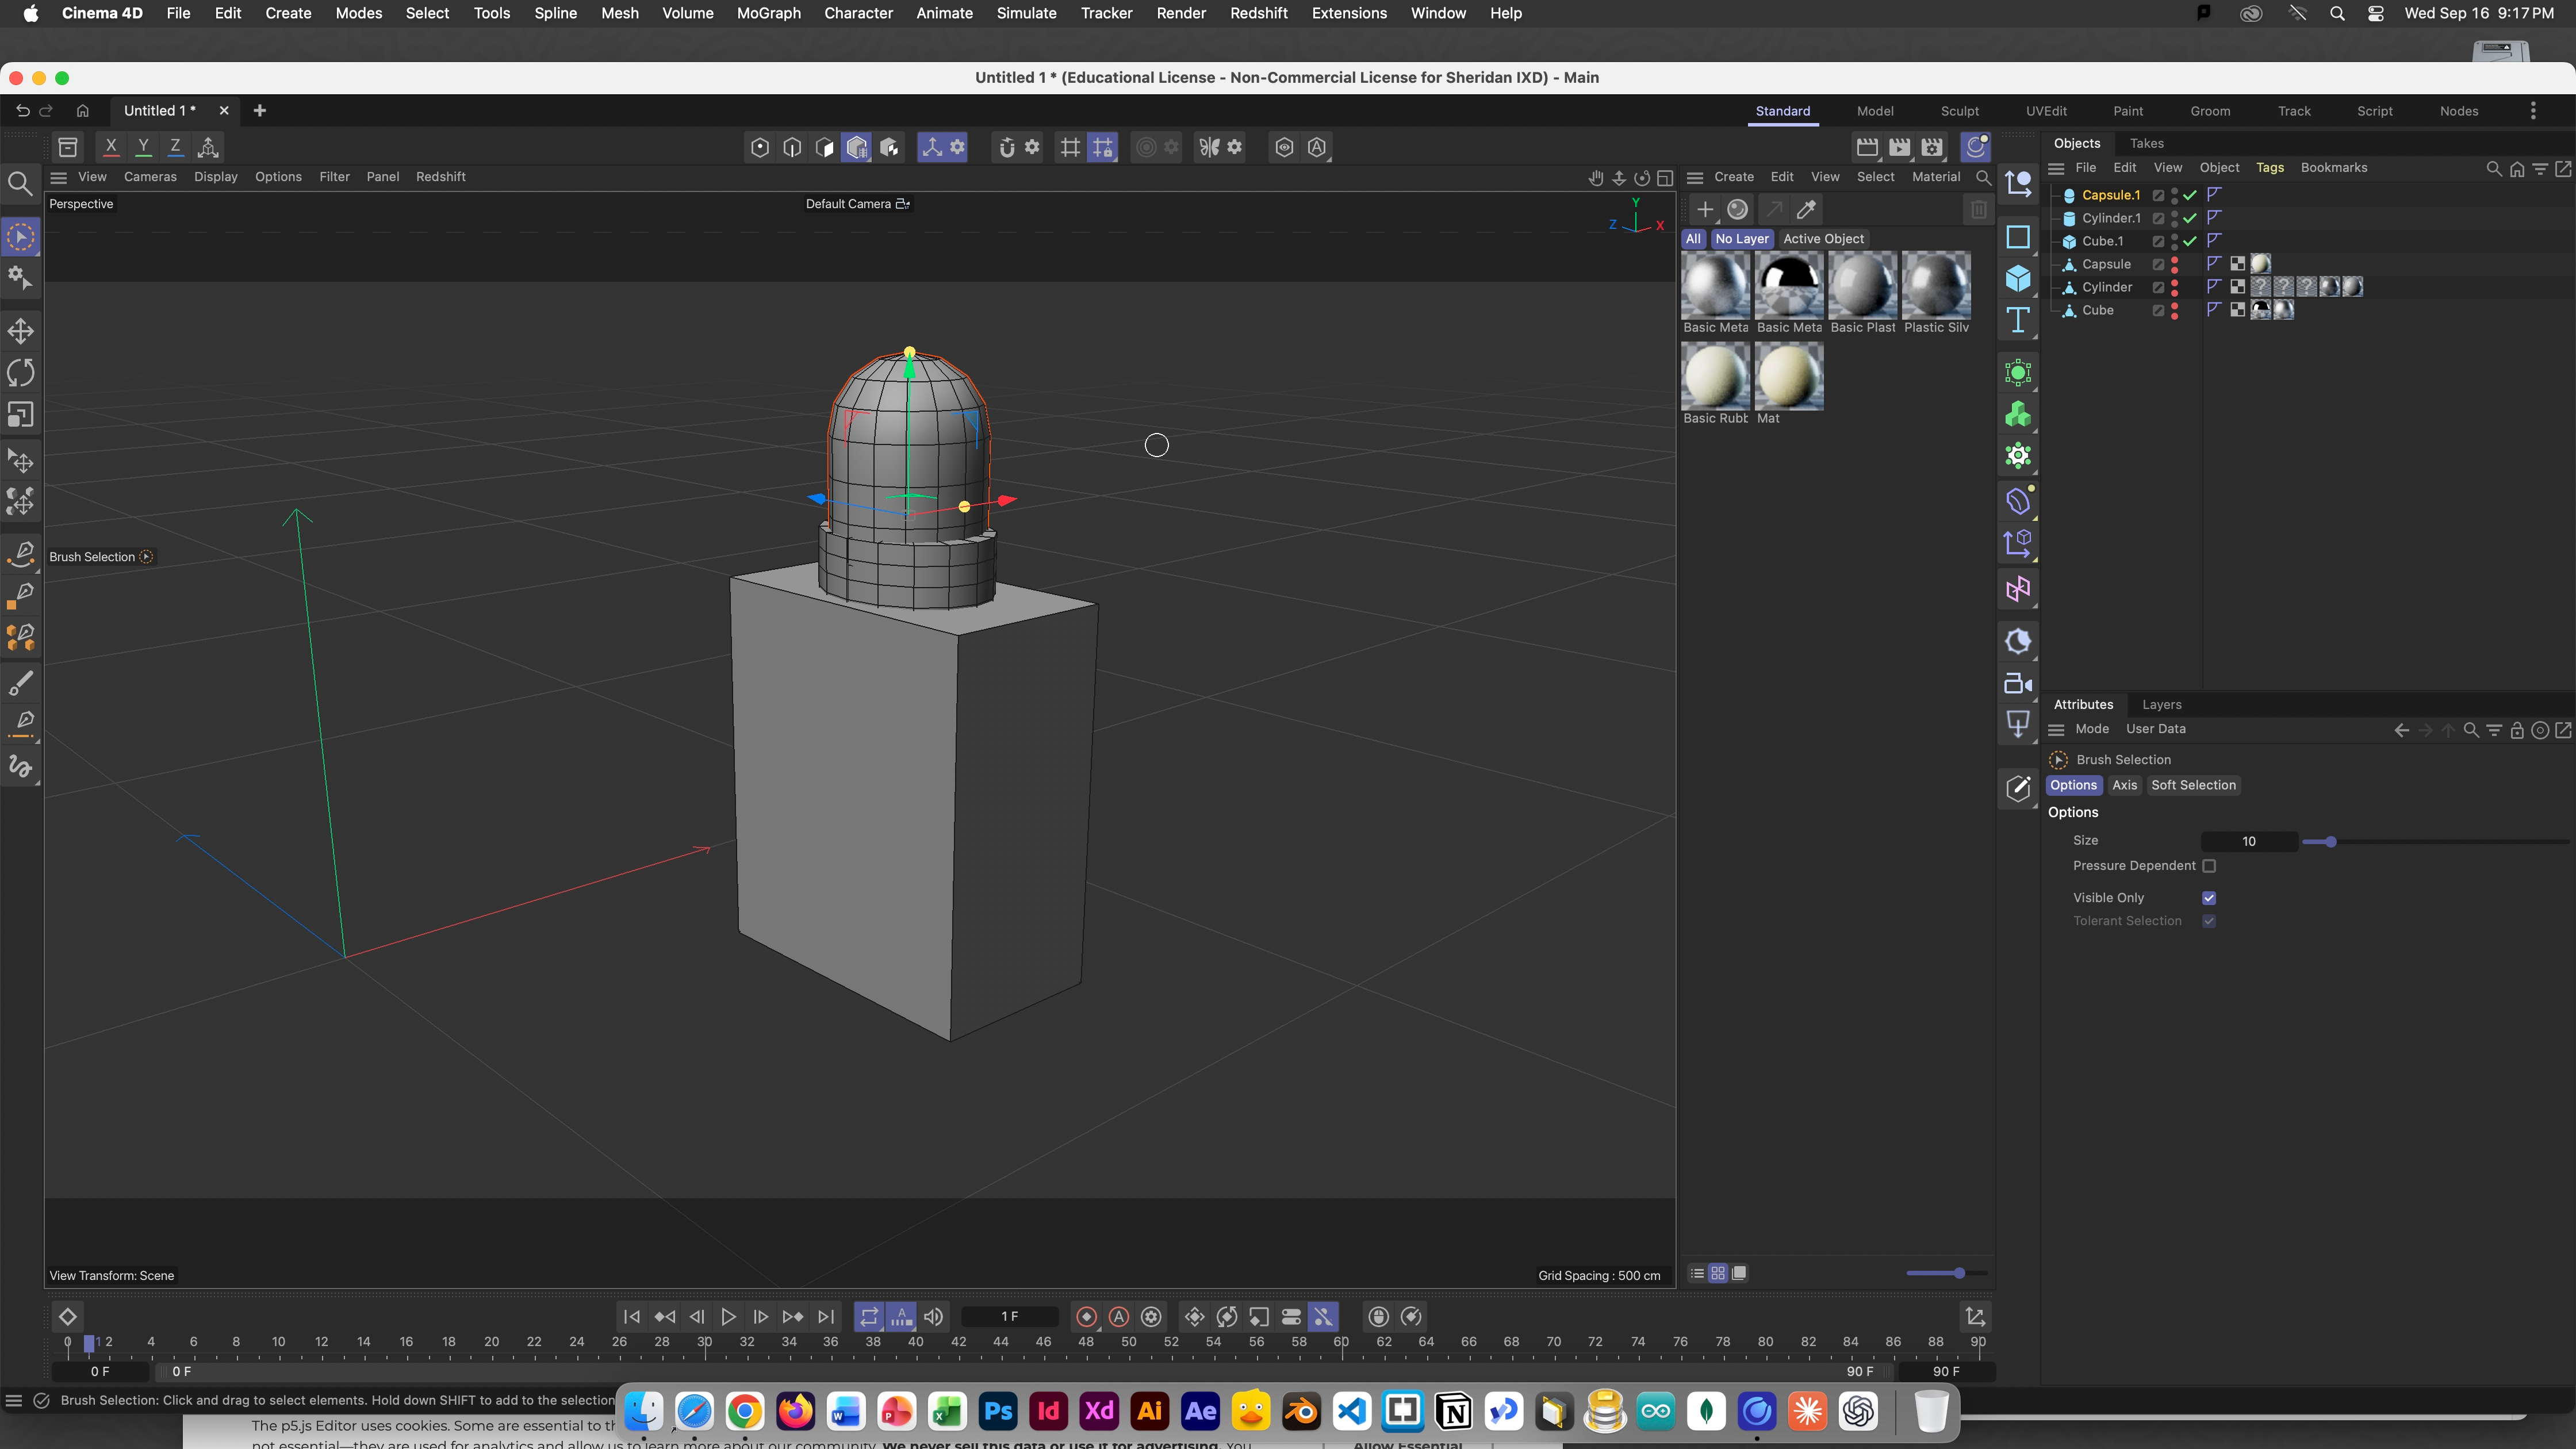
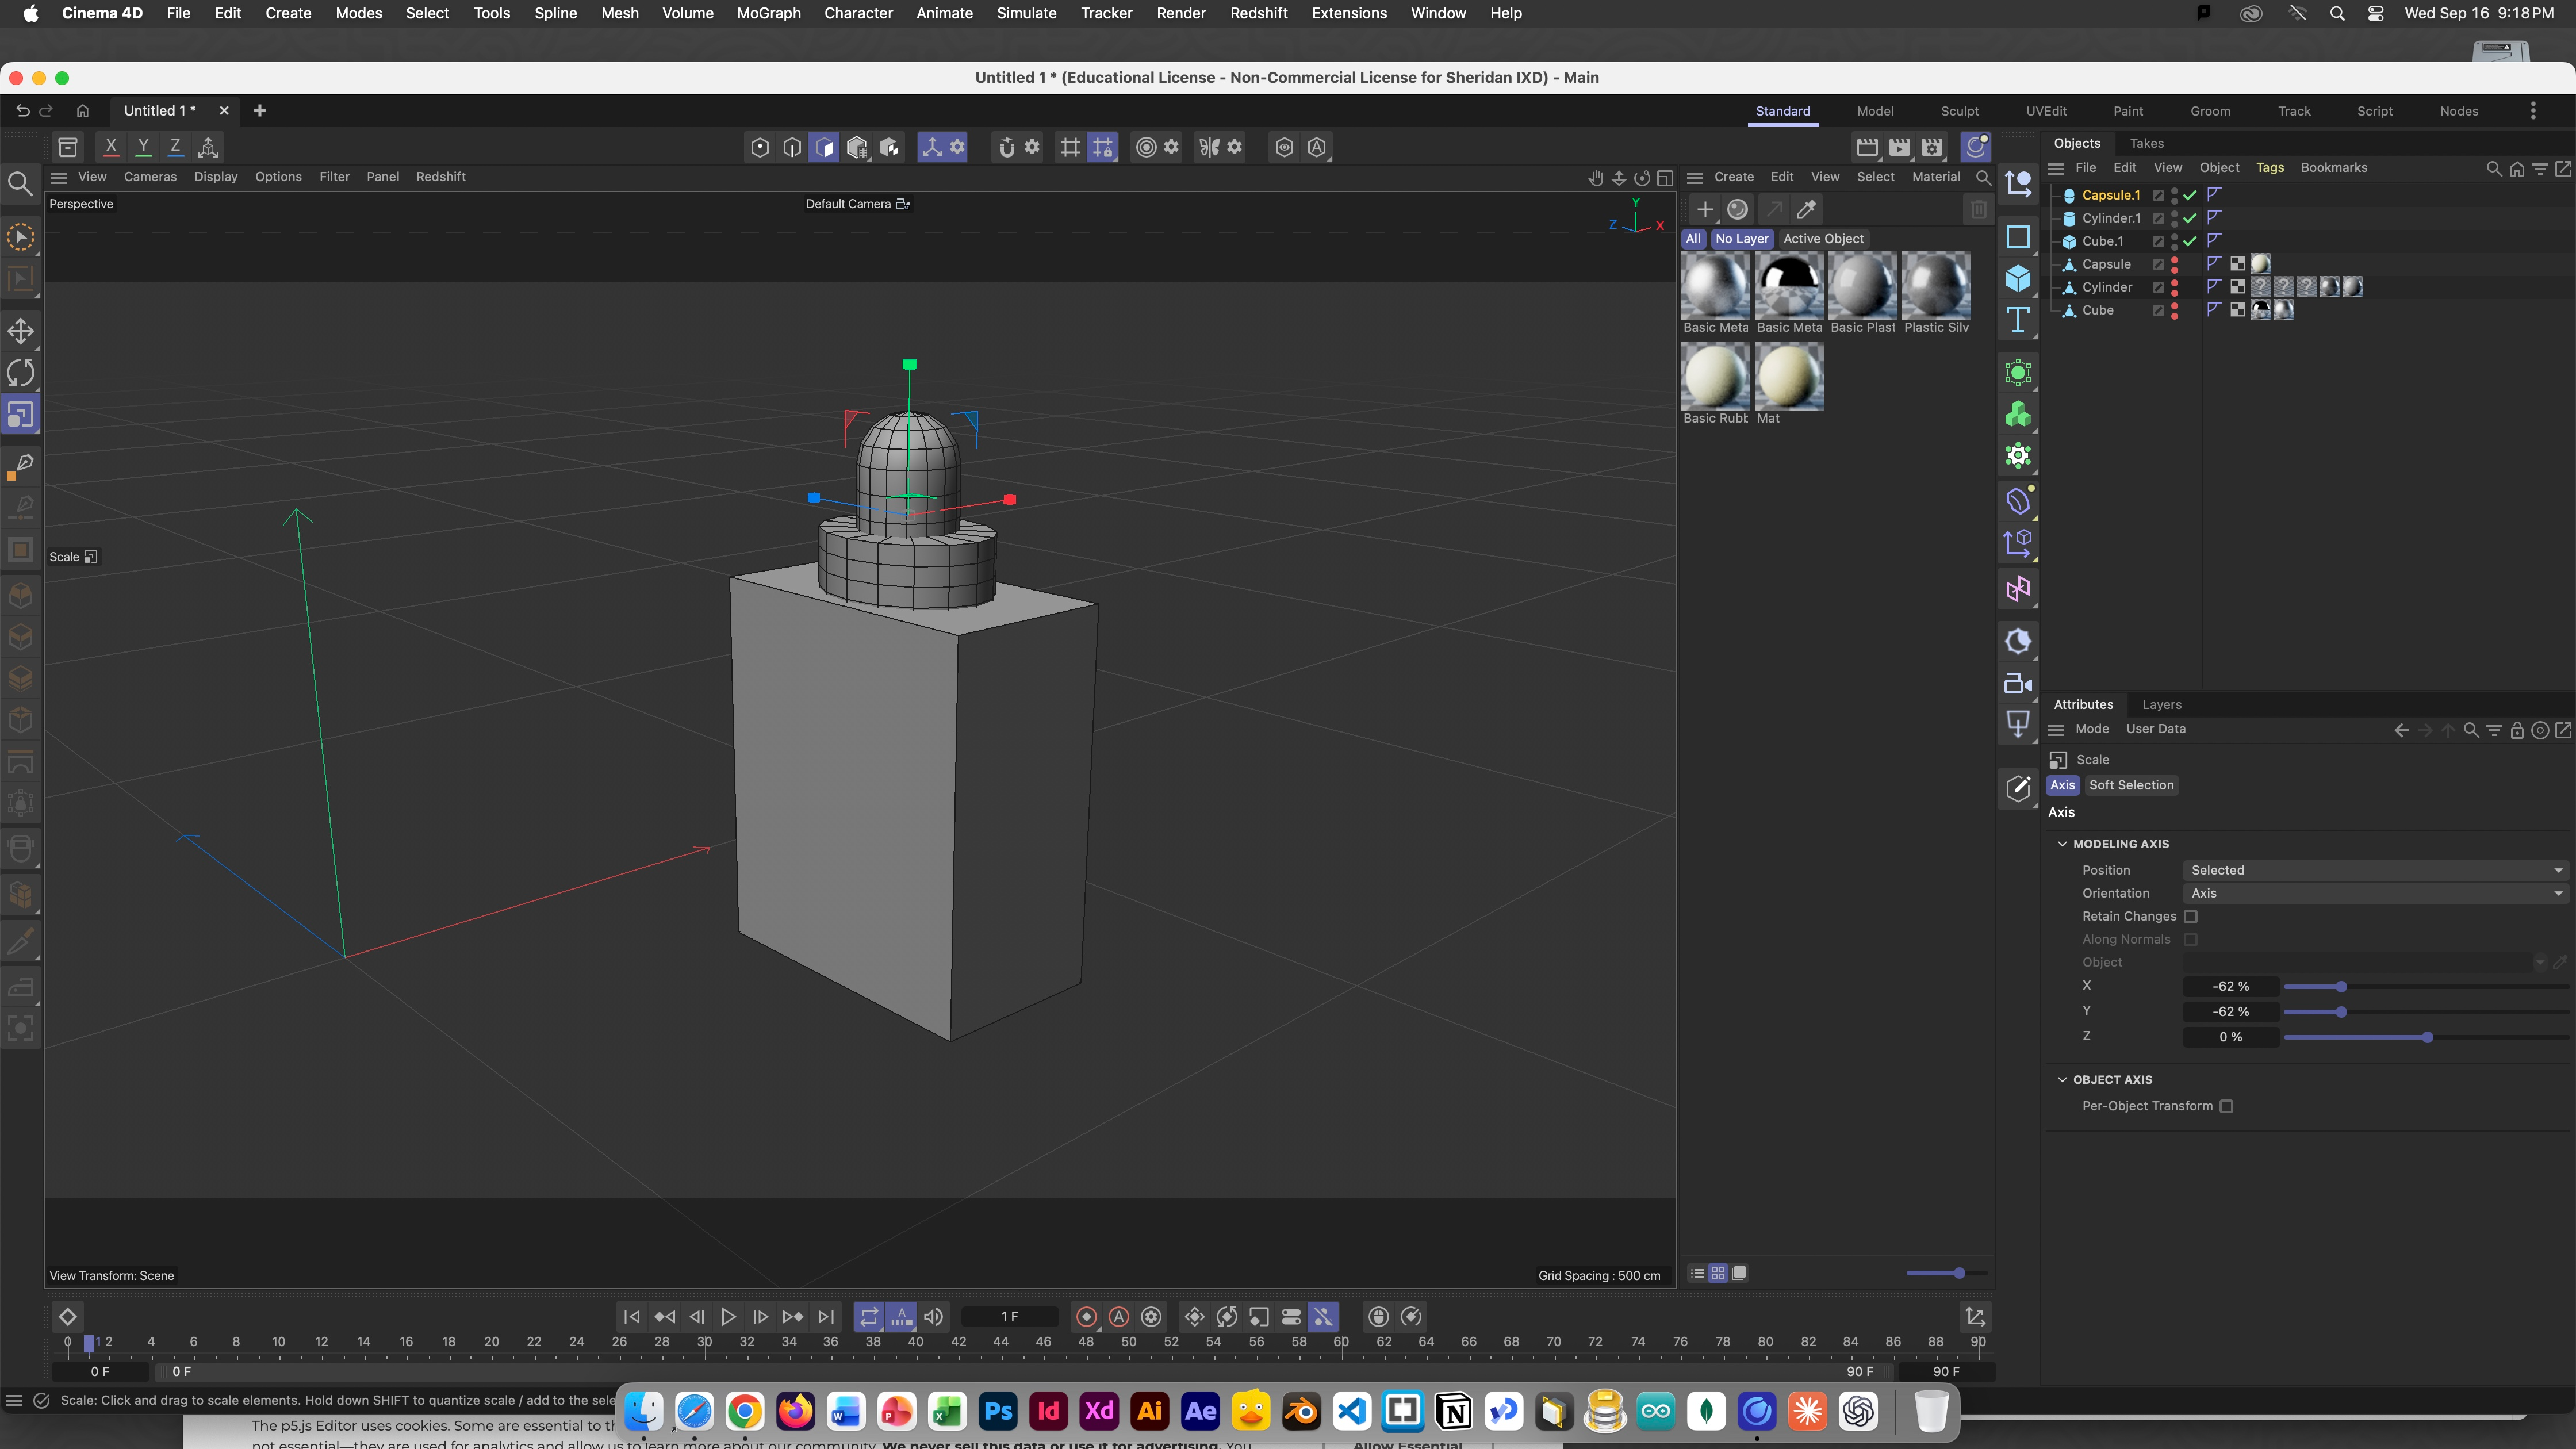
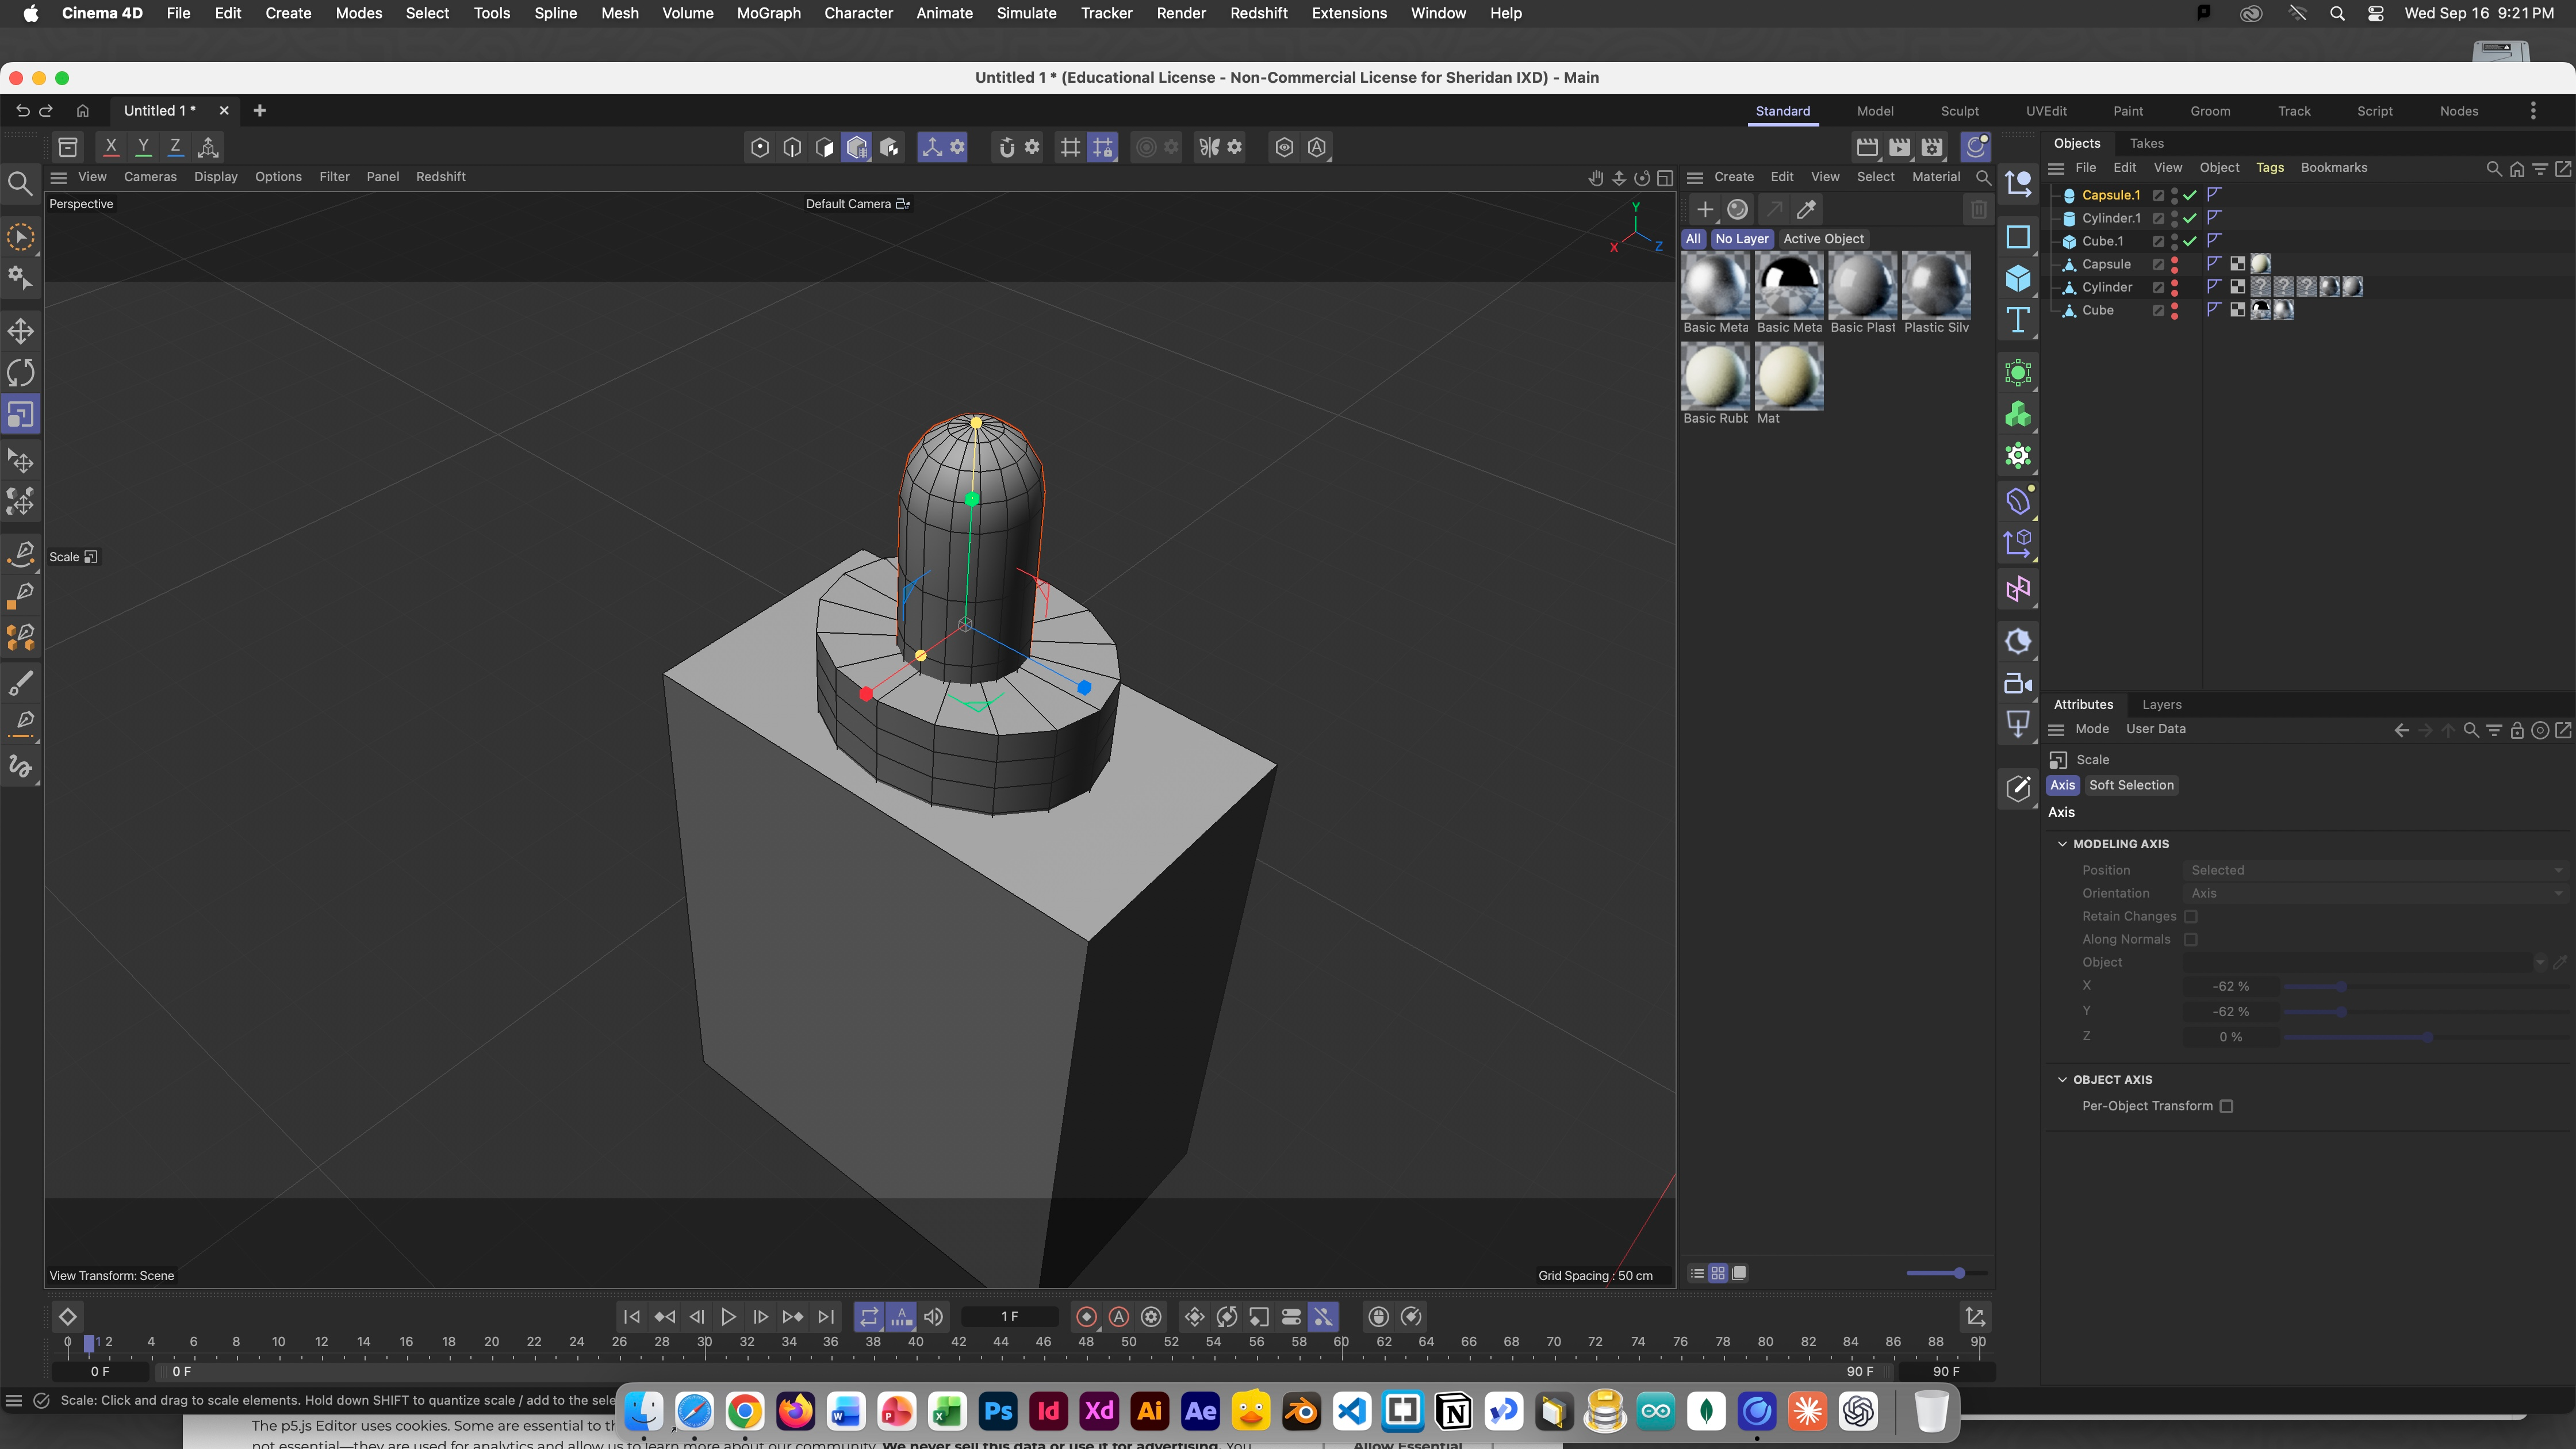
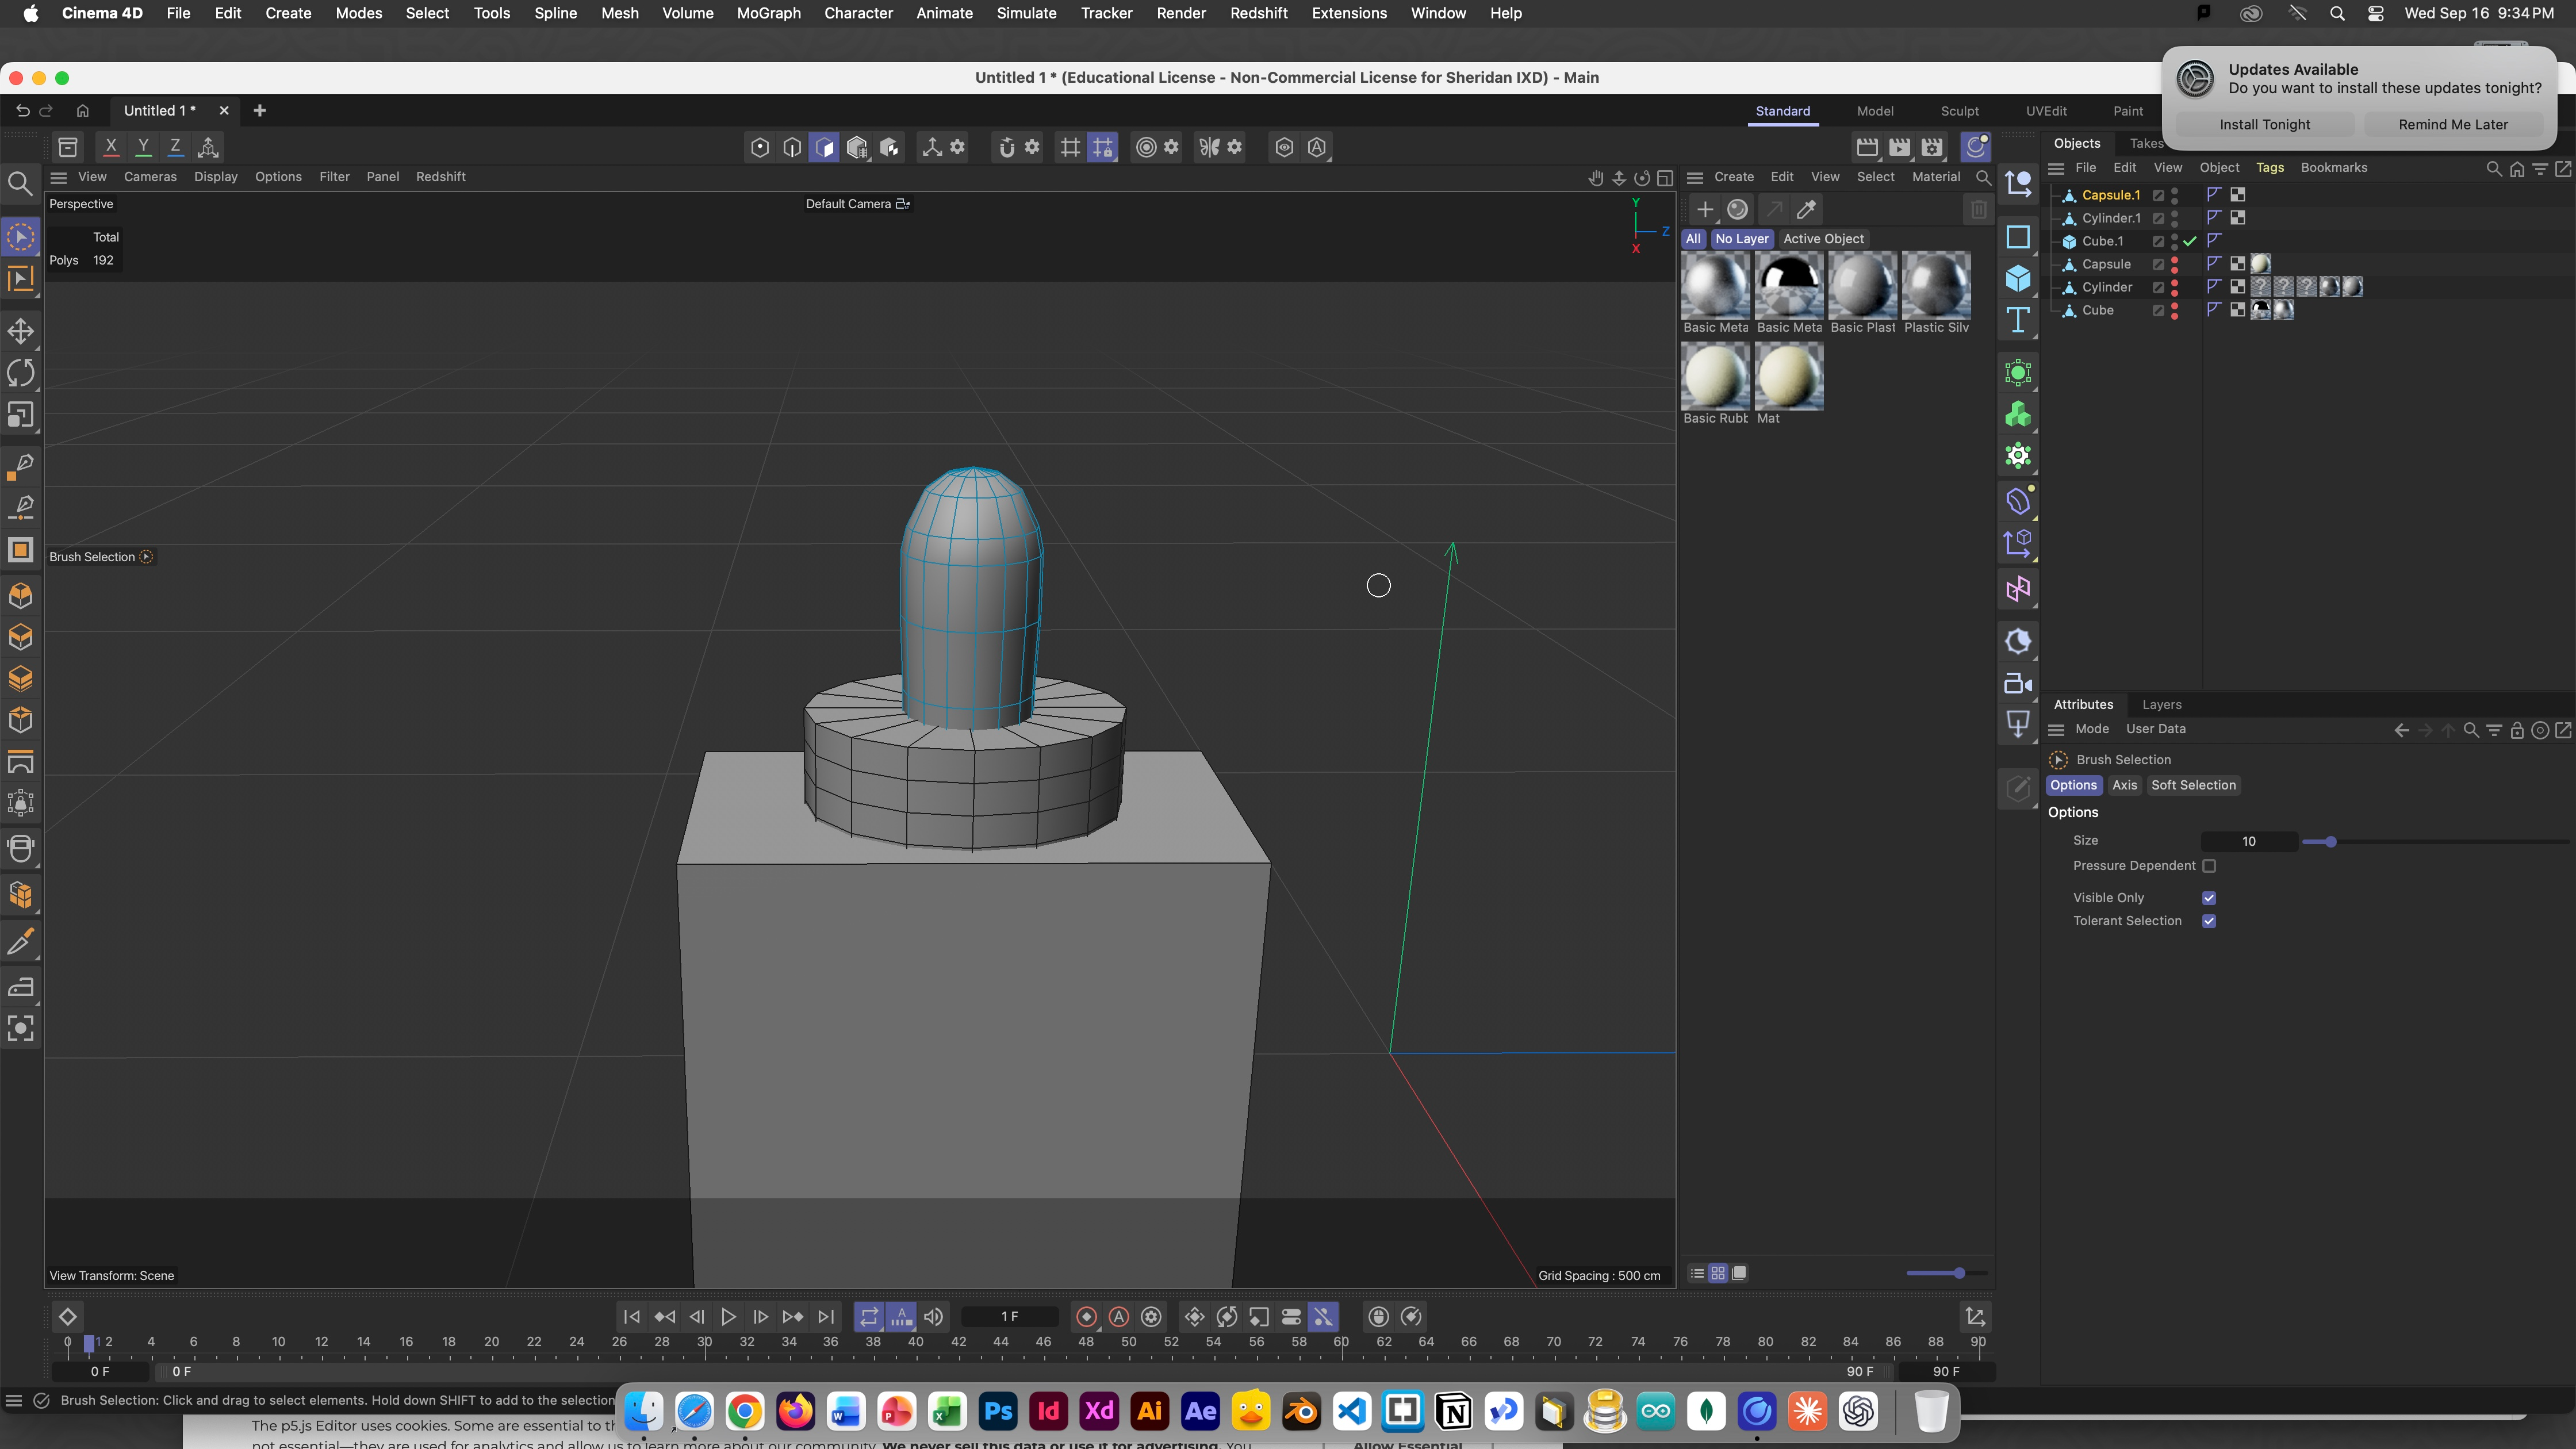
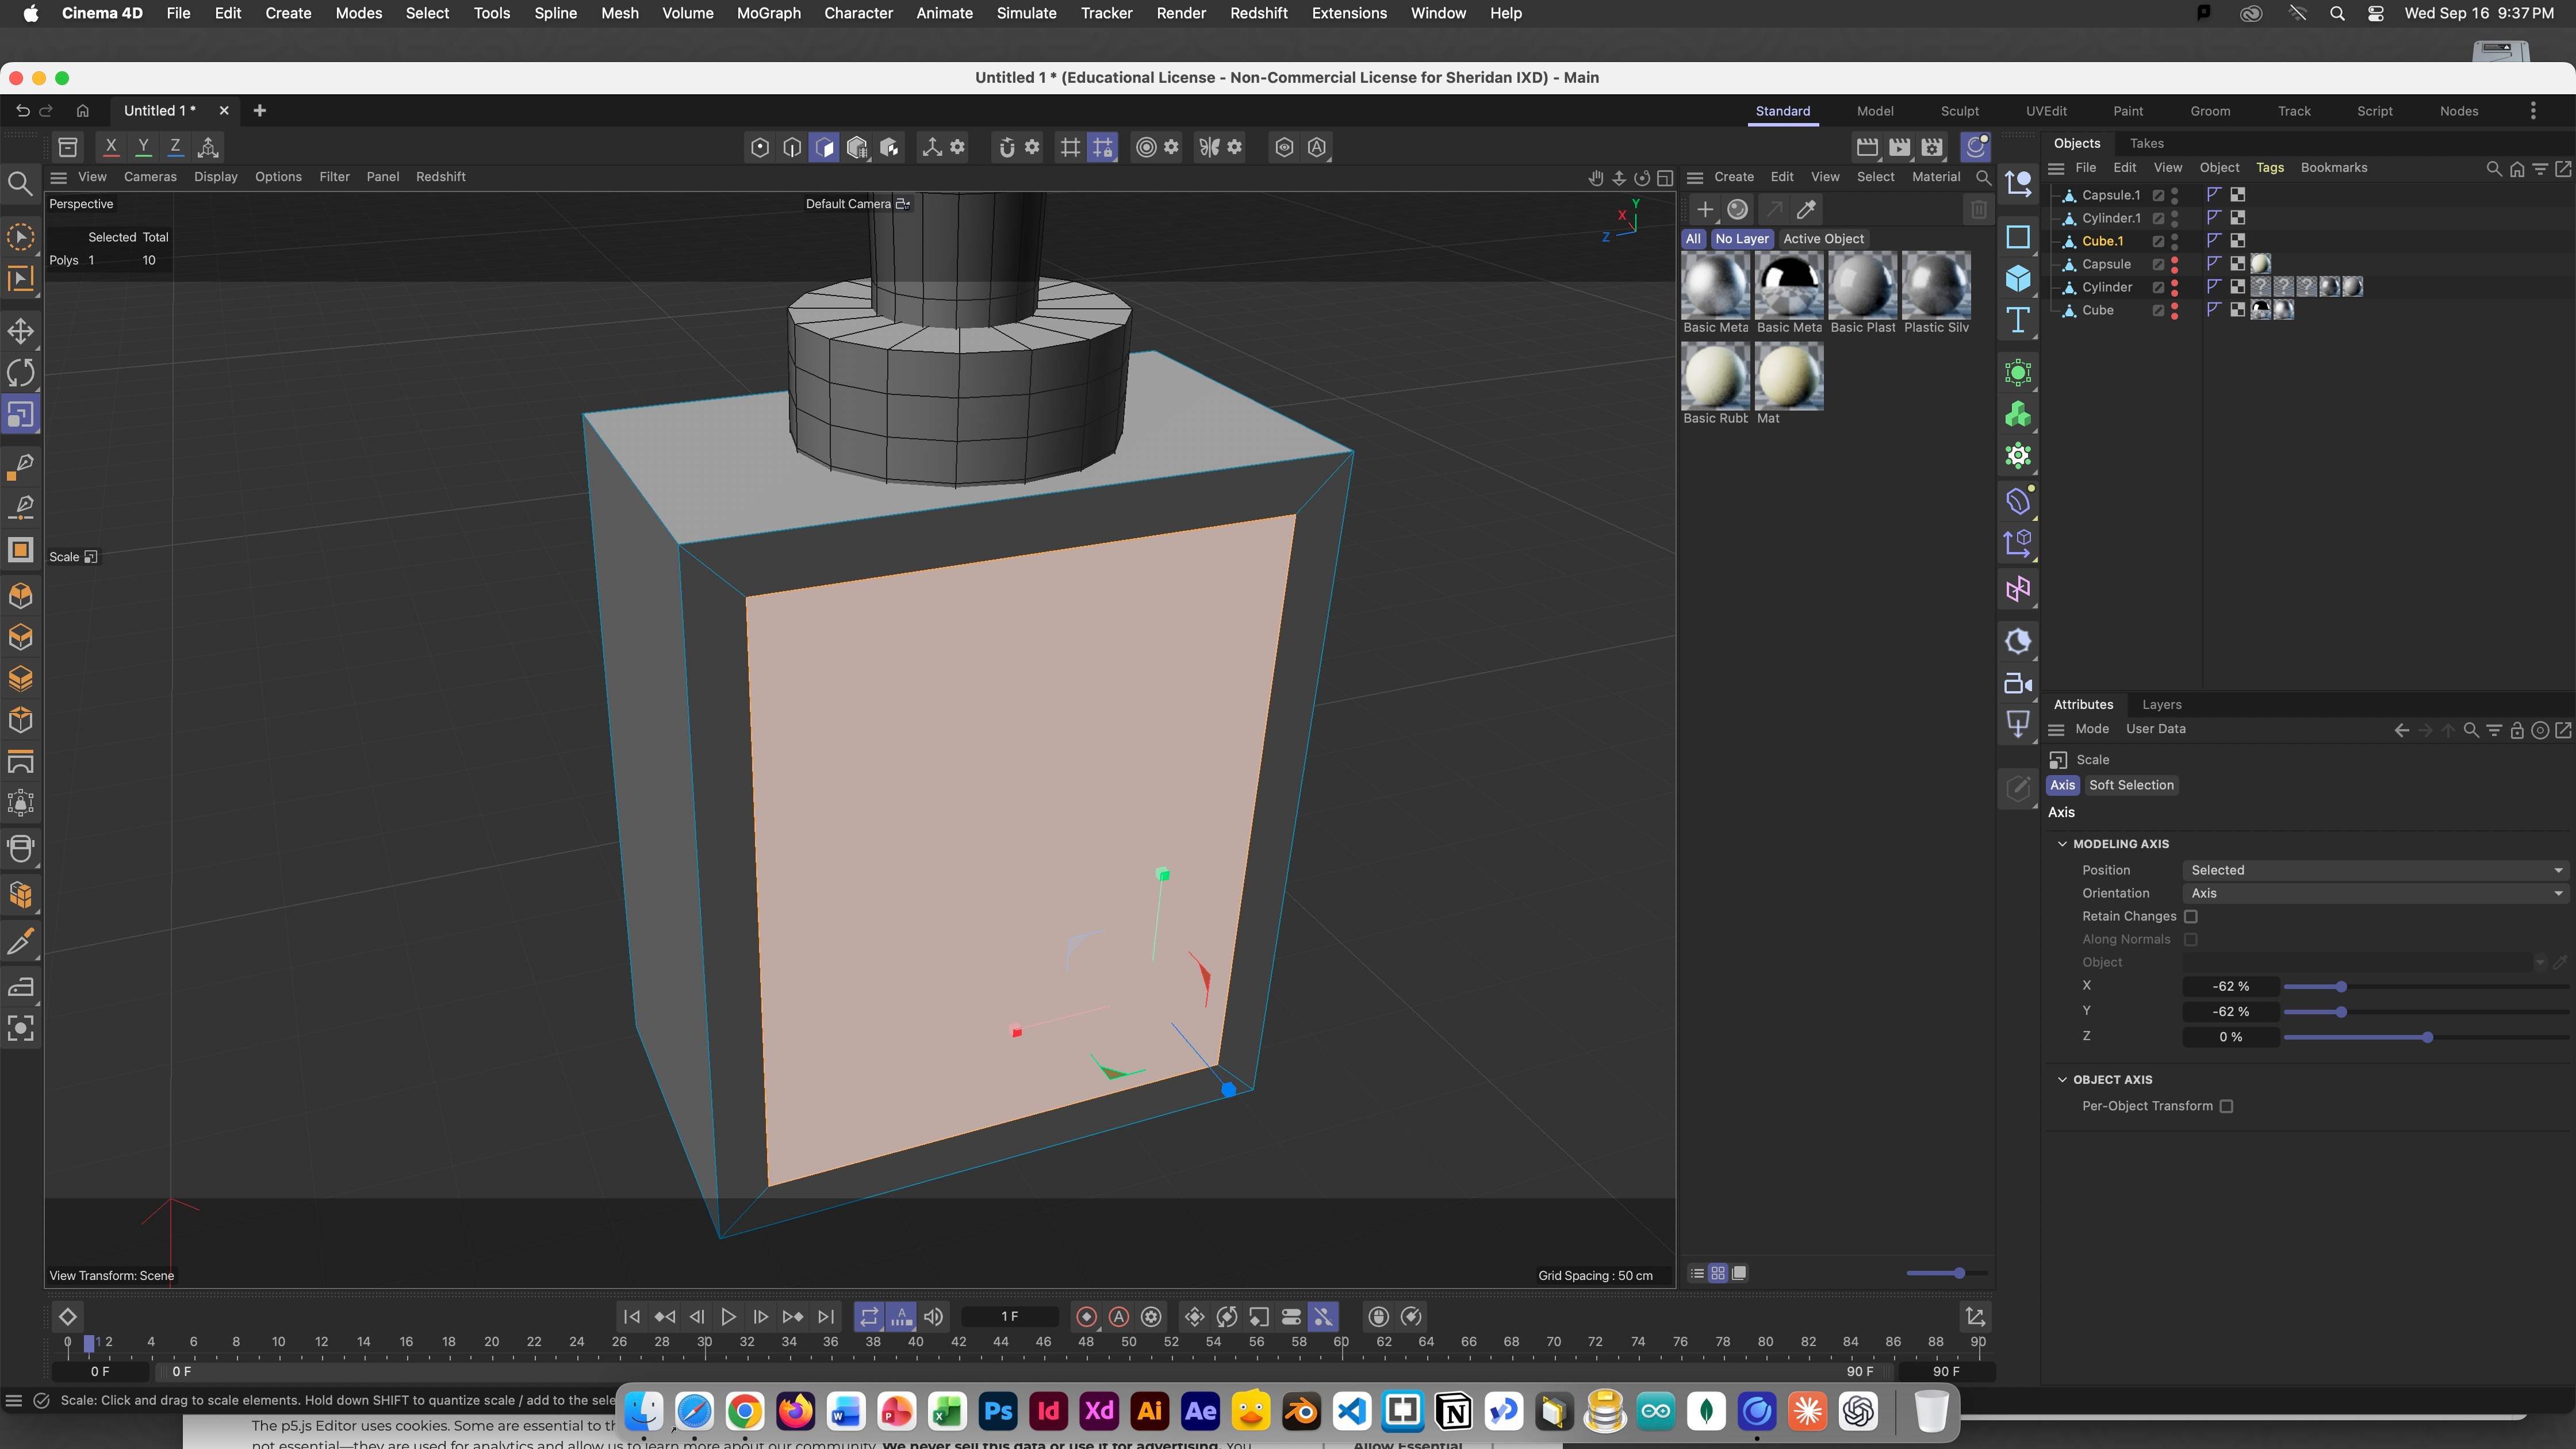
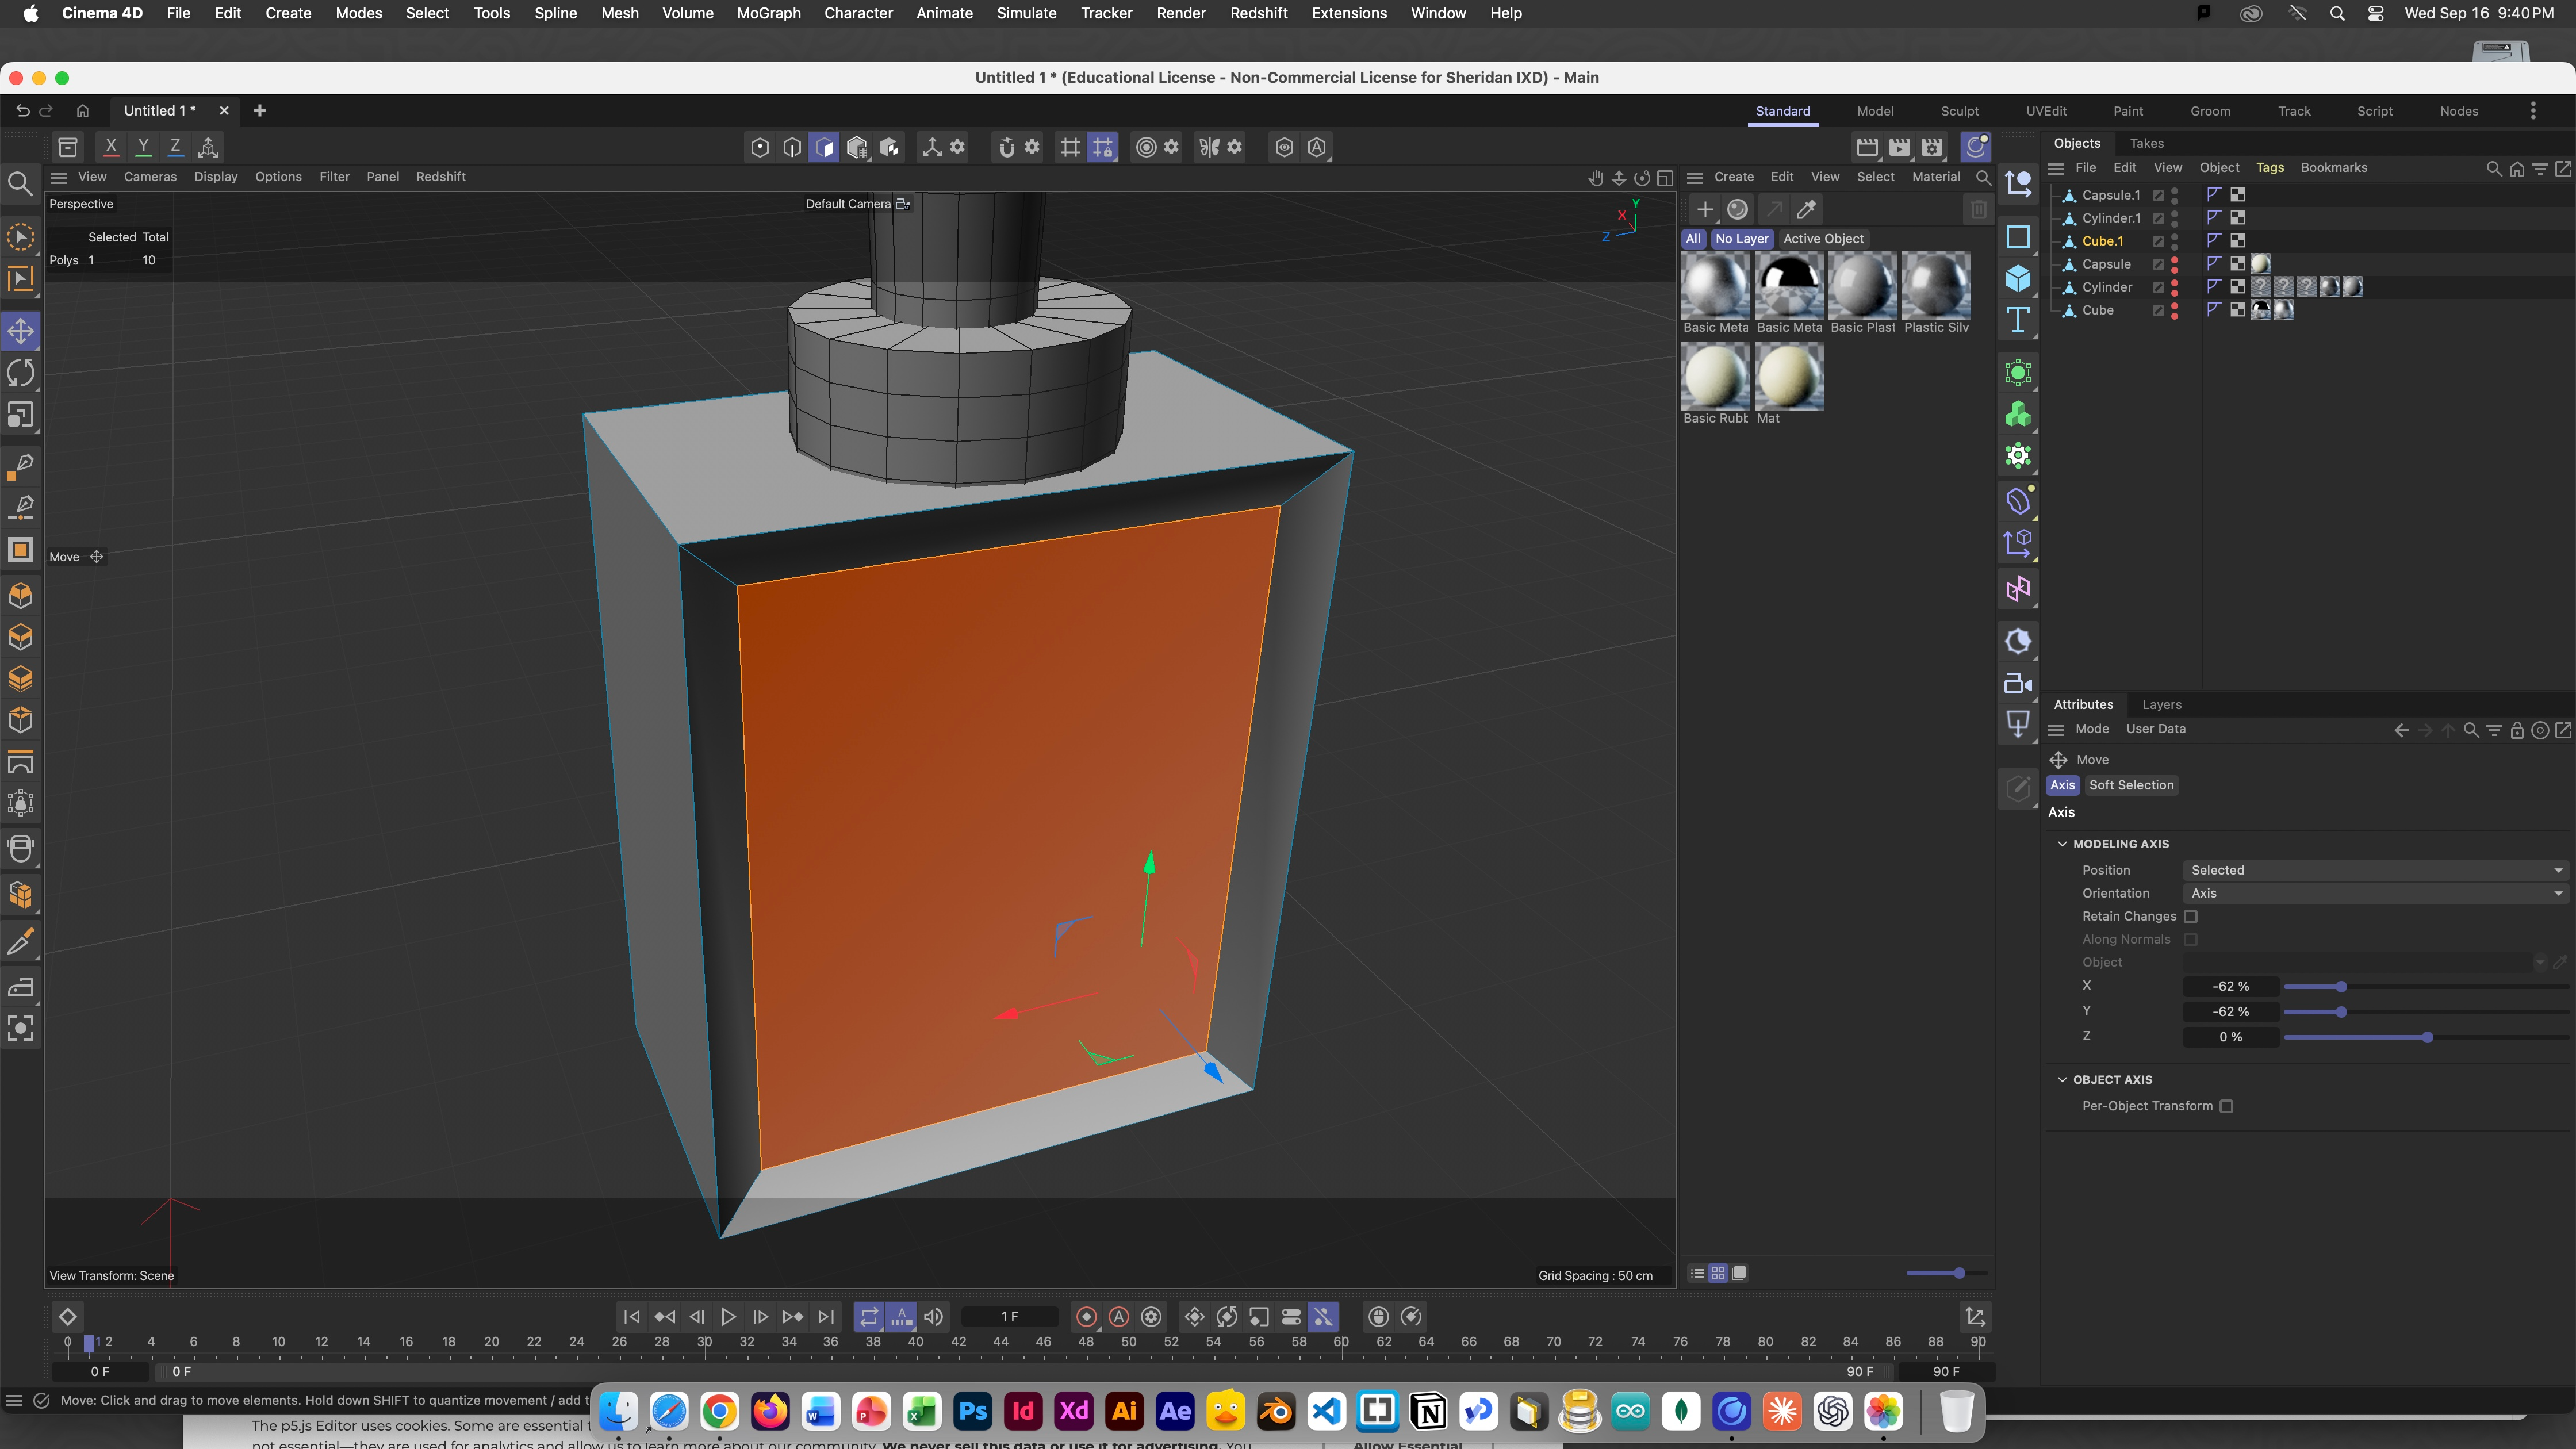
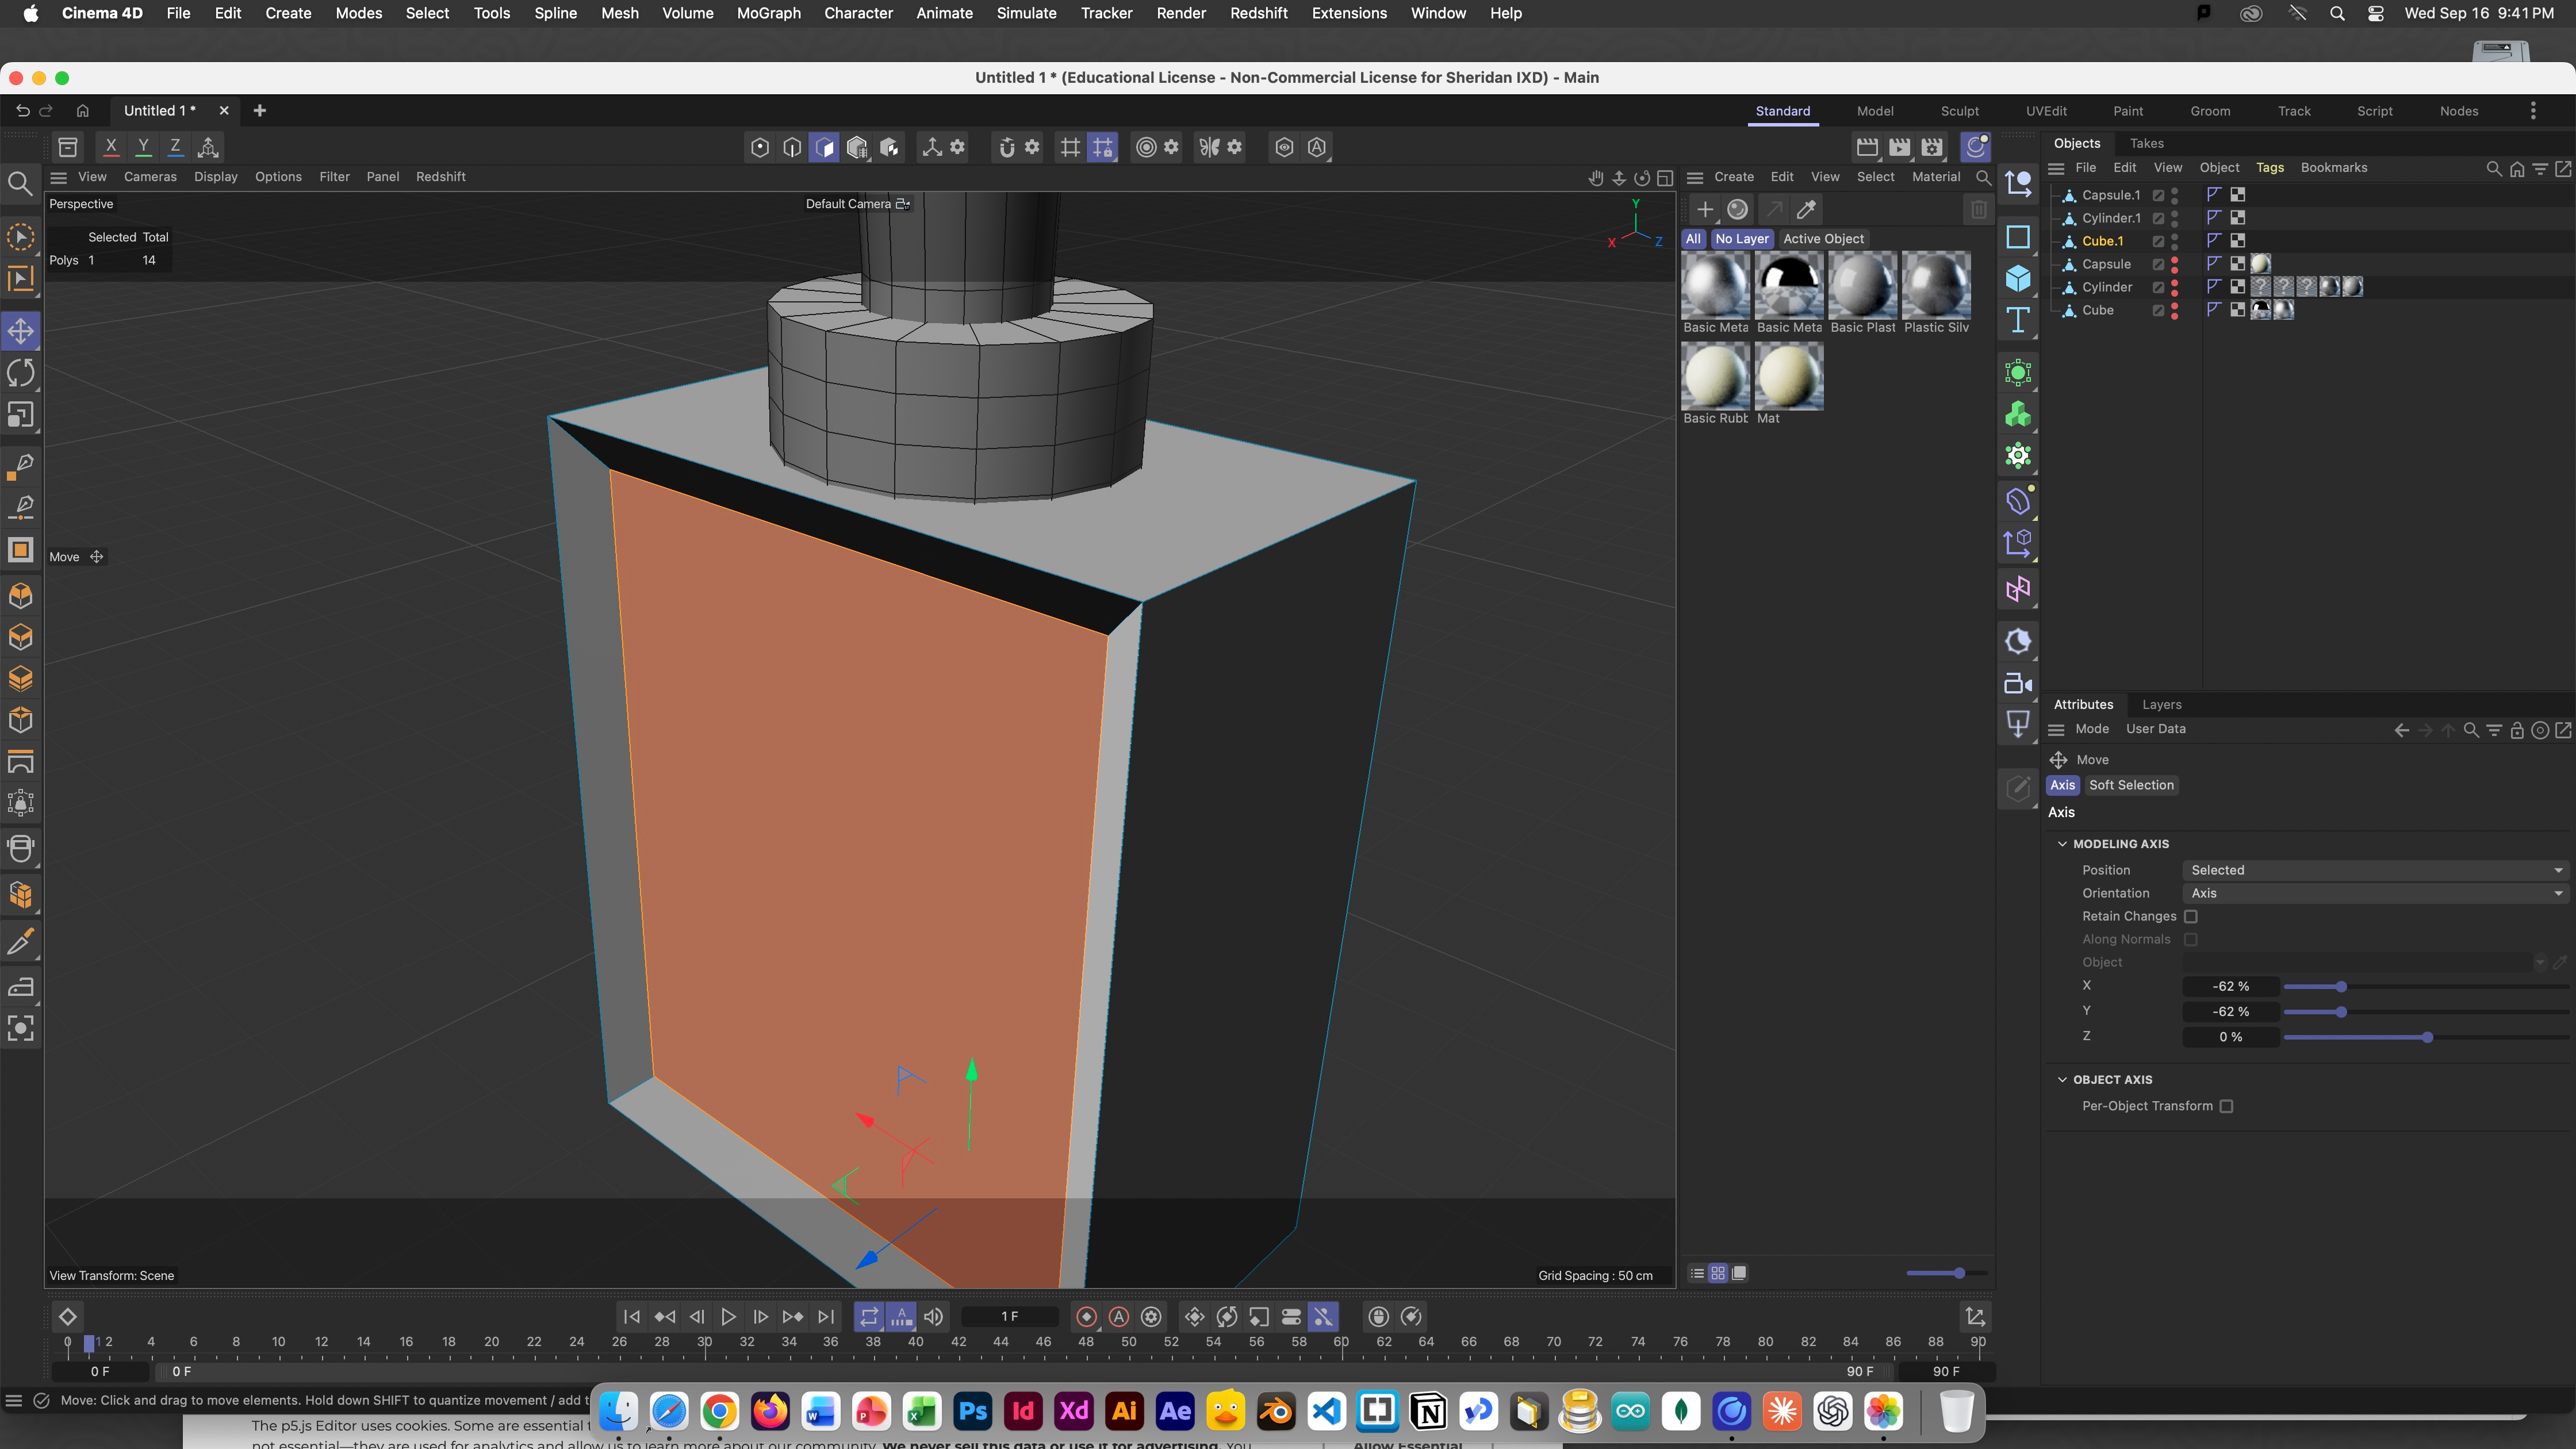
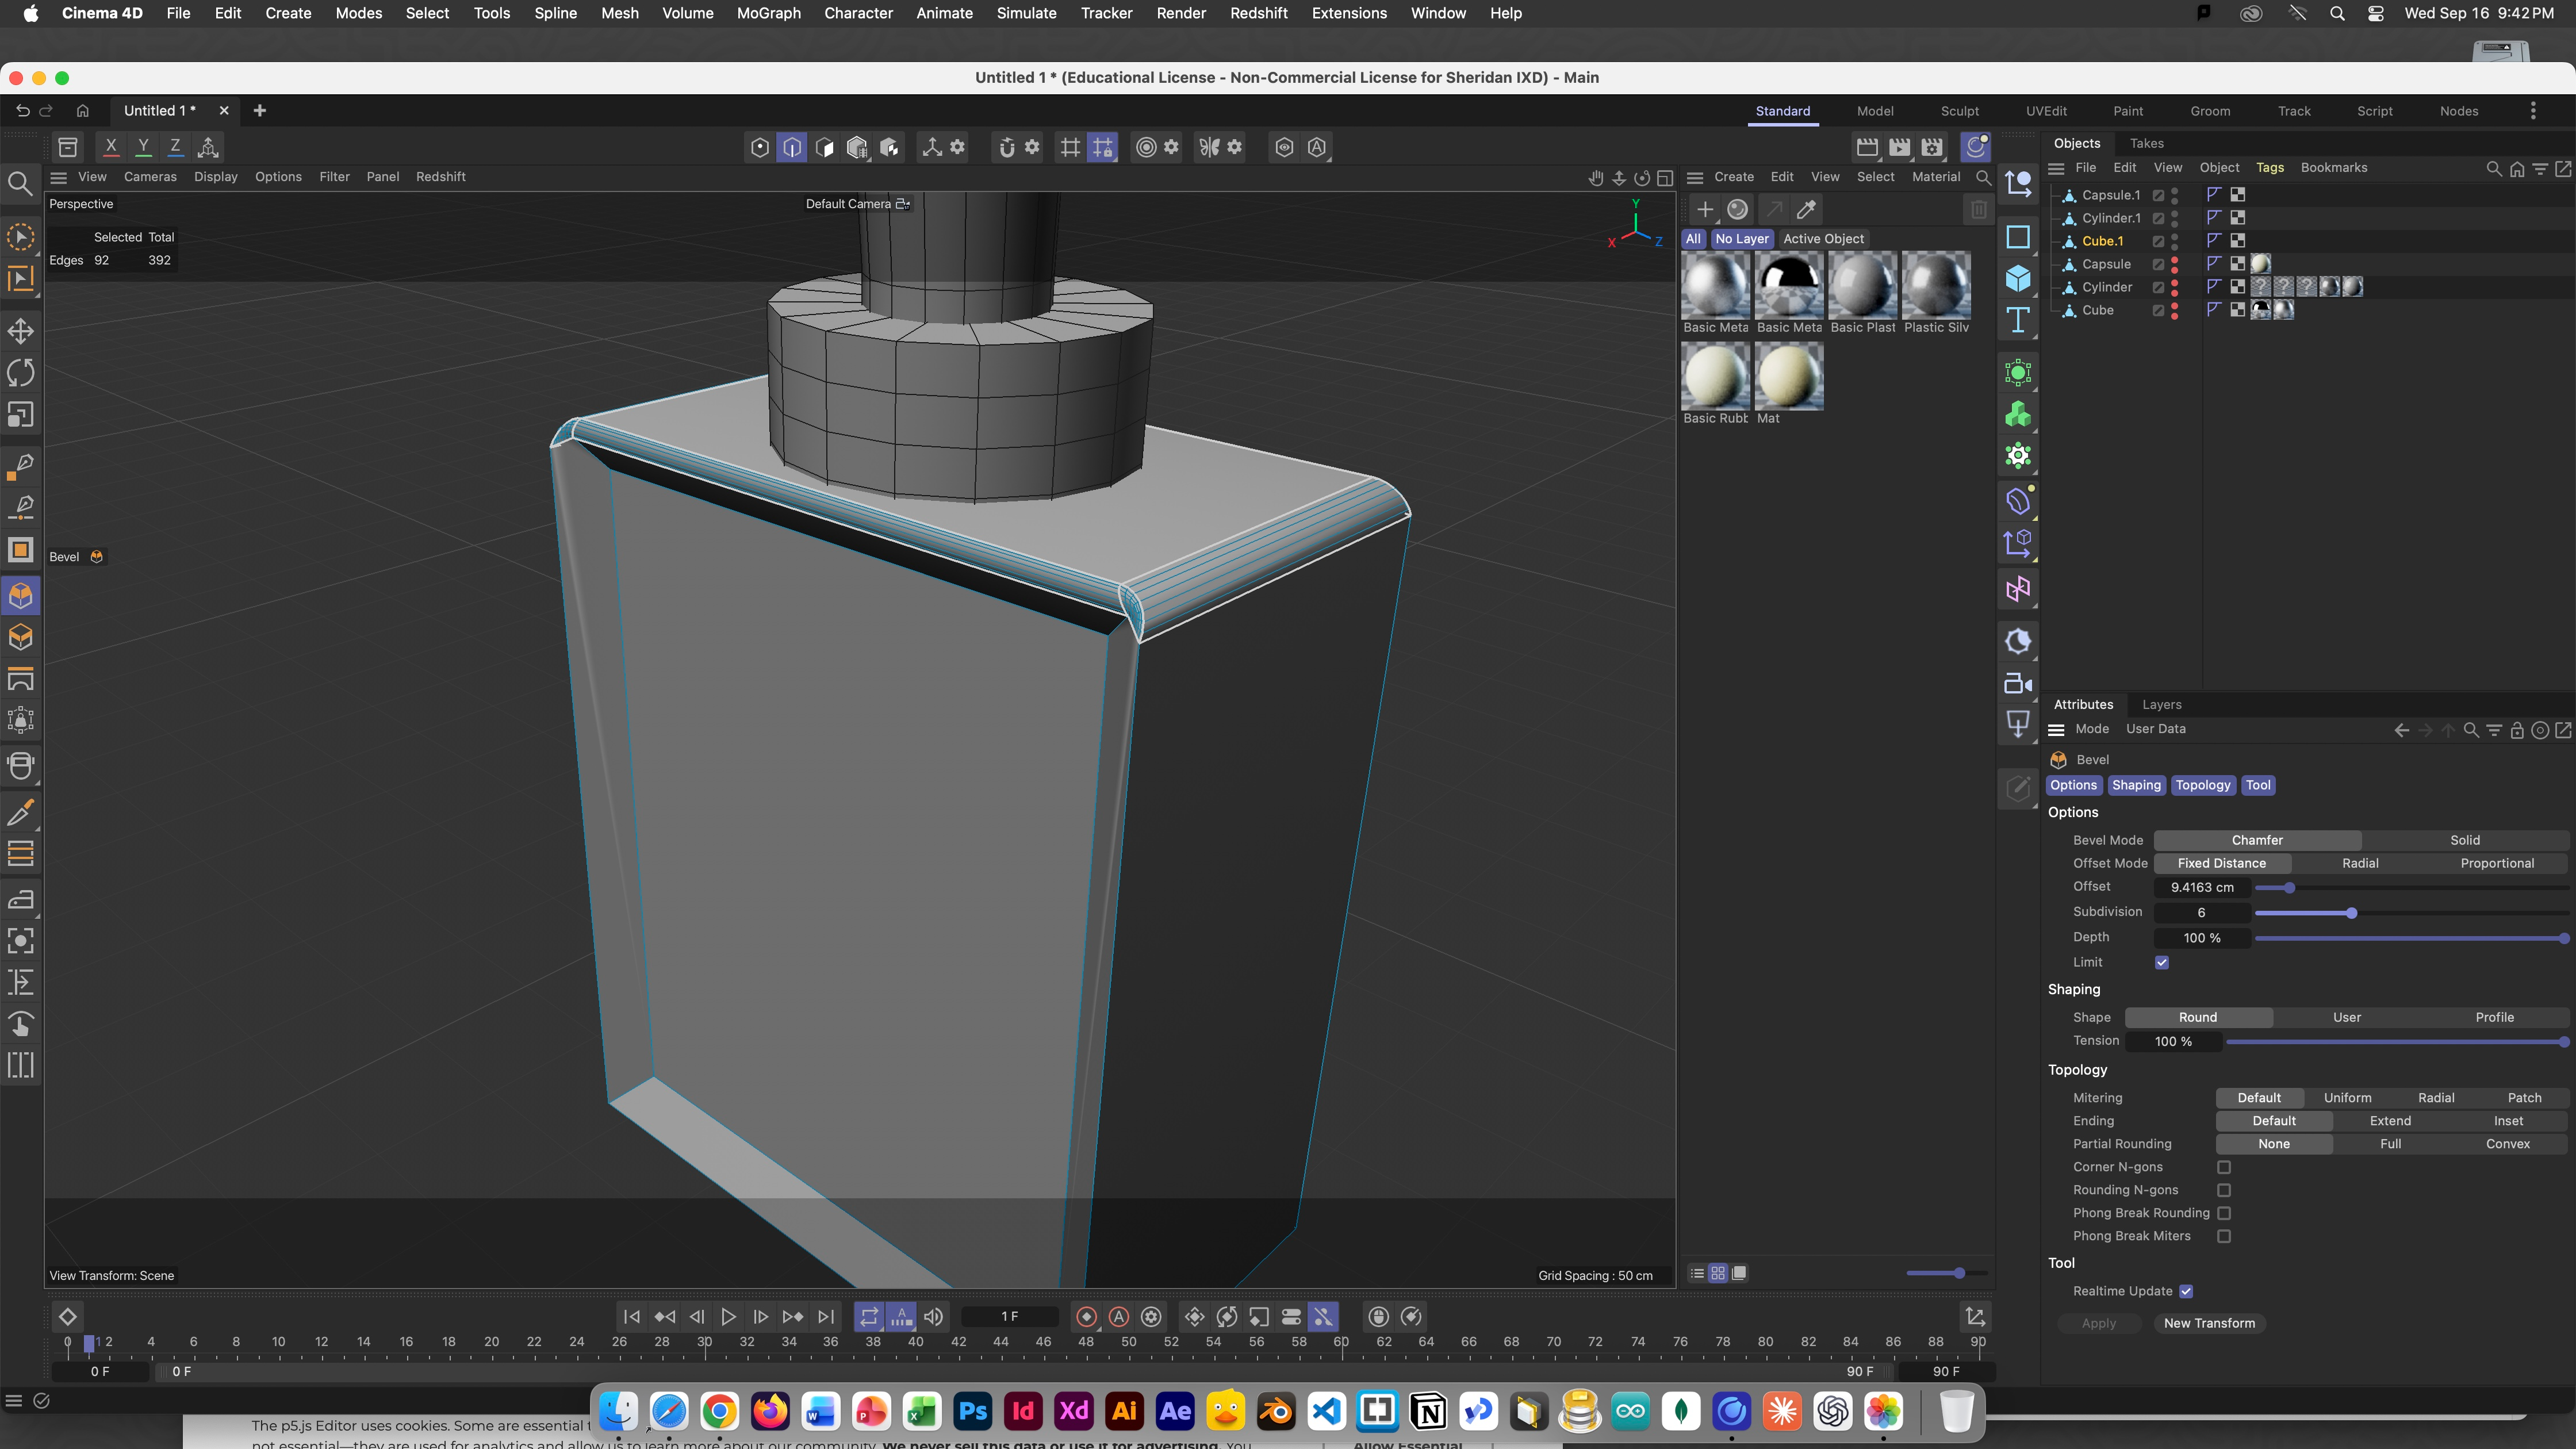
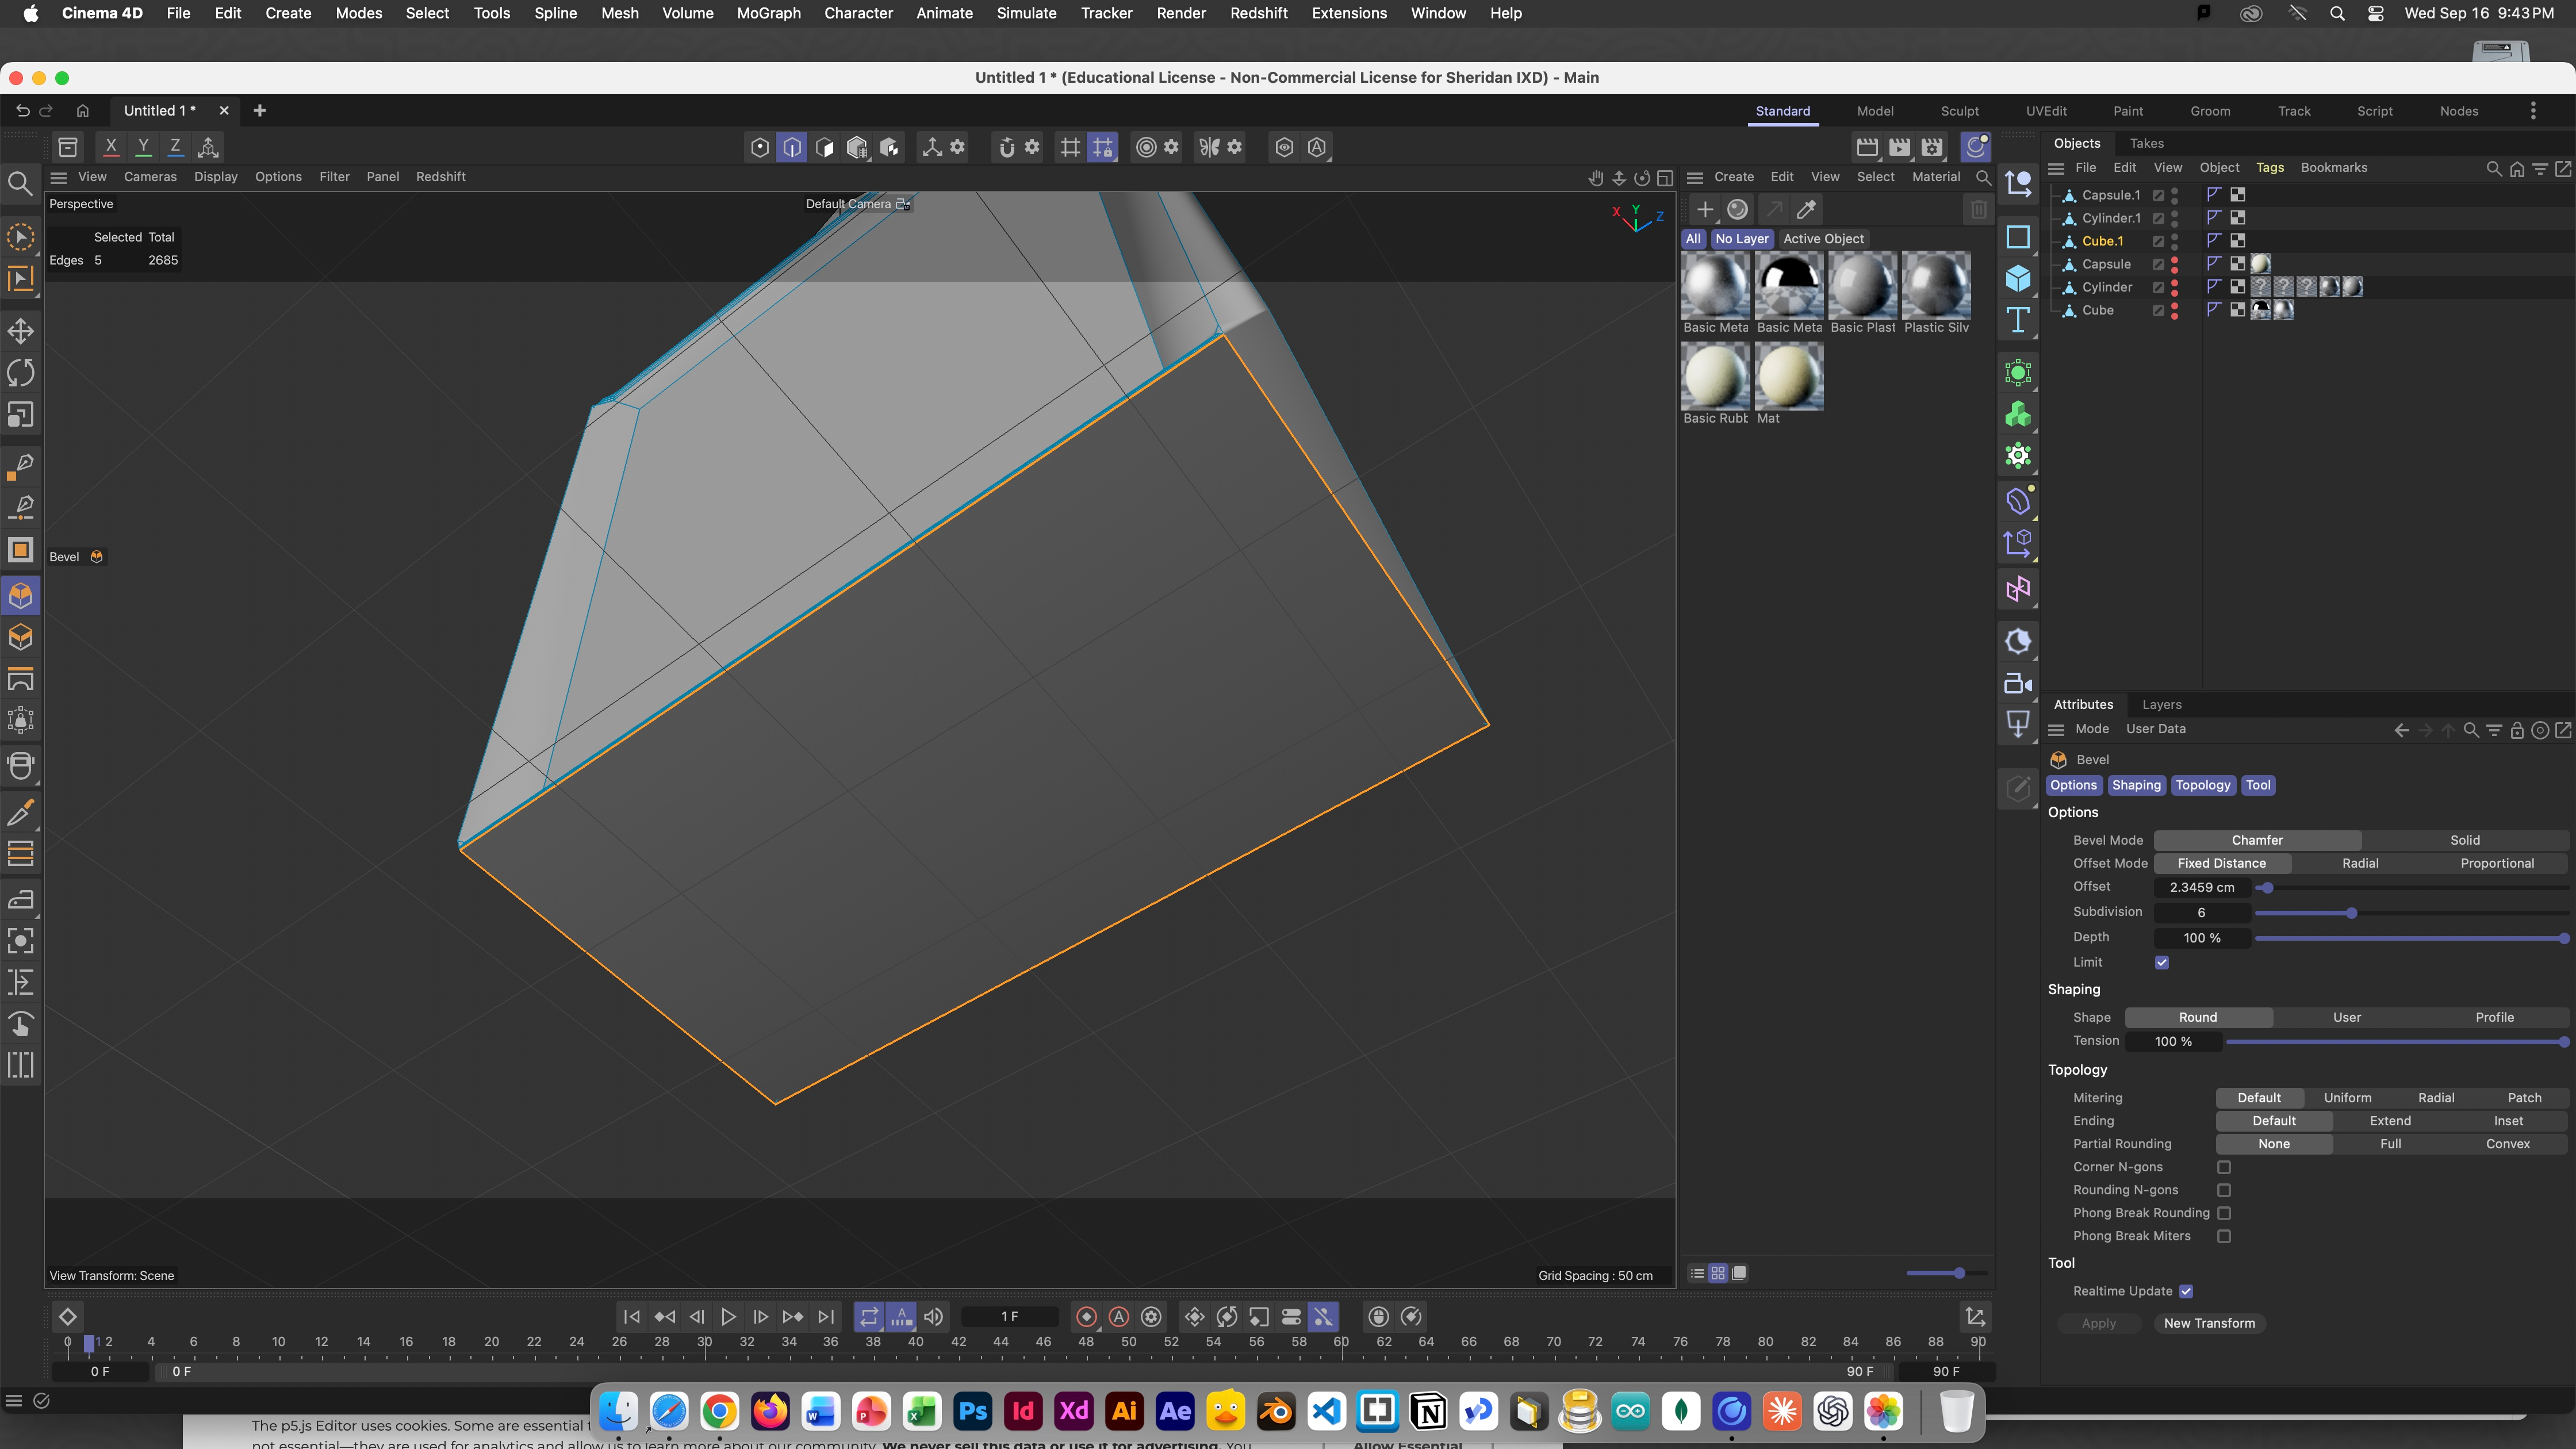
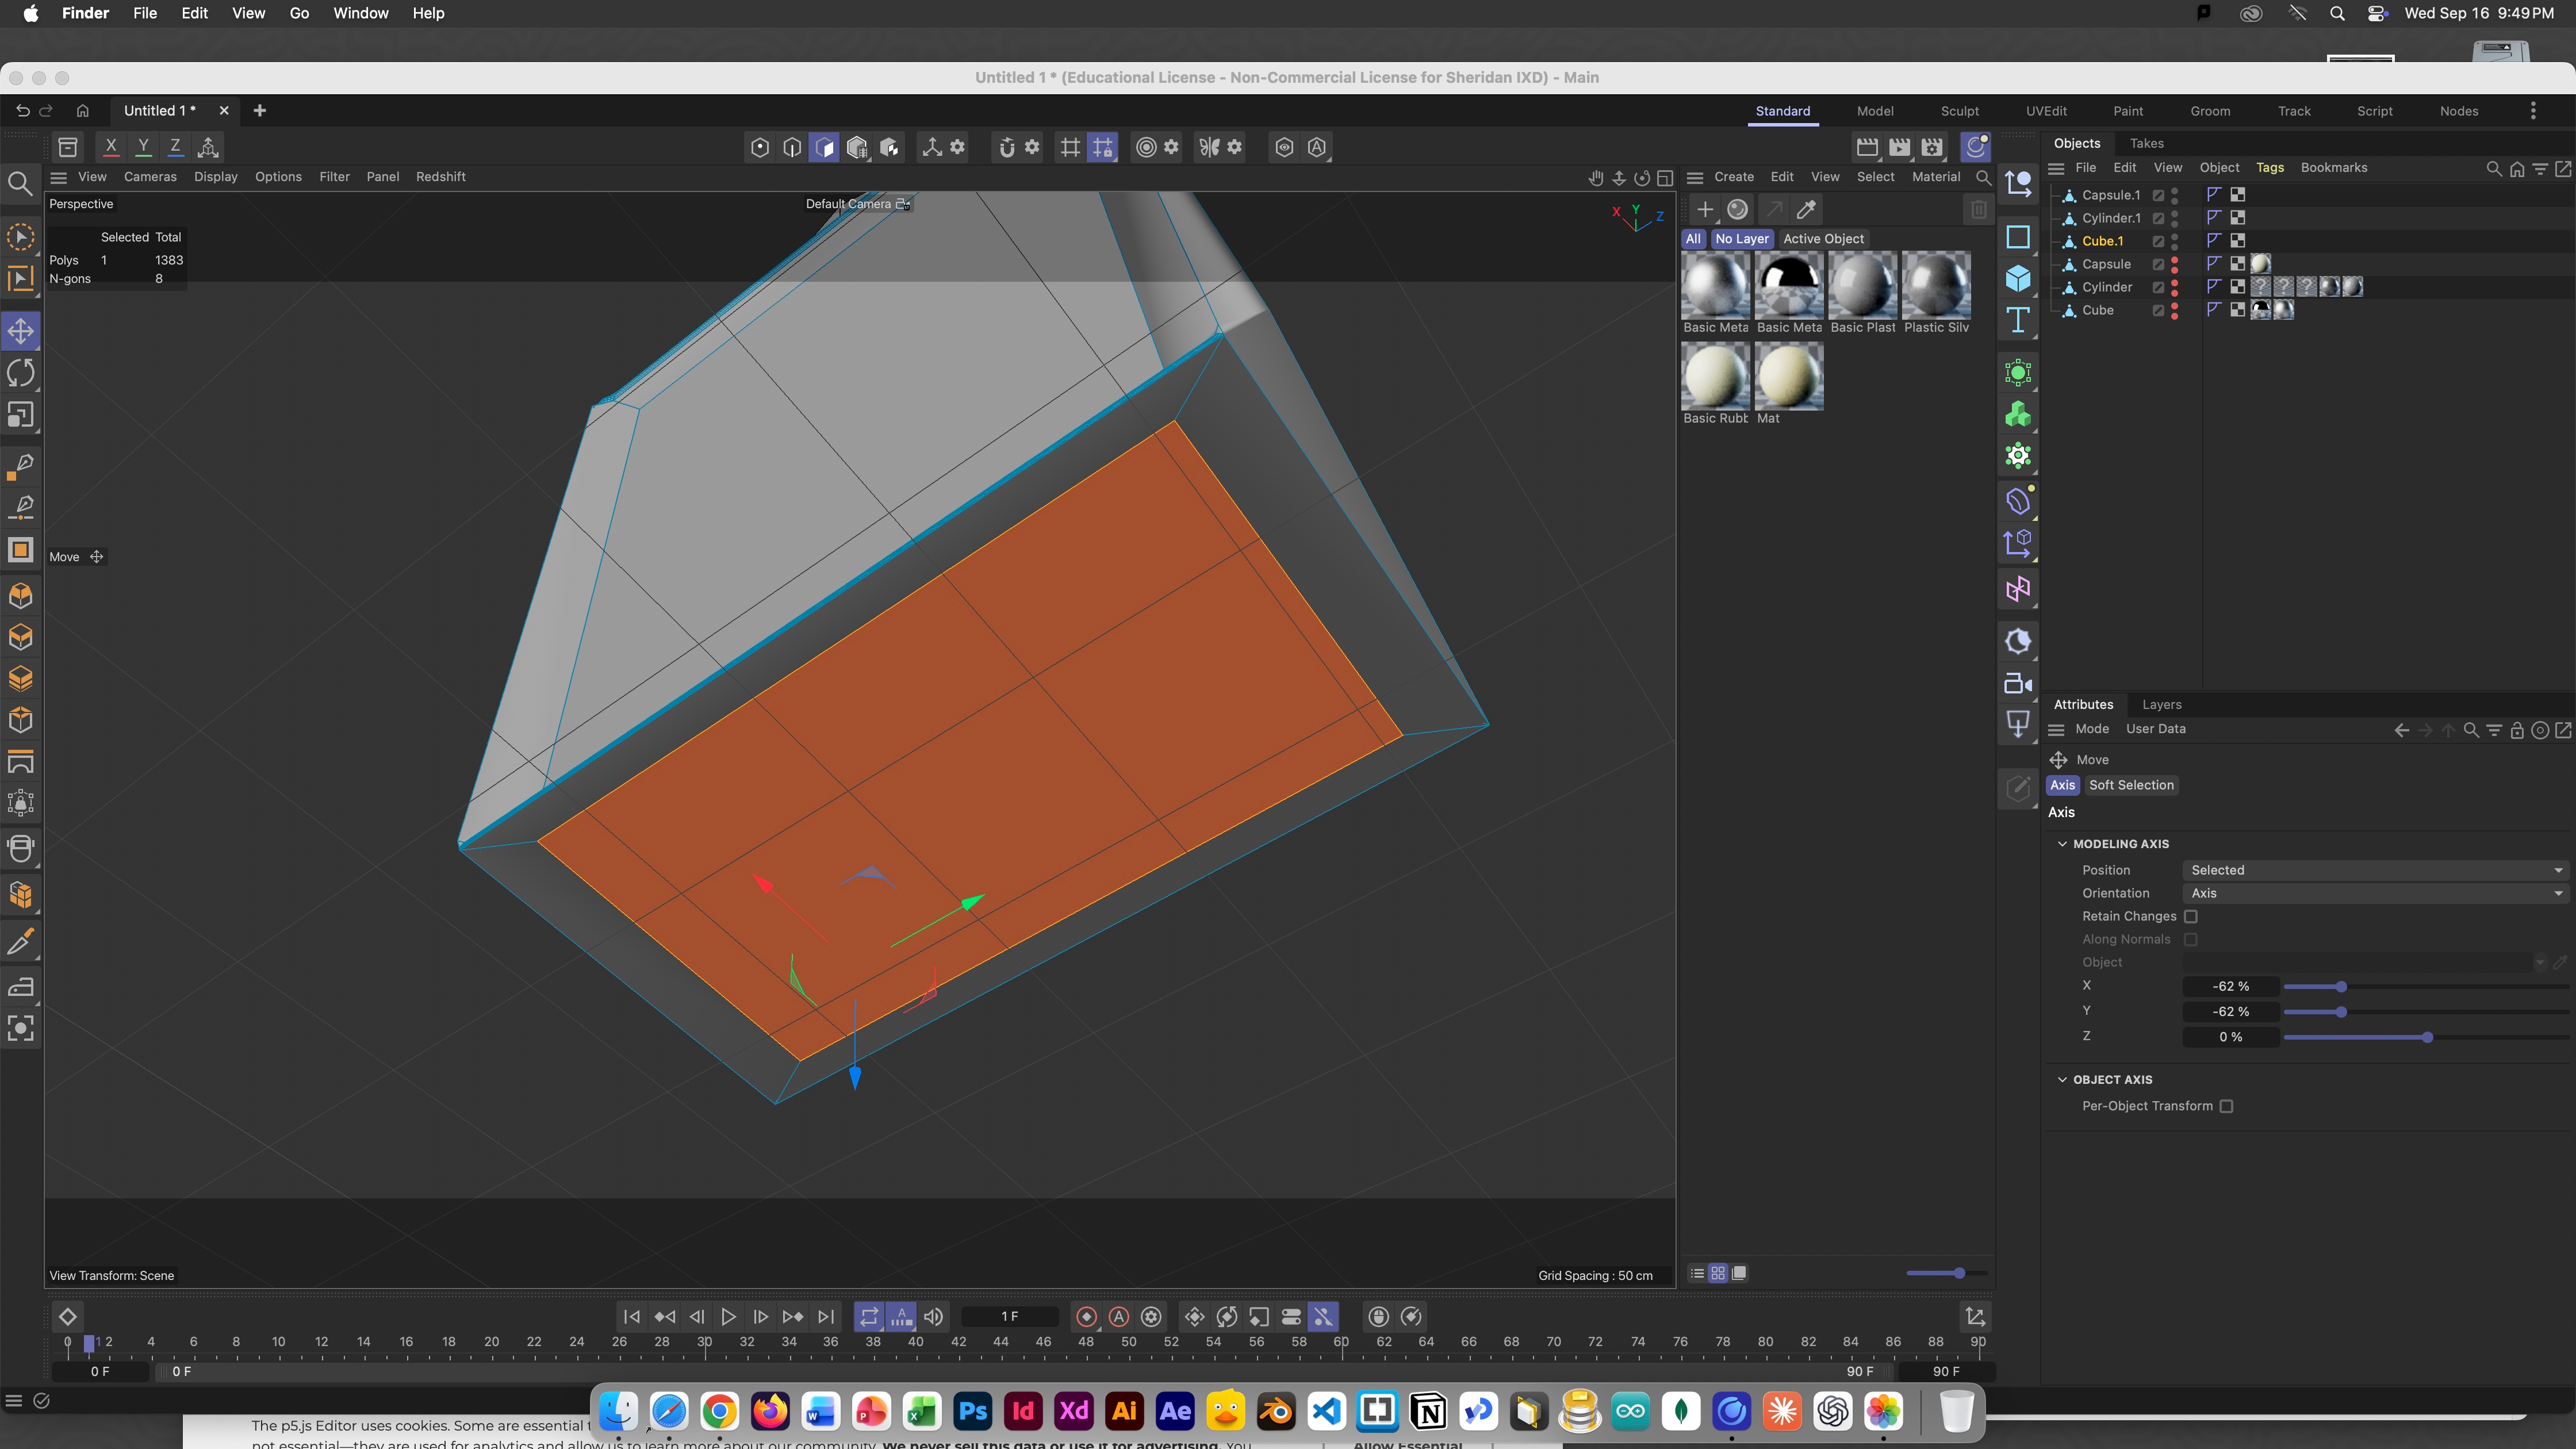
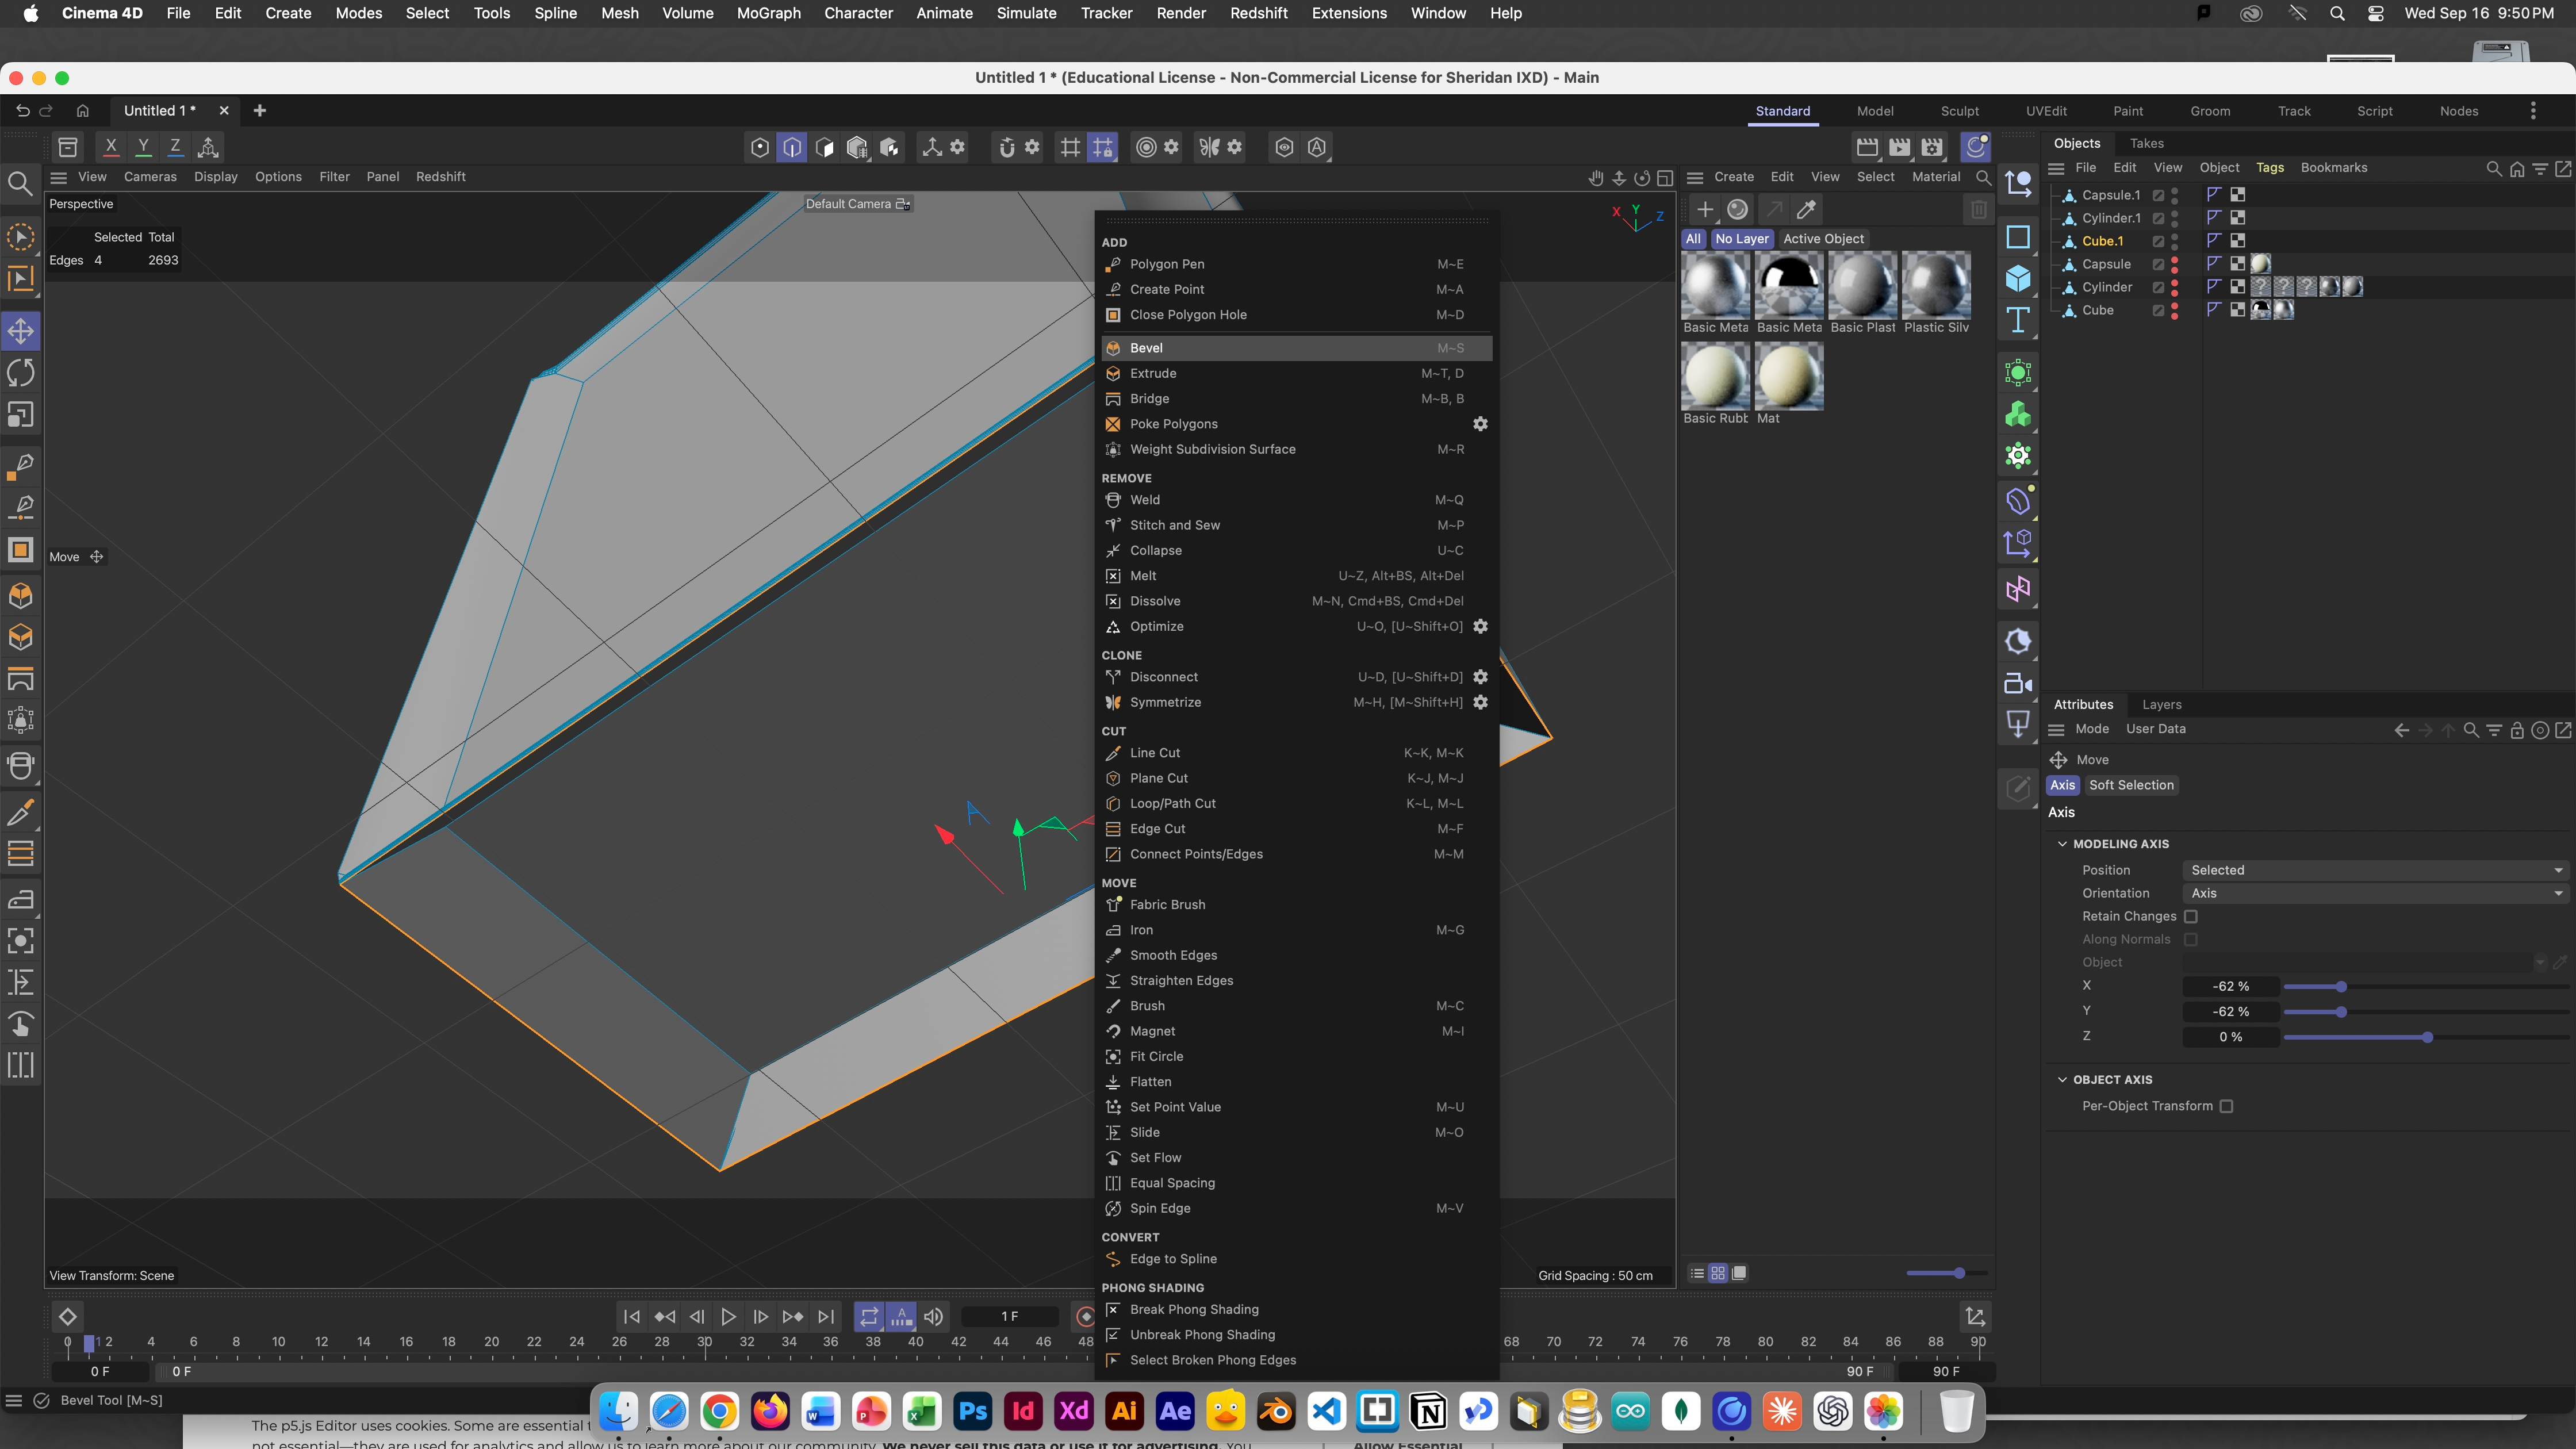
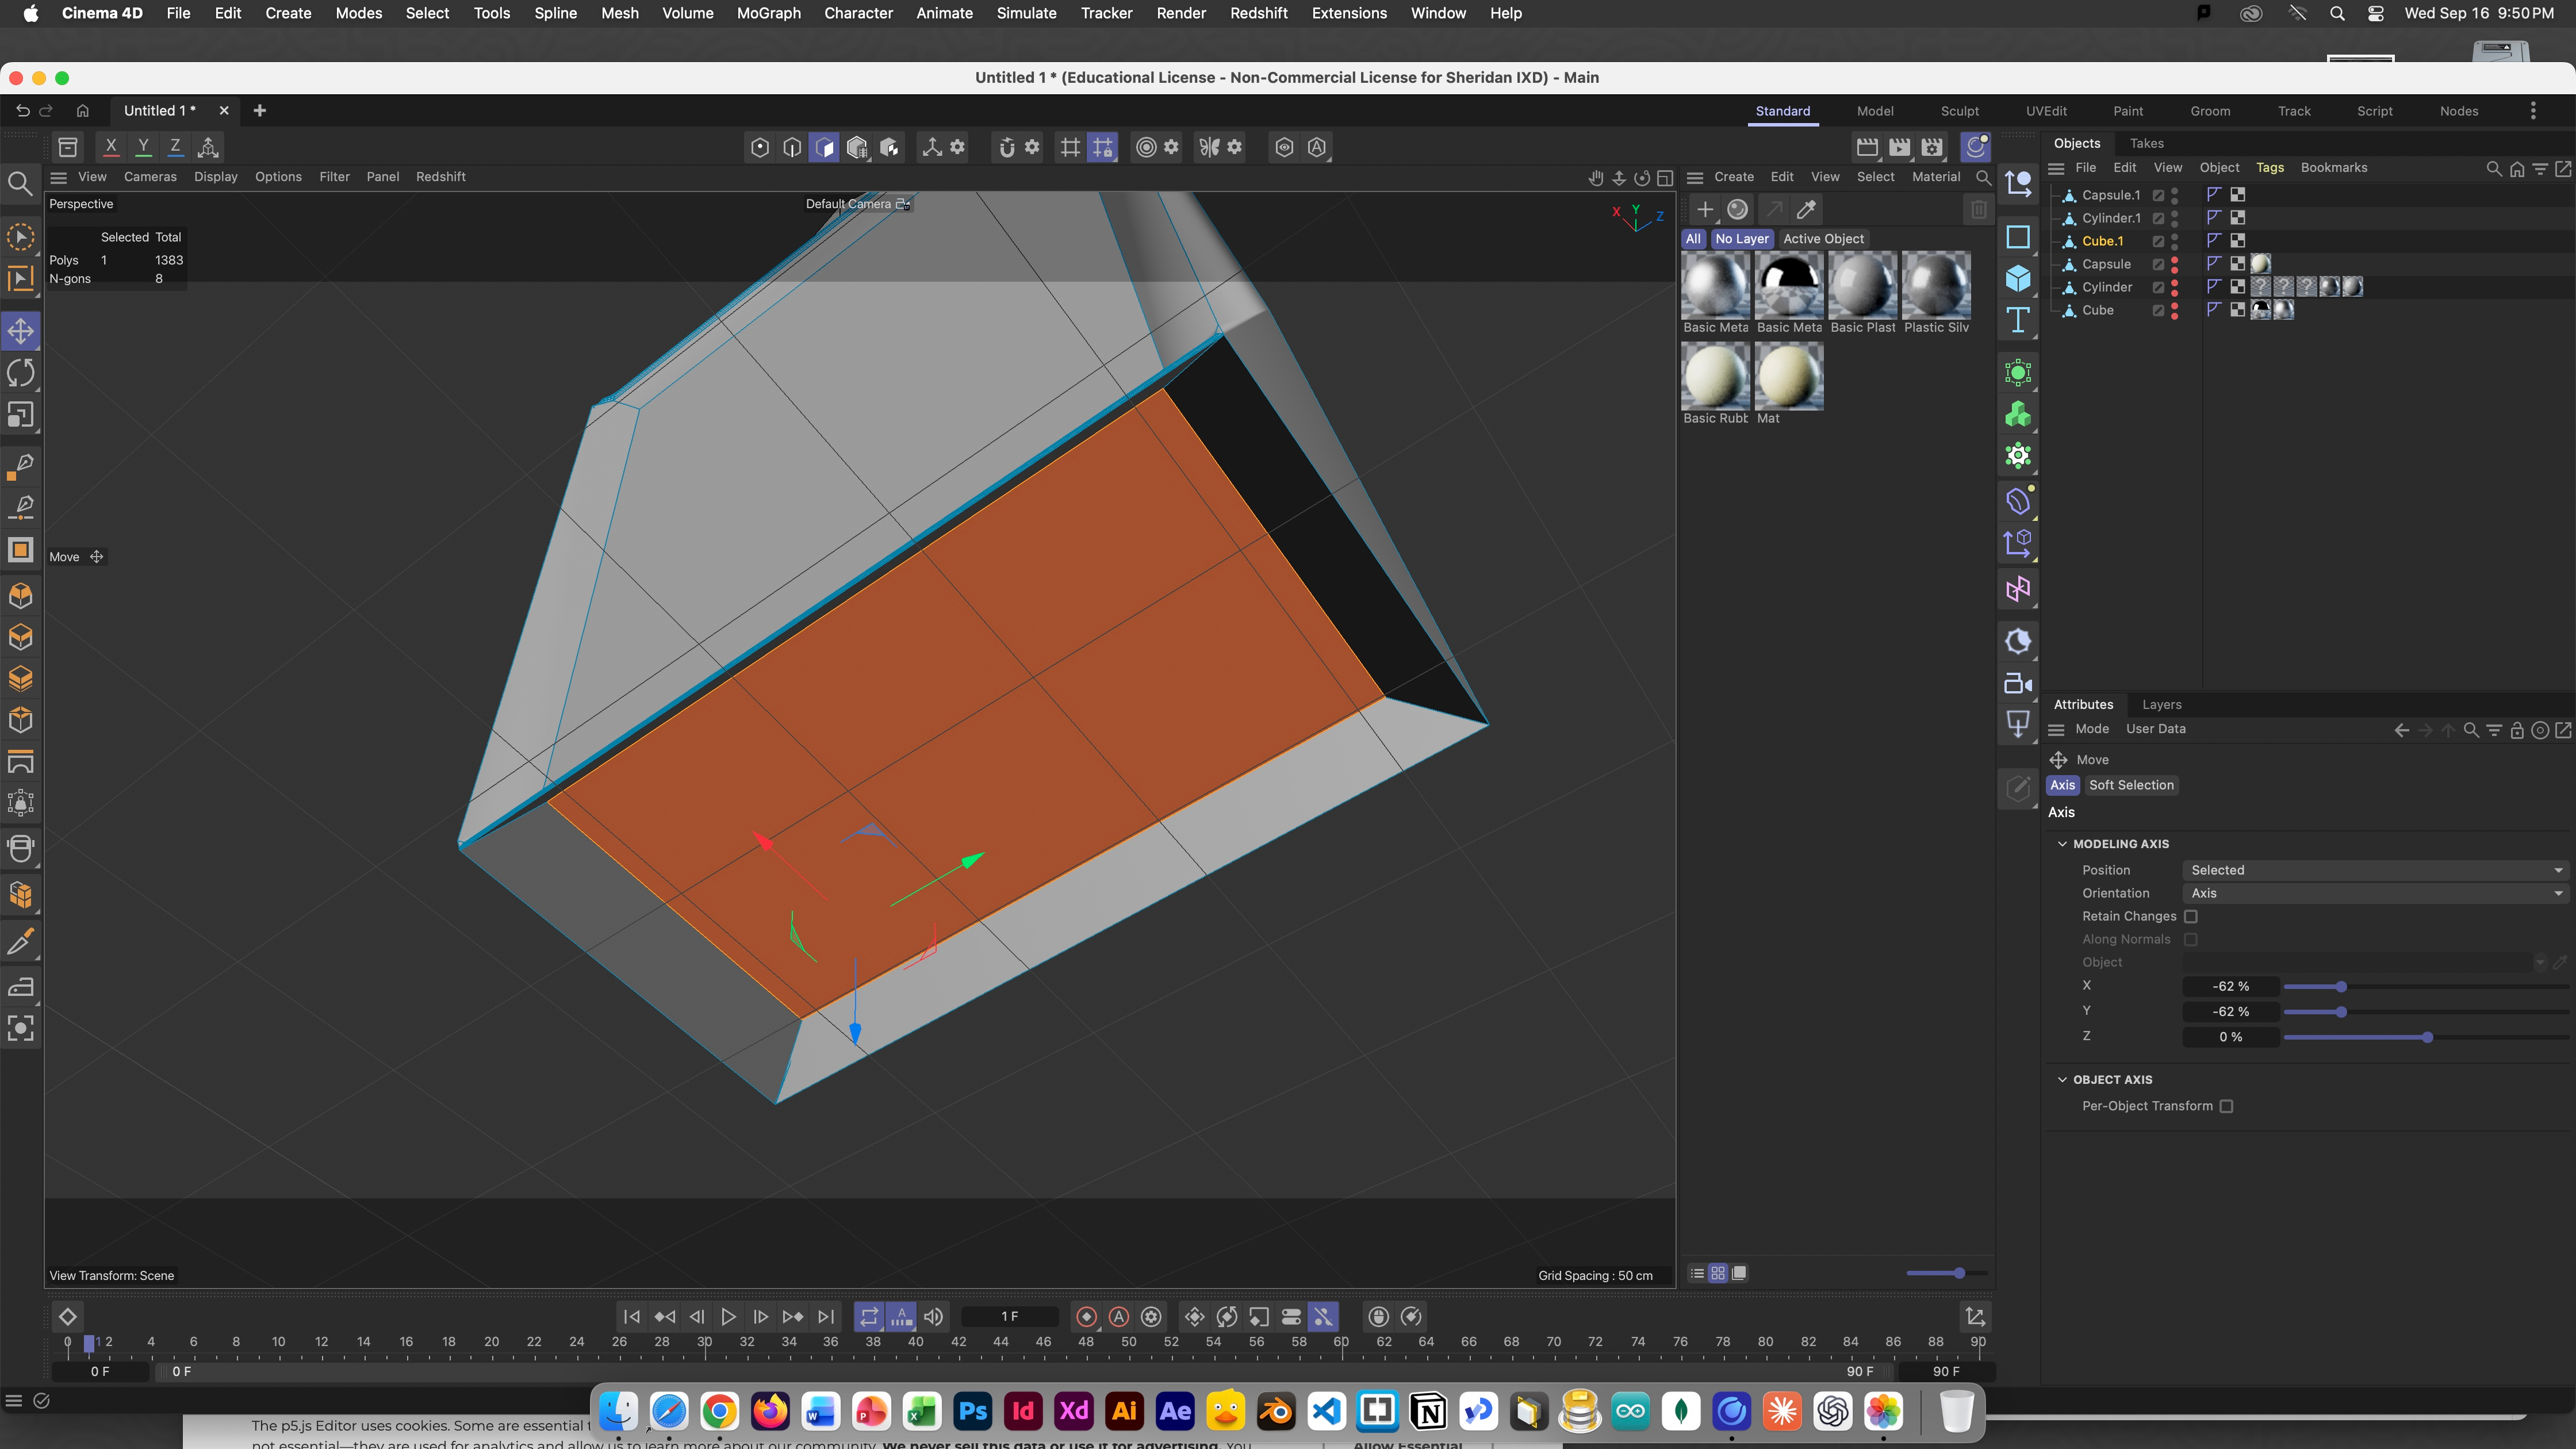
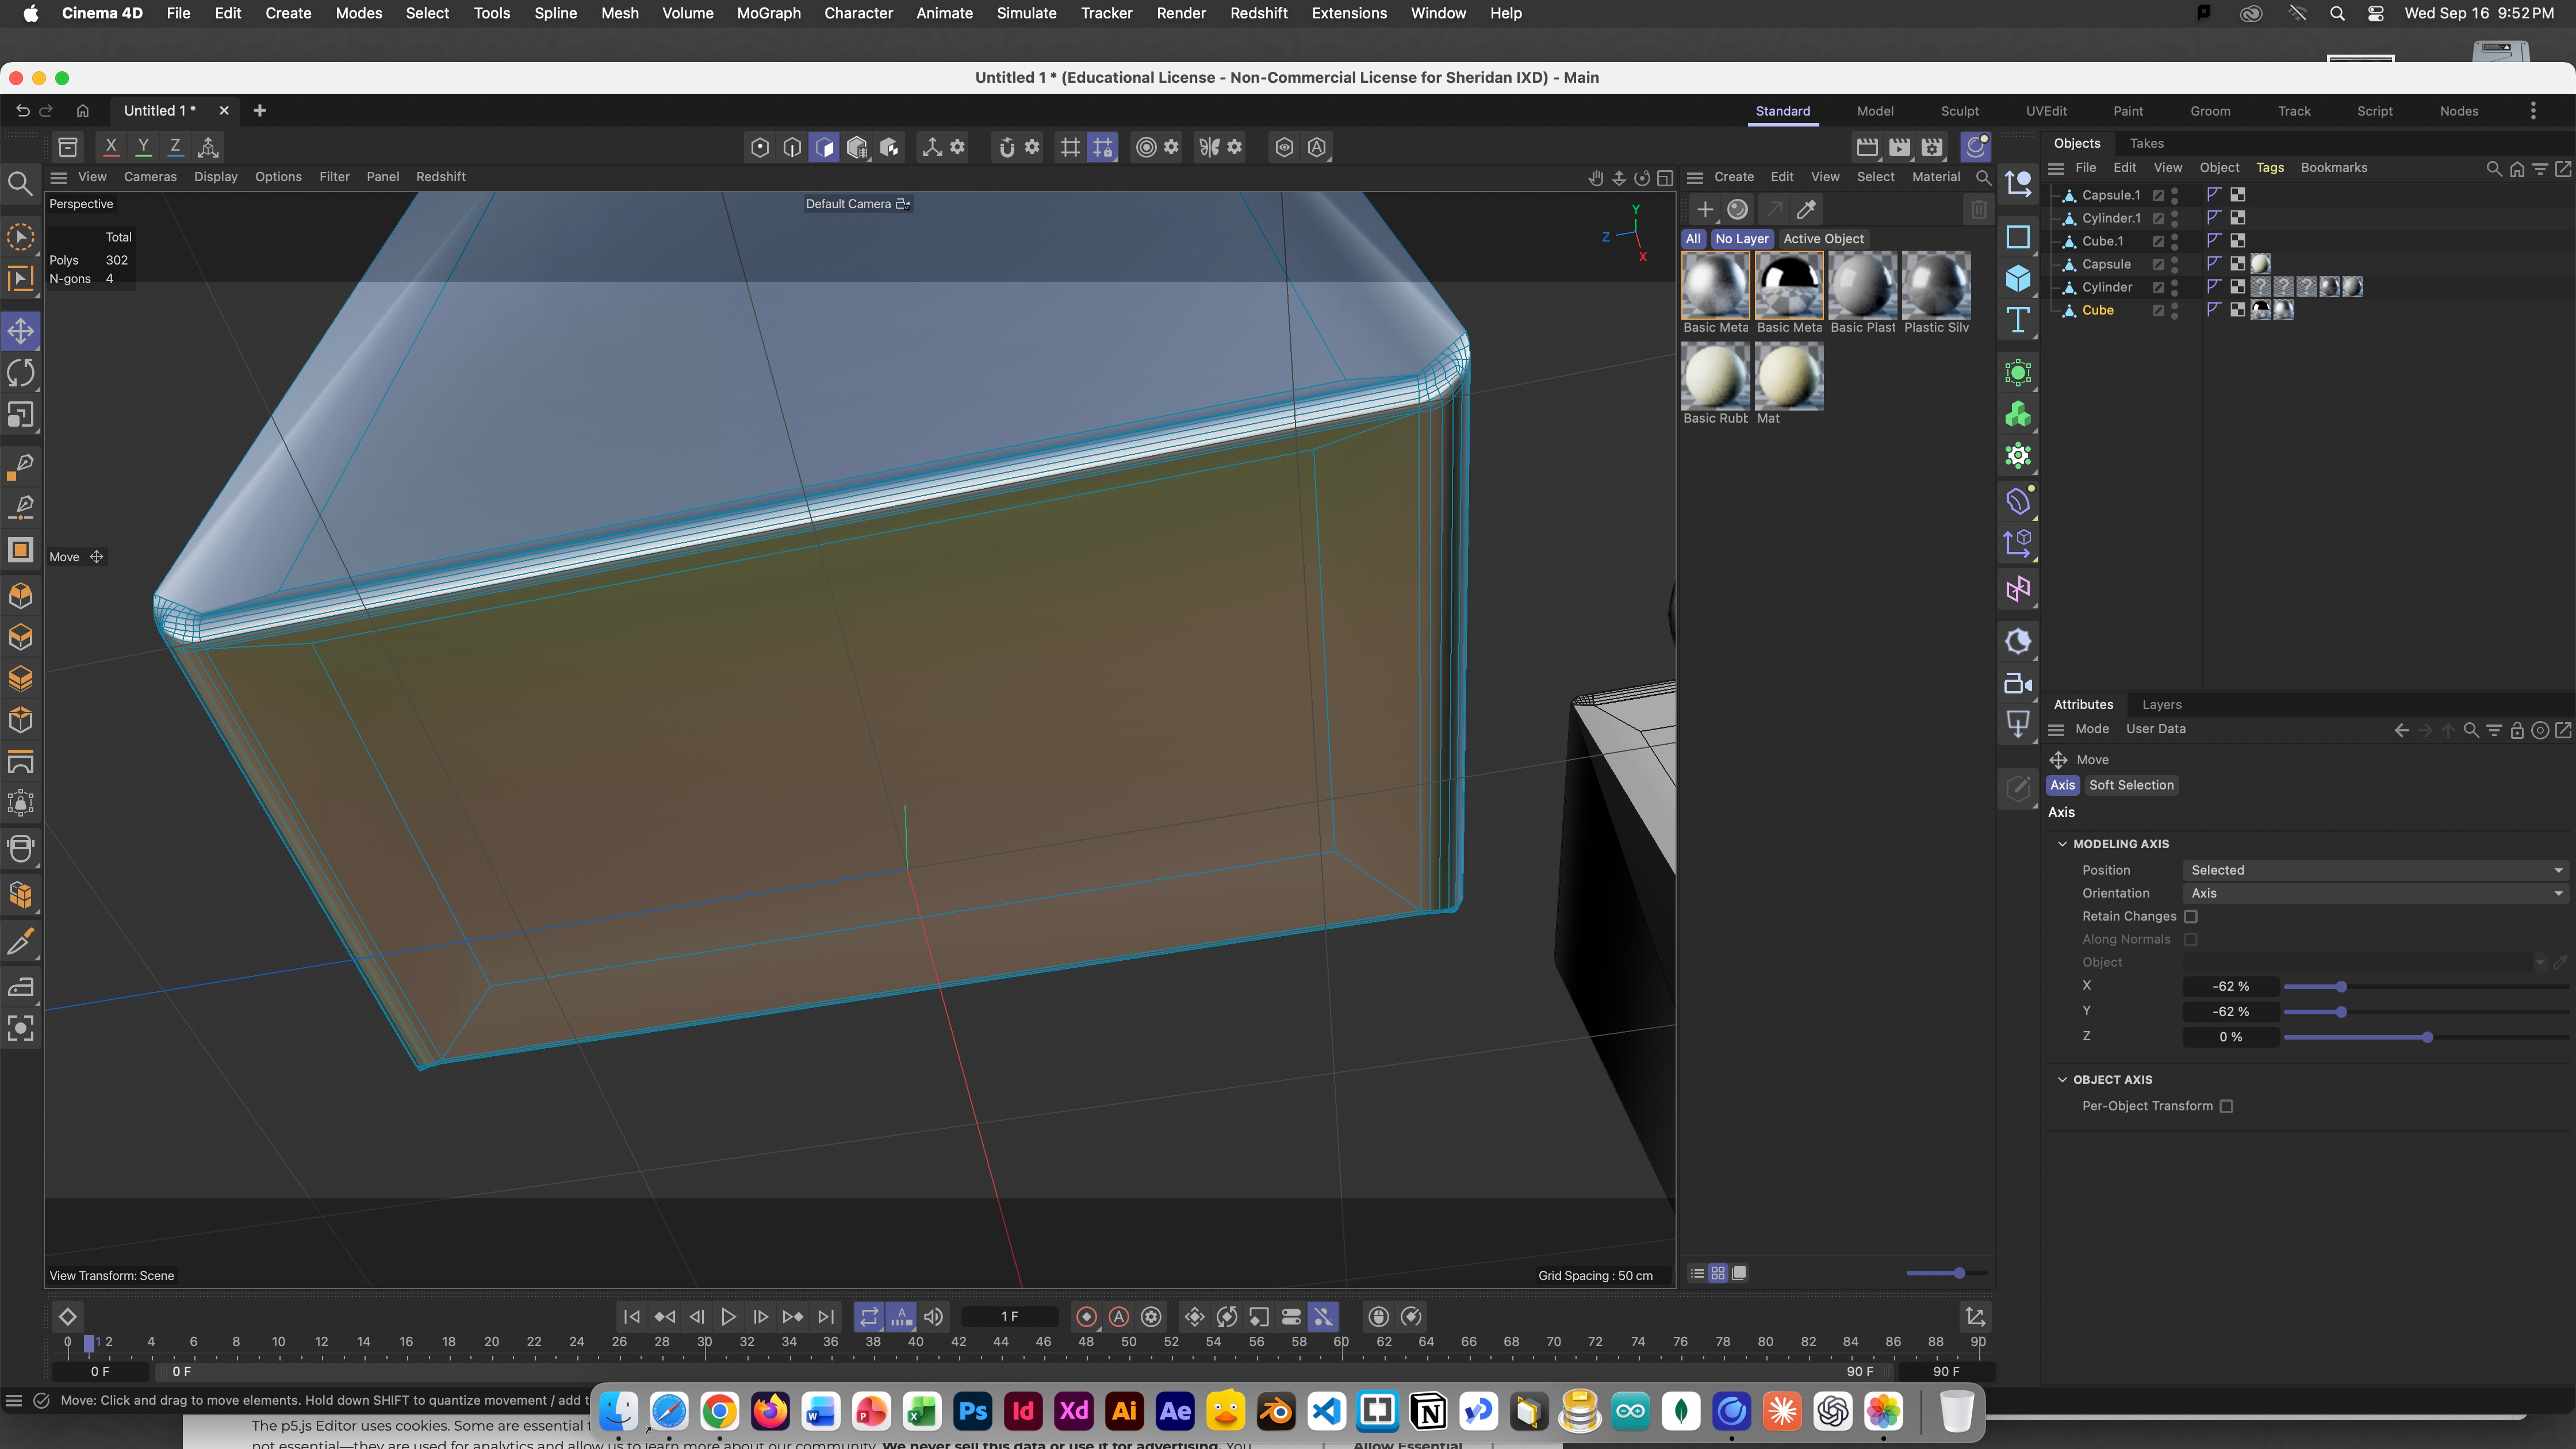
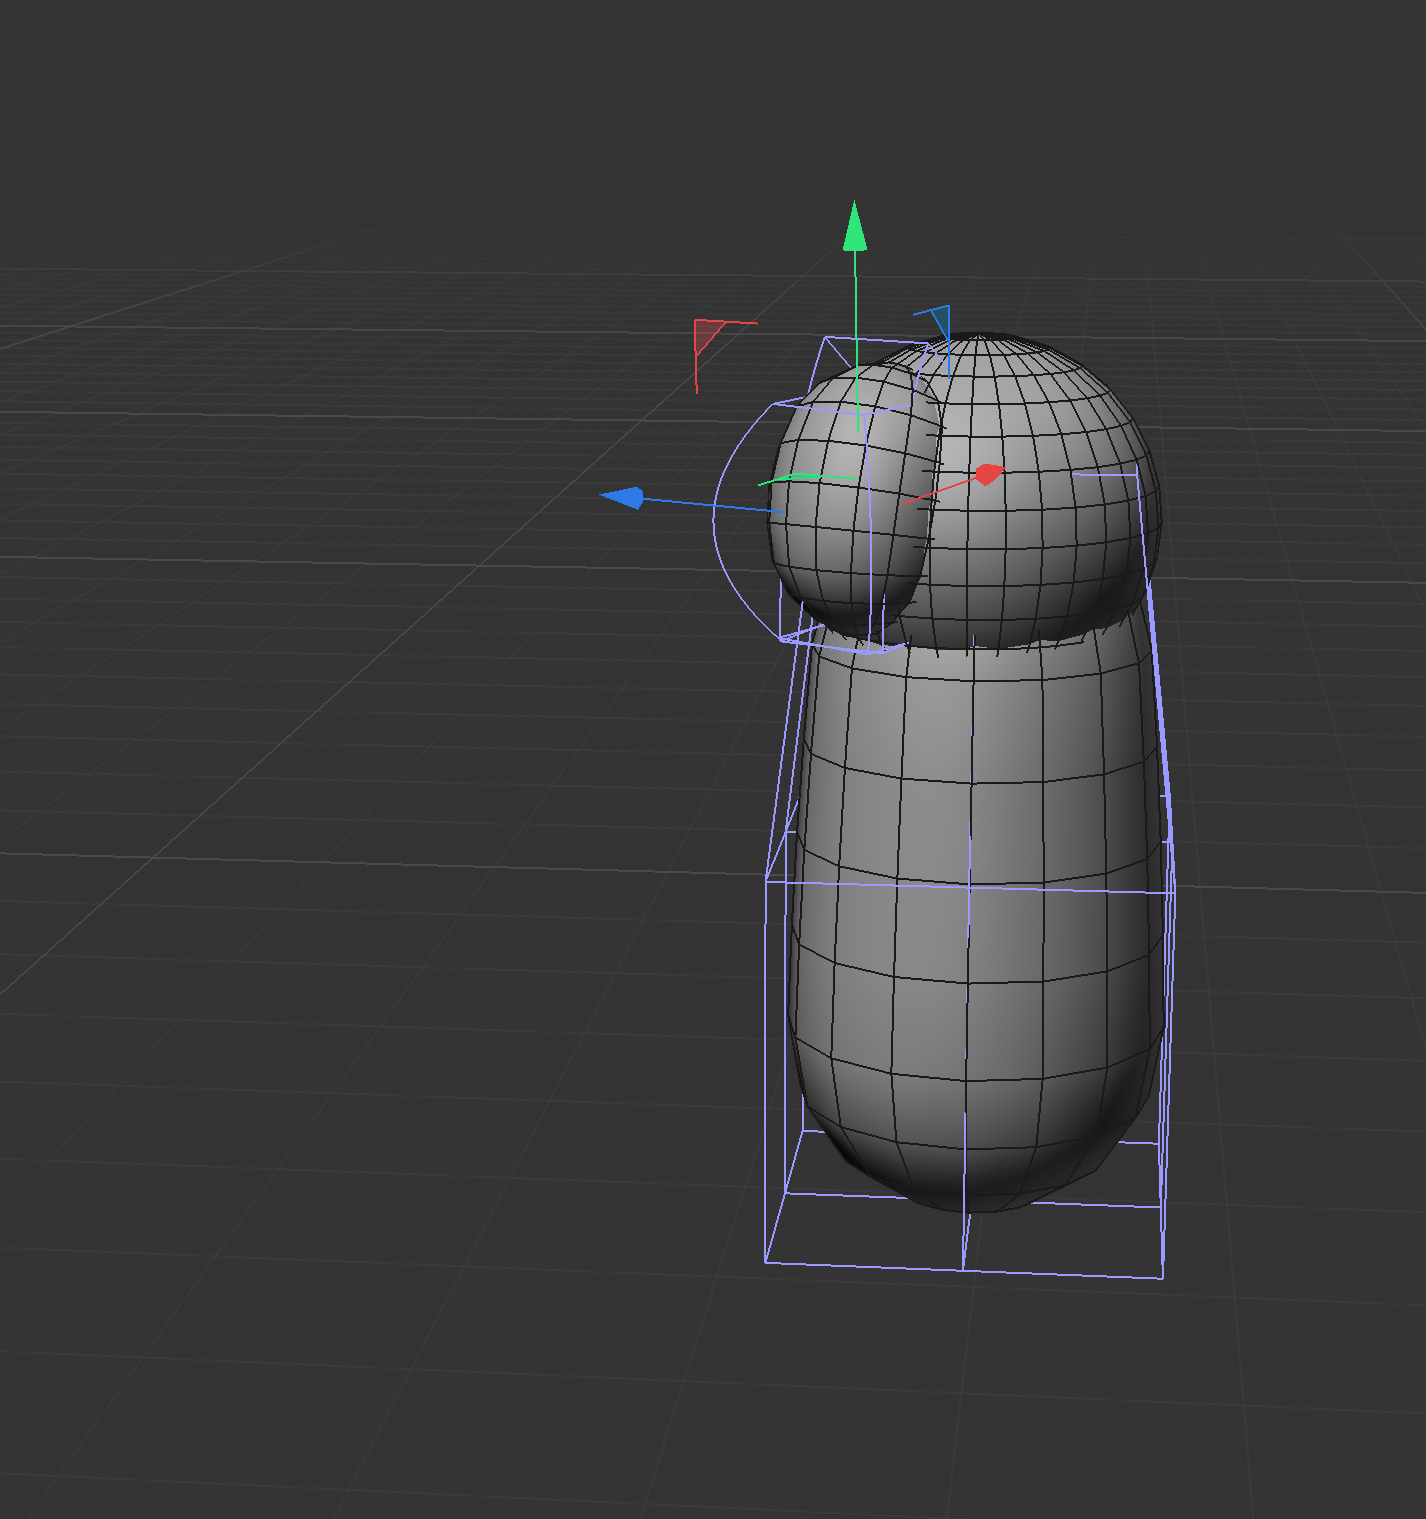
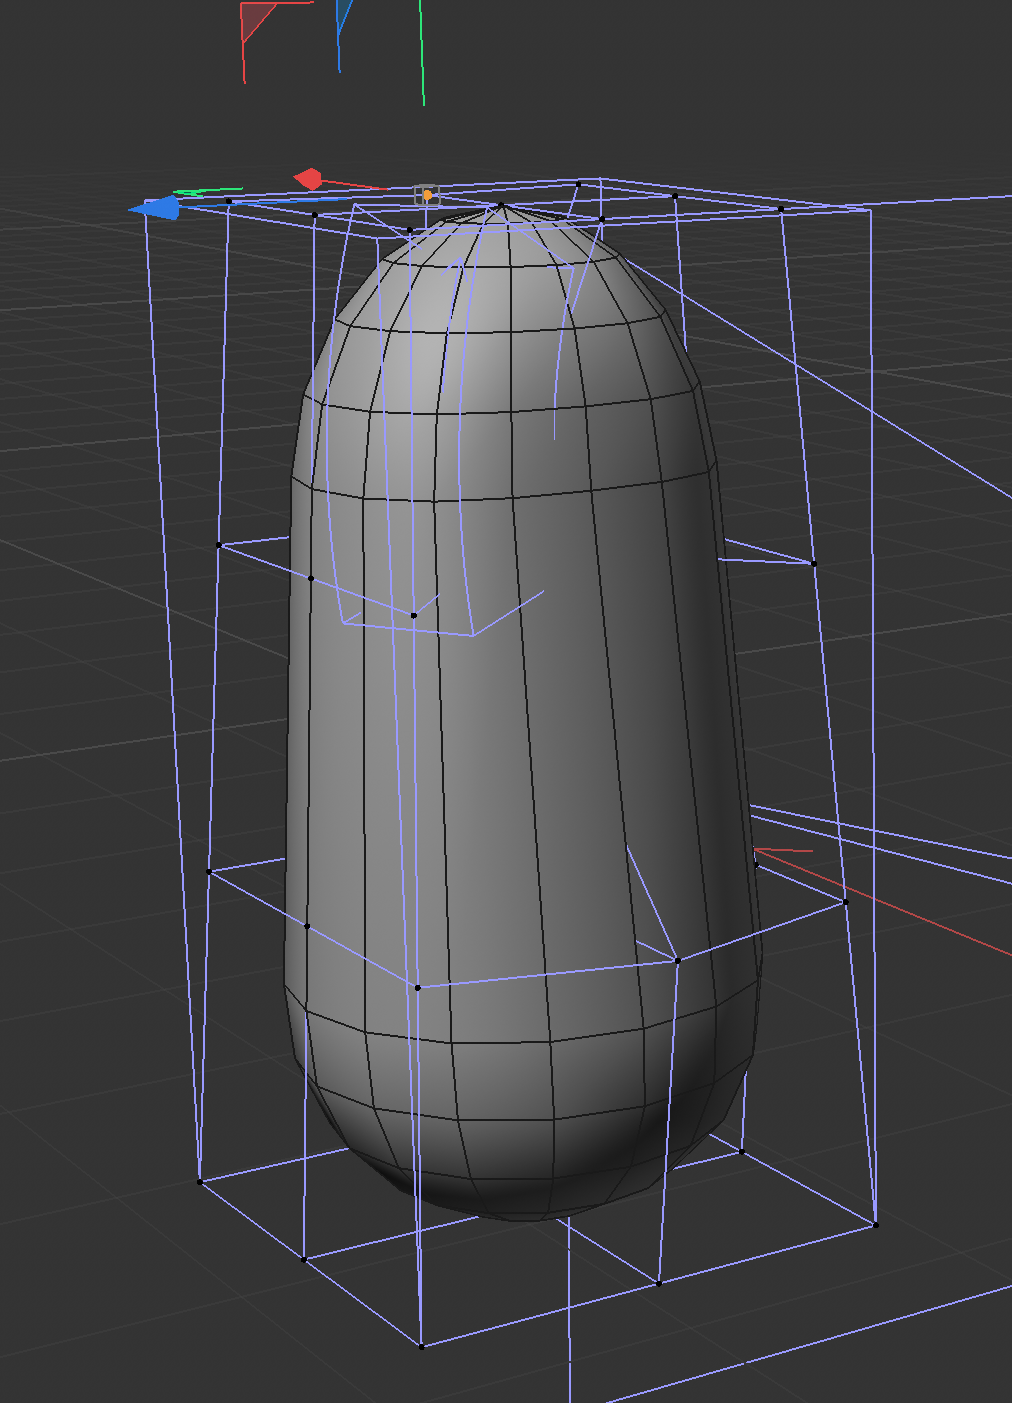
It all started with a single block I started learning how to compress it and how to stretch it out. Add a cylinder. Comparing it to the actual object, I tried to deform the cylinder. The ellipsoid makes it all look quite polished—it's really interesting. Move it to the correct position and adjust it Continue making adjustments That was the turning point—I began to learn how to adjust the “surface.” I looked up how to use “inset” online. It really adds a nice touch to everything. Drag the The back is exactly the same. Select the edge, then use the Bevel tool to round off the sharp edges. Select all the sidelines at the bottom. Shortcut keys make repetitive tasks go faster. Adjust using the arrow keys I'm wondering if there's a shortcut that allows me to perform operations on multiple edges at once, or to mirror them. This step was really therapeutic; everything felt less forced. I noticed that the top and bottom weren't aligned, but I was able to fix it by editing individual faces. Fill in some details A move to narrow the range of options Wide-angle view of the entire model Painting Search for and apply the Glass, Rubber, and Plastic material textures individually, then adjust their colors. For greater realism, I added the color of the logo. Side view

Design Challenge 2
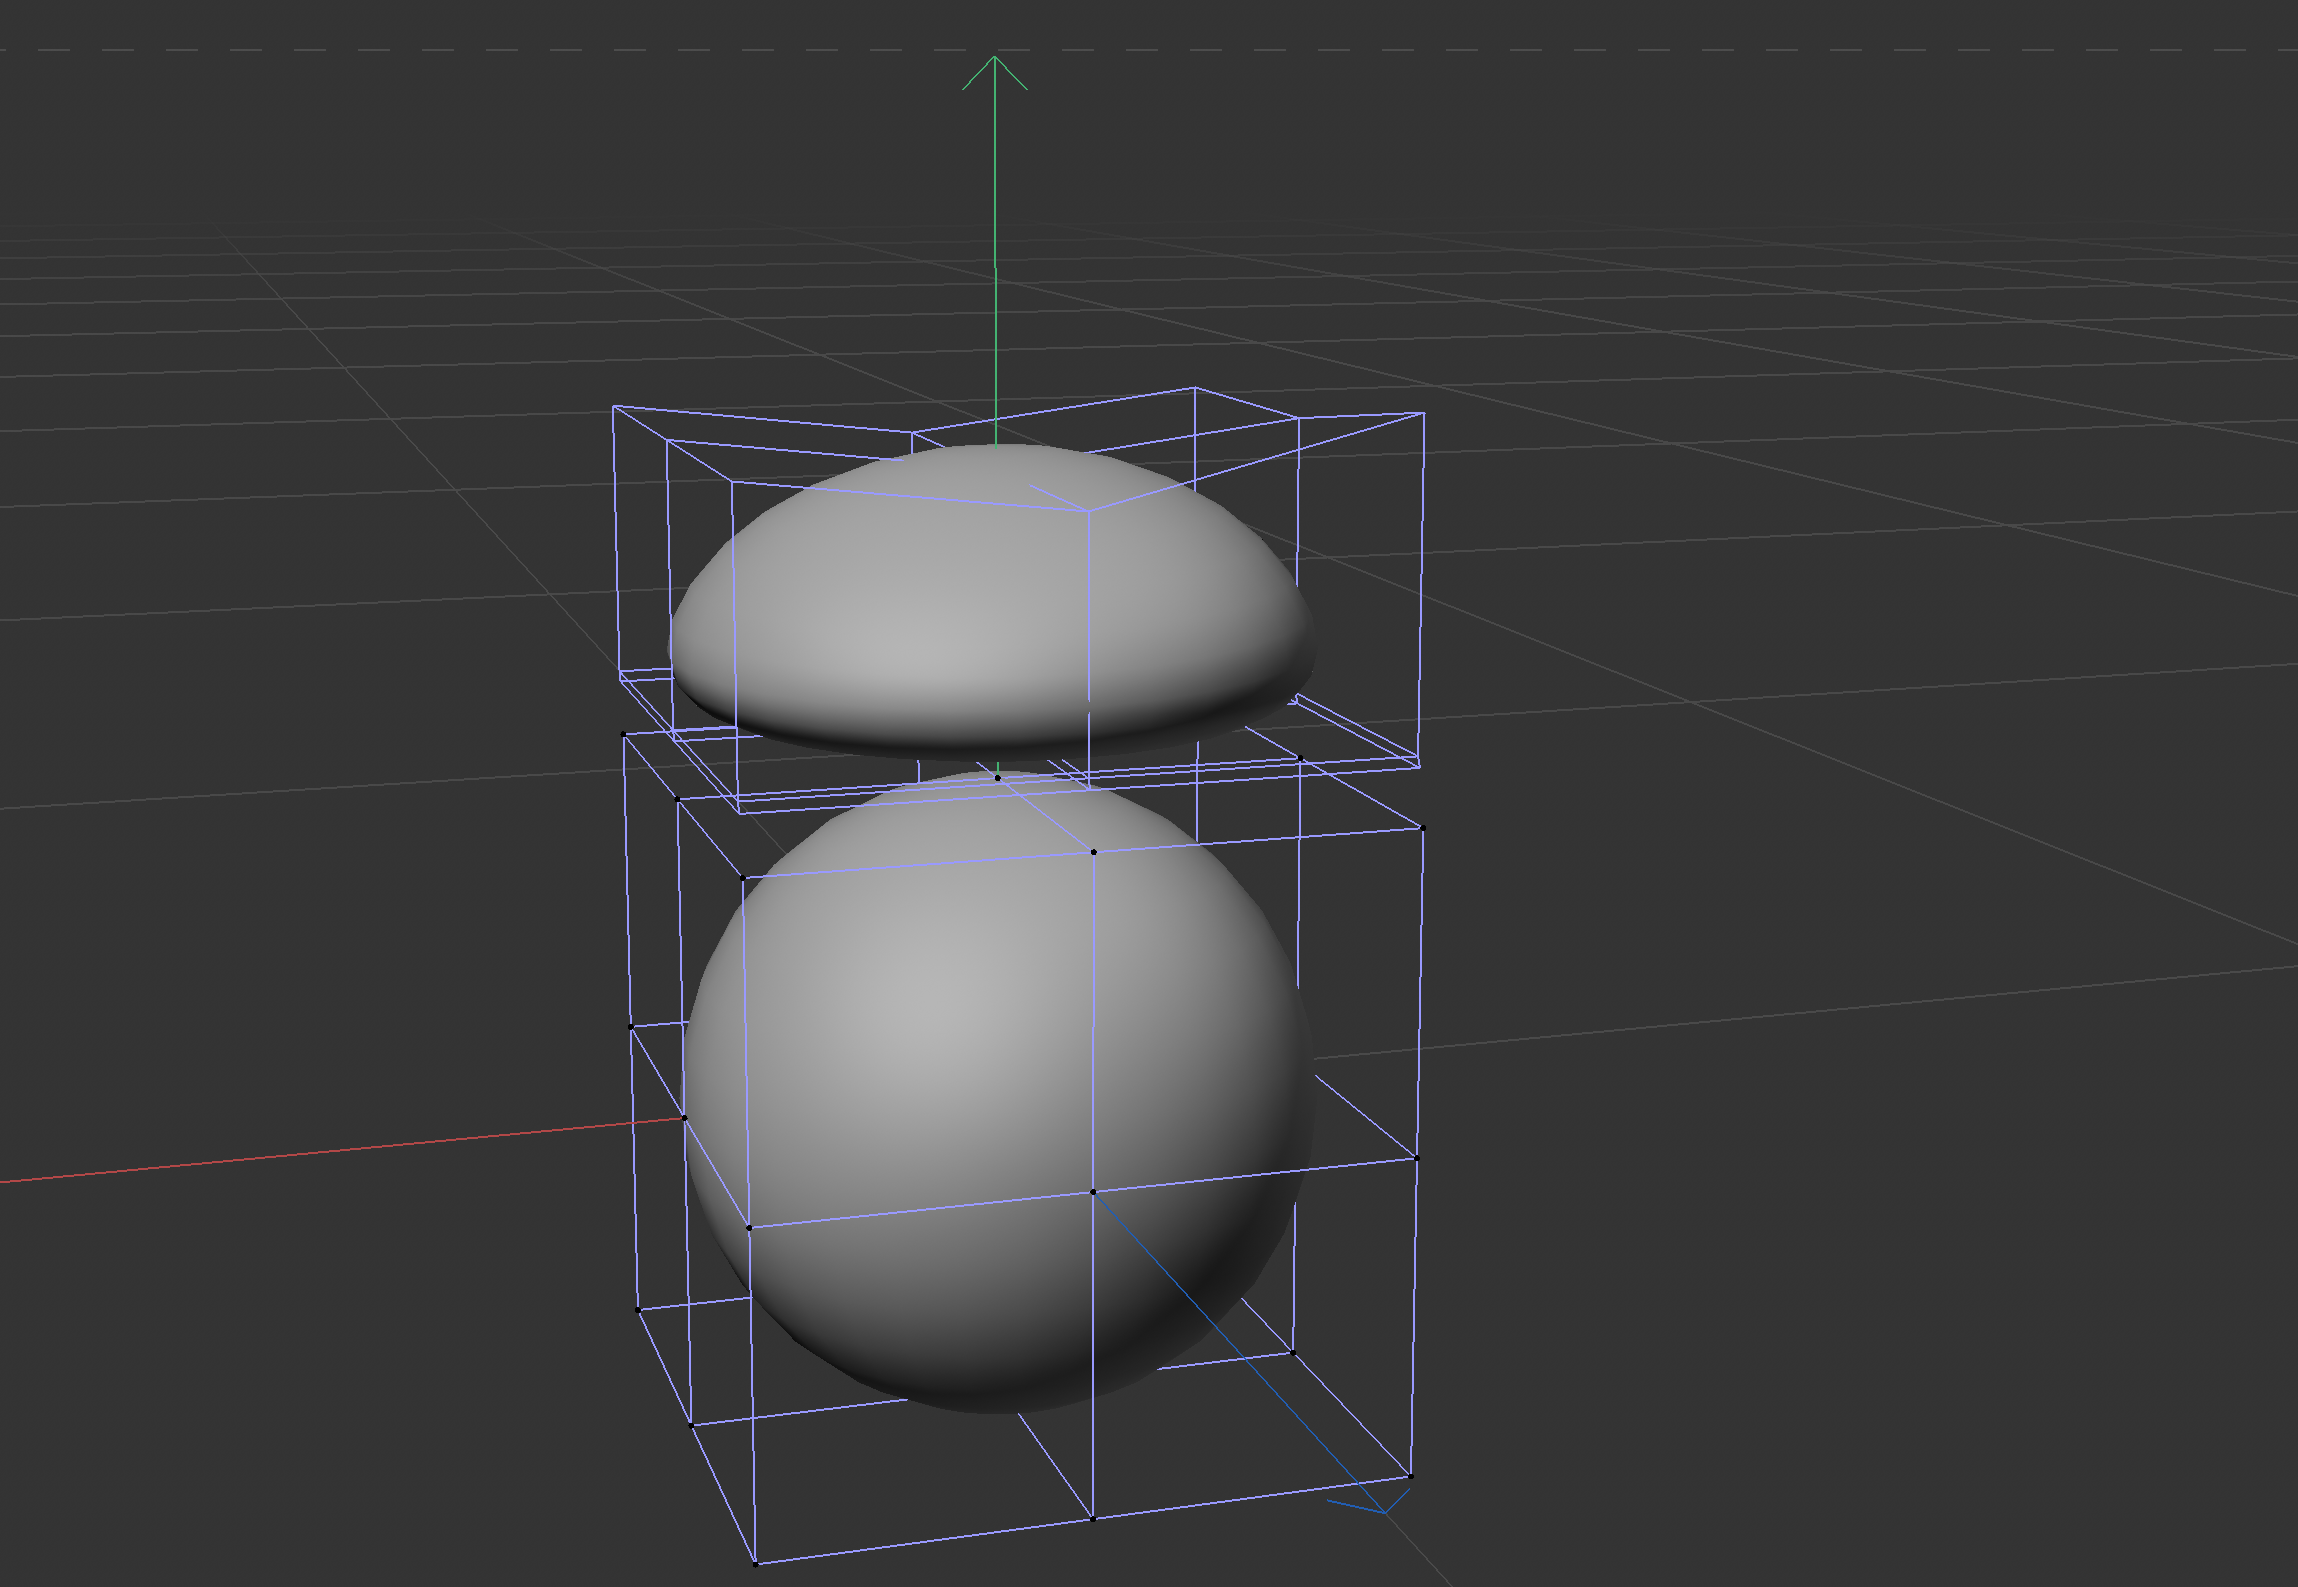
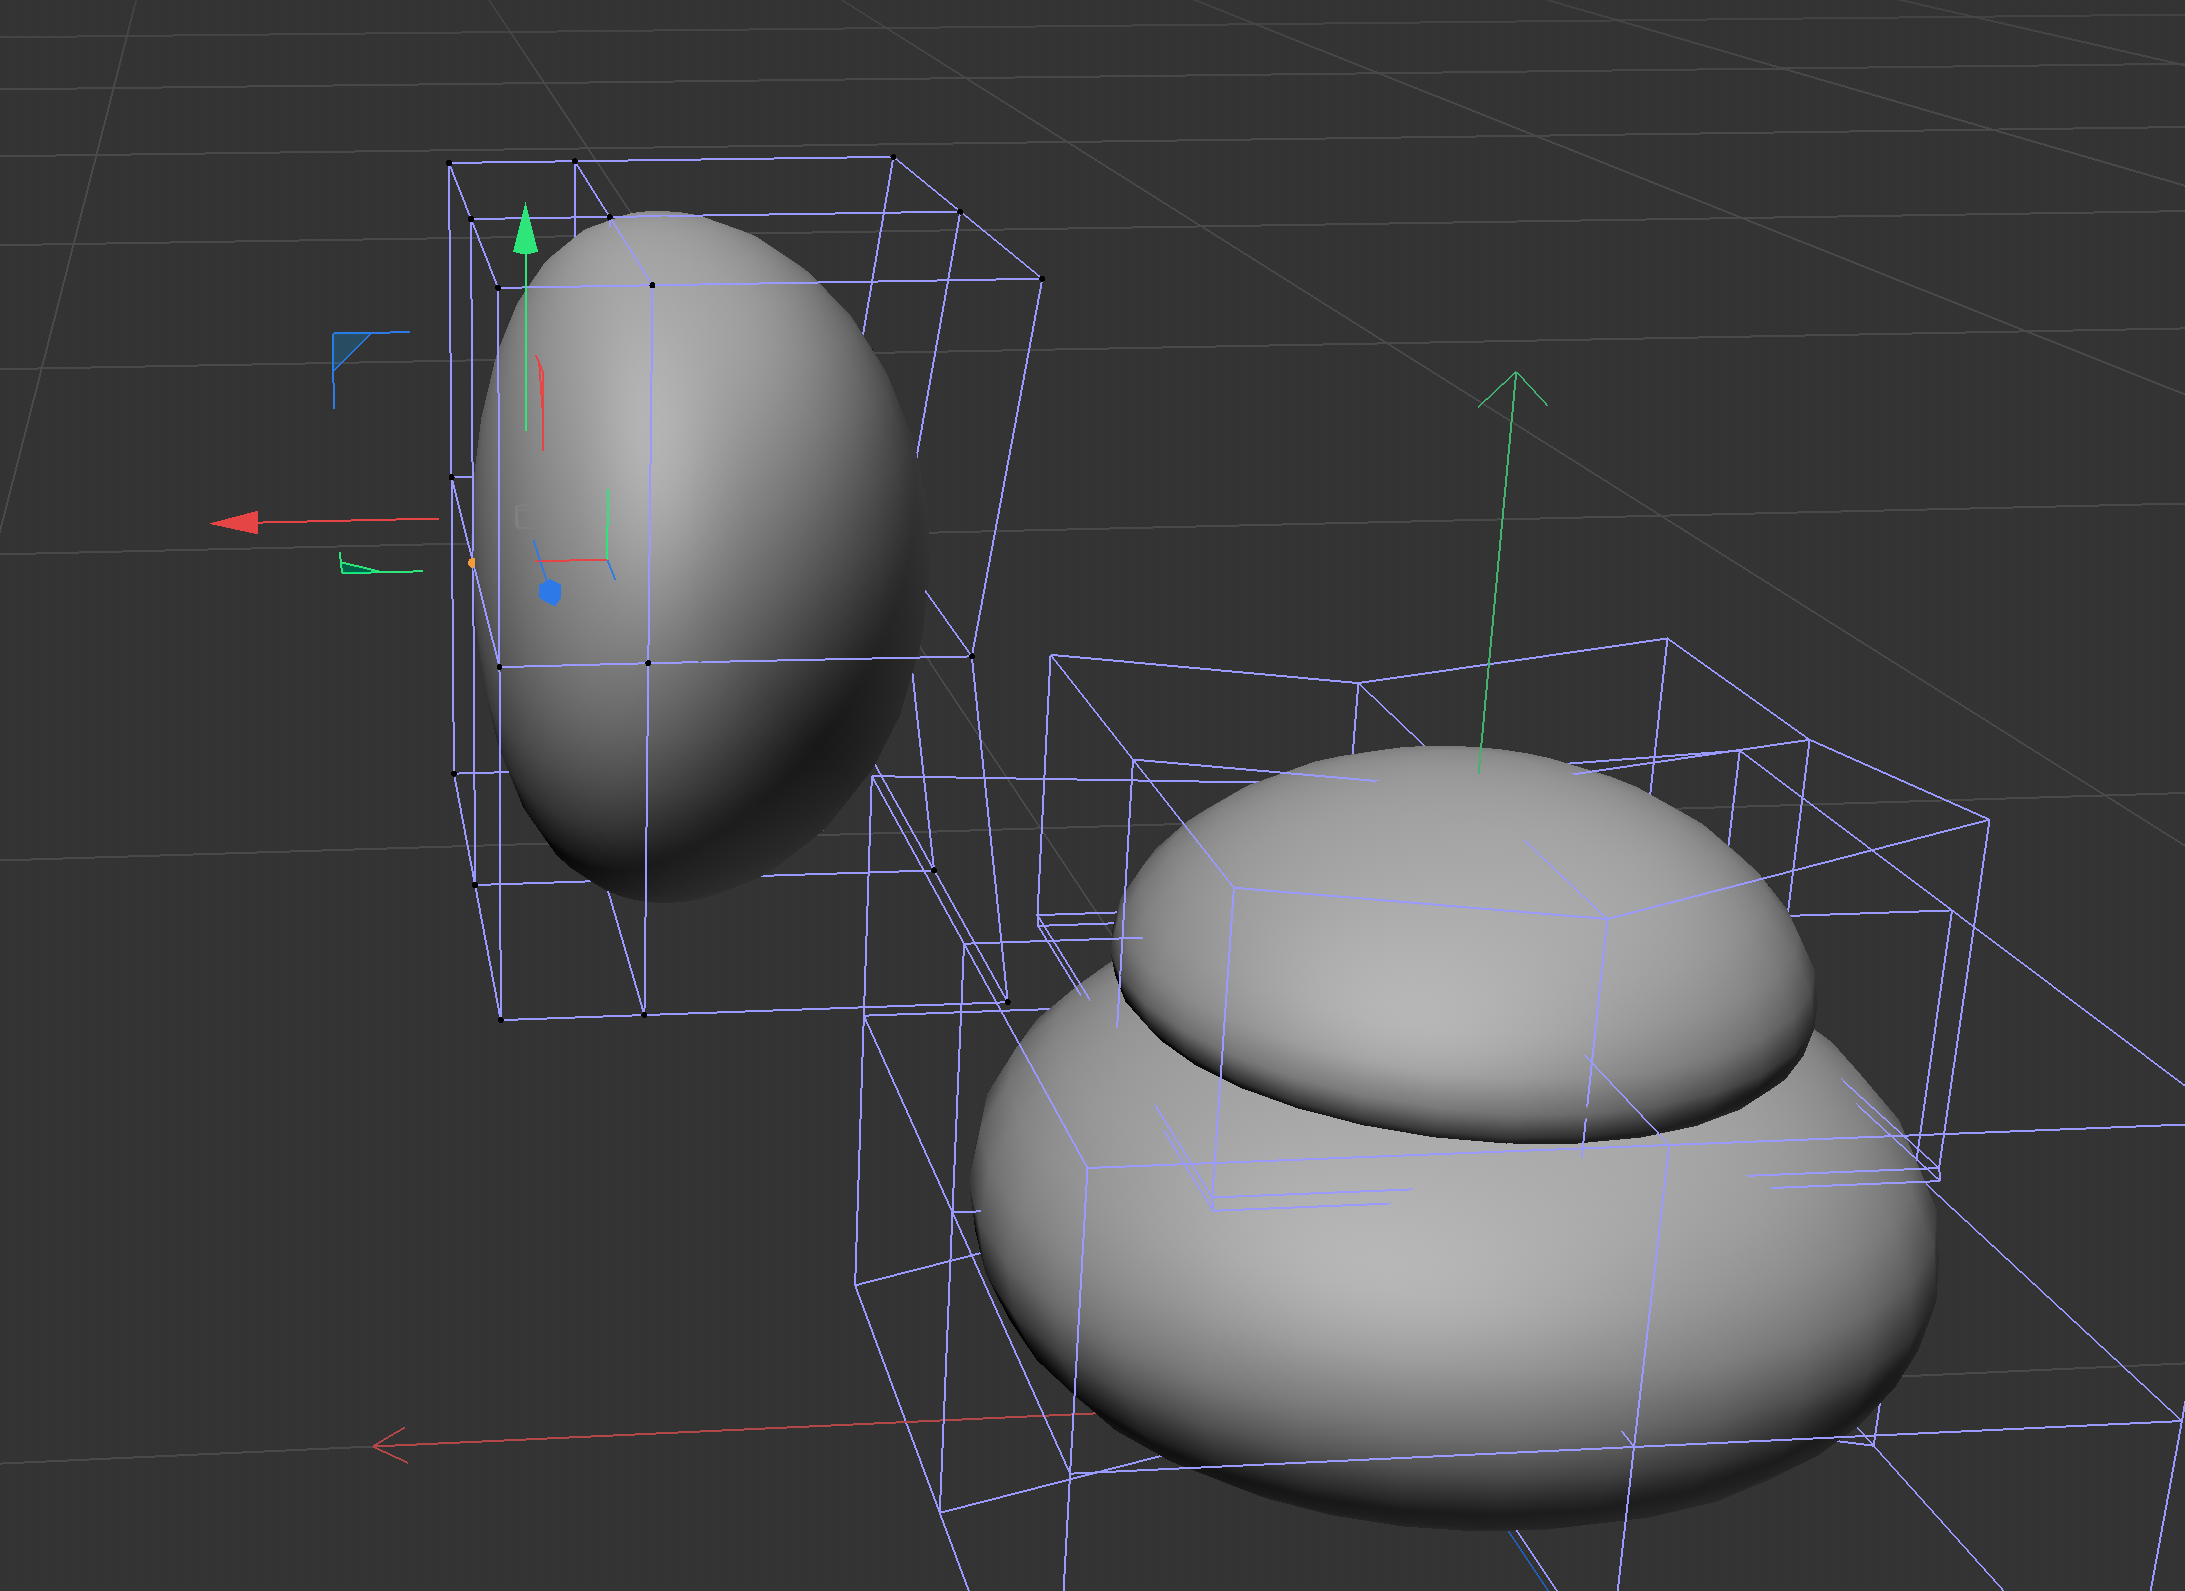
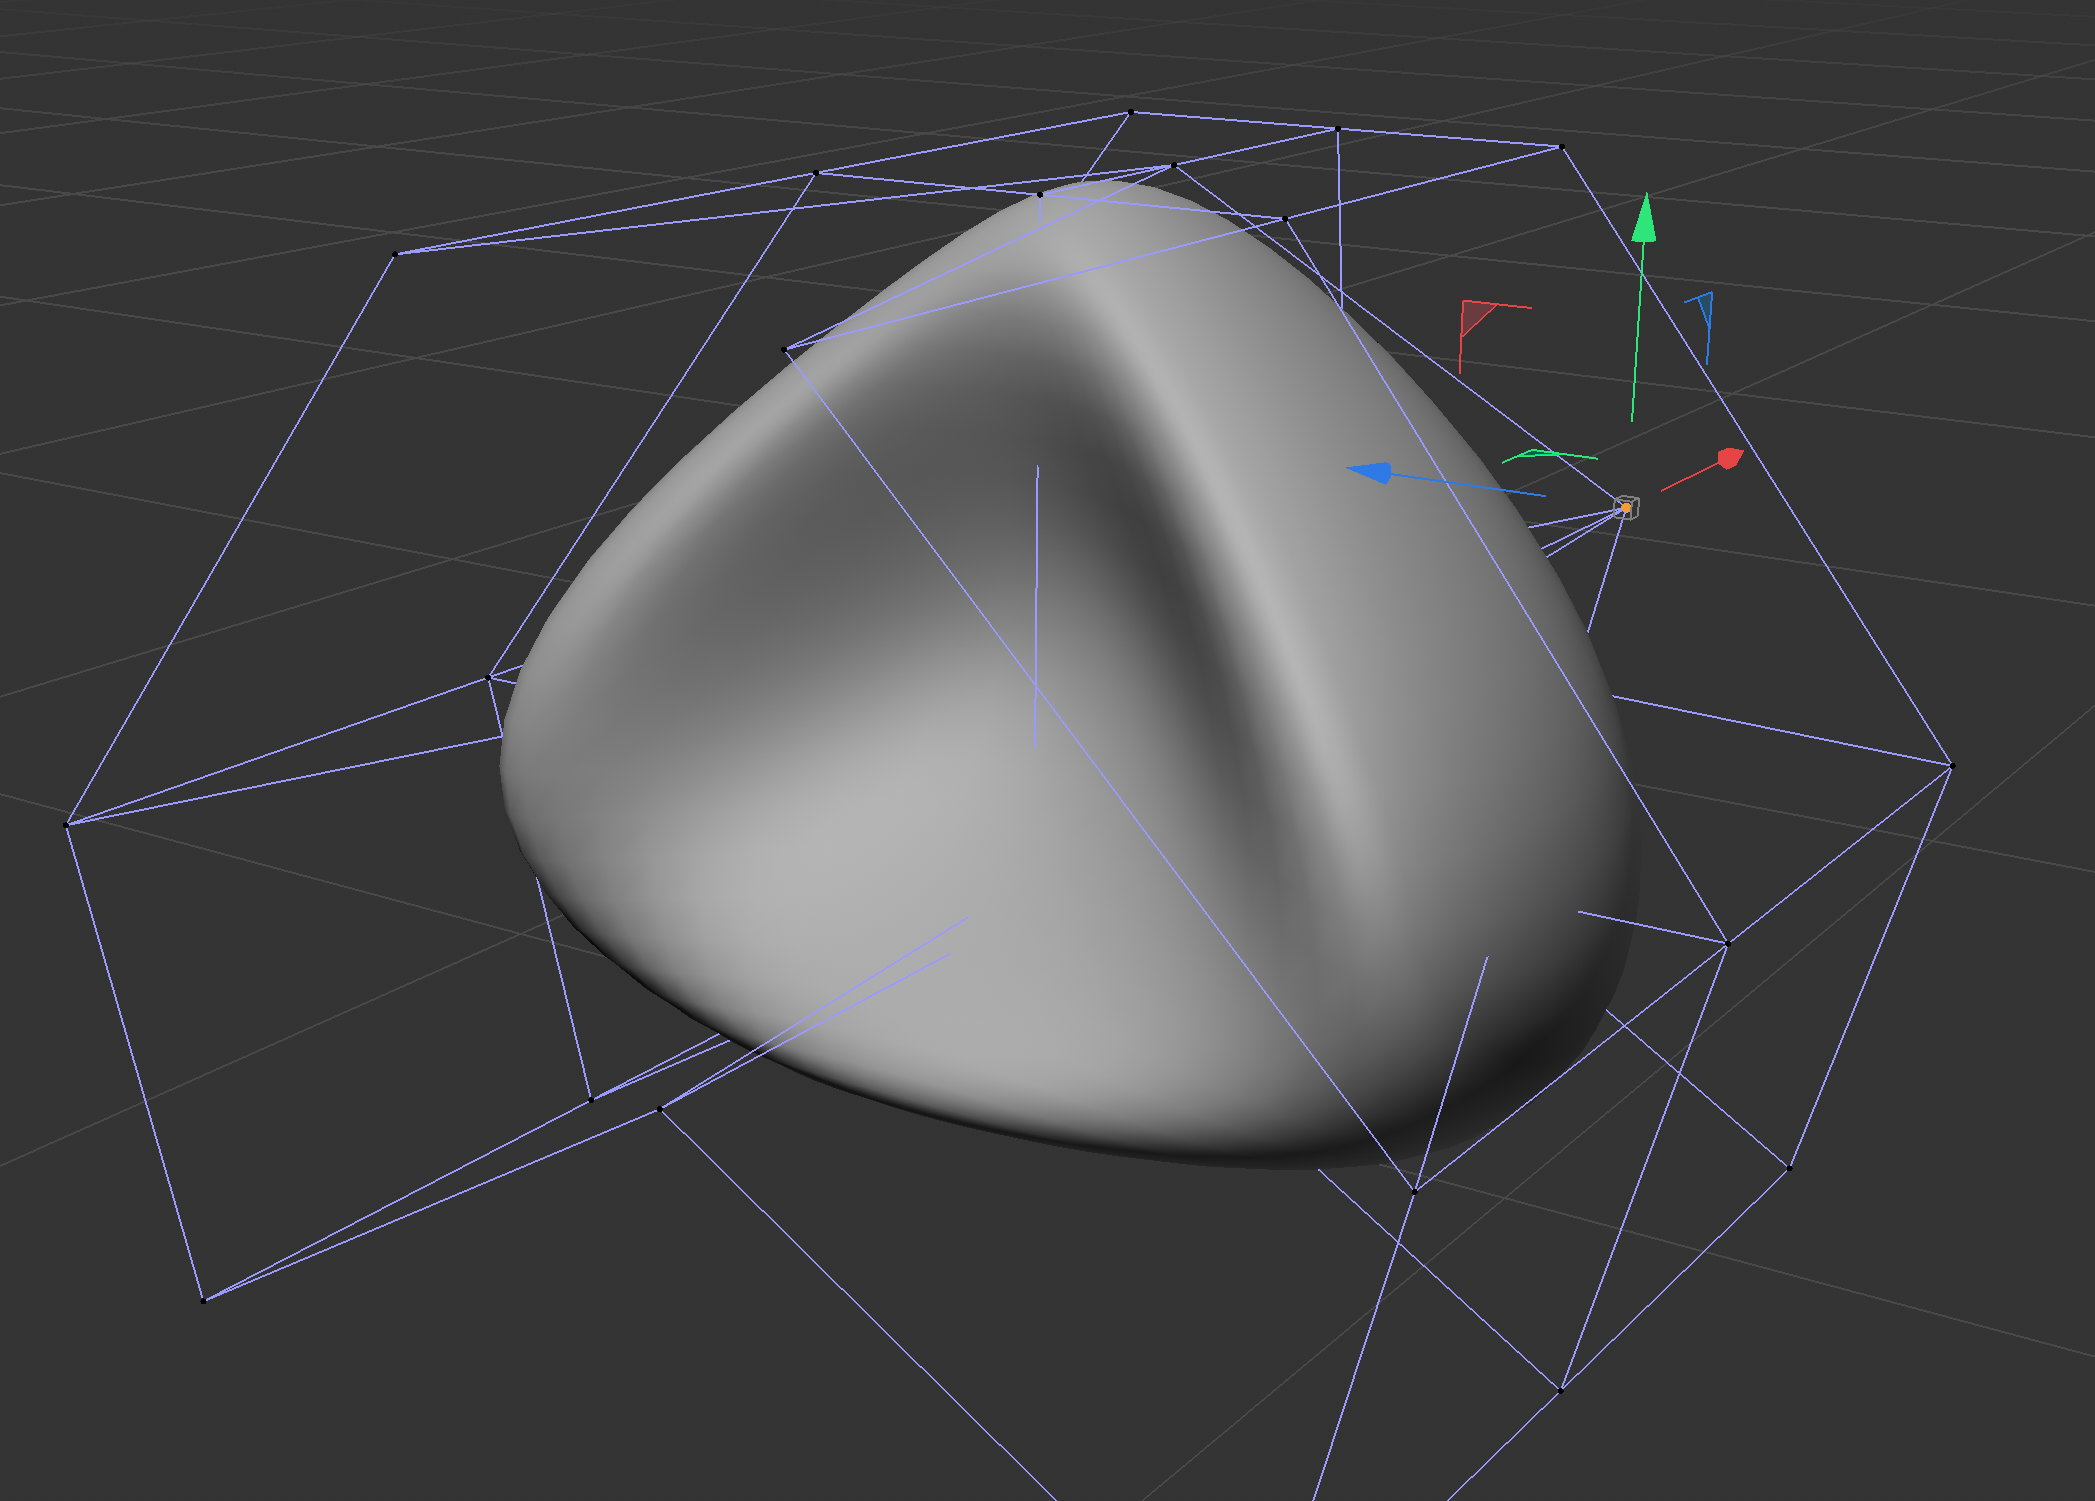
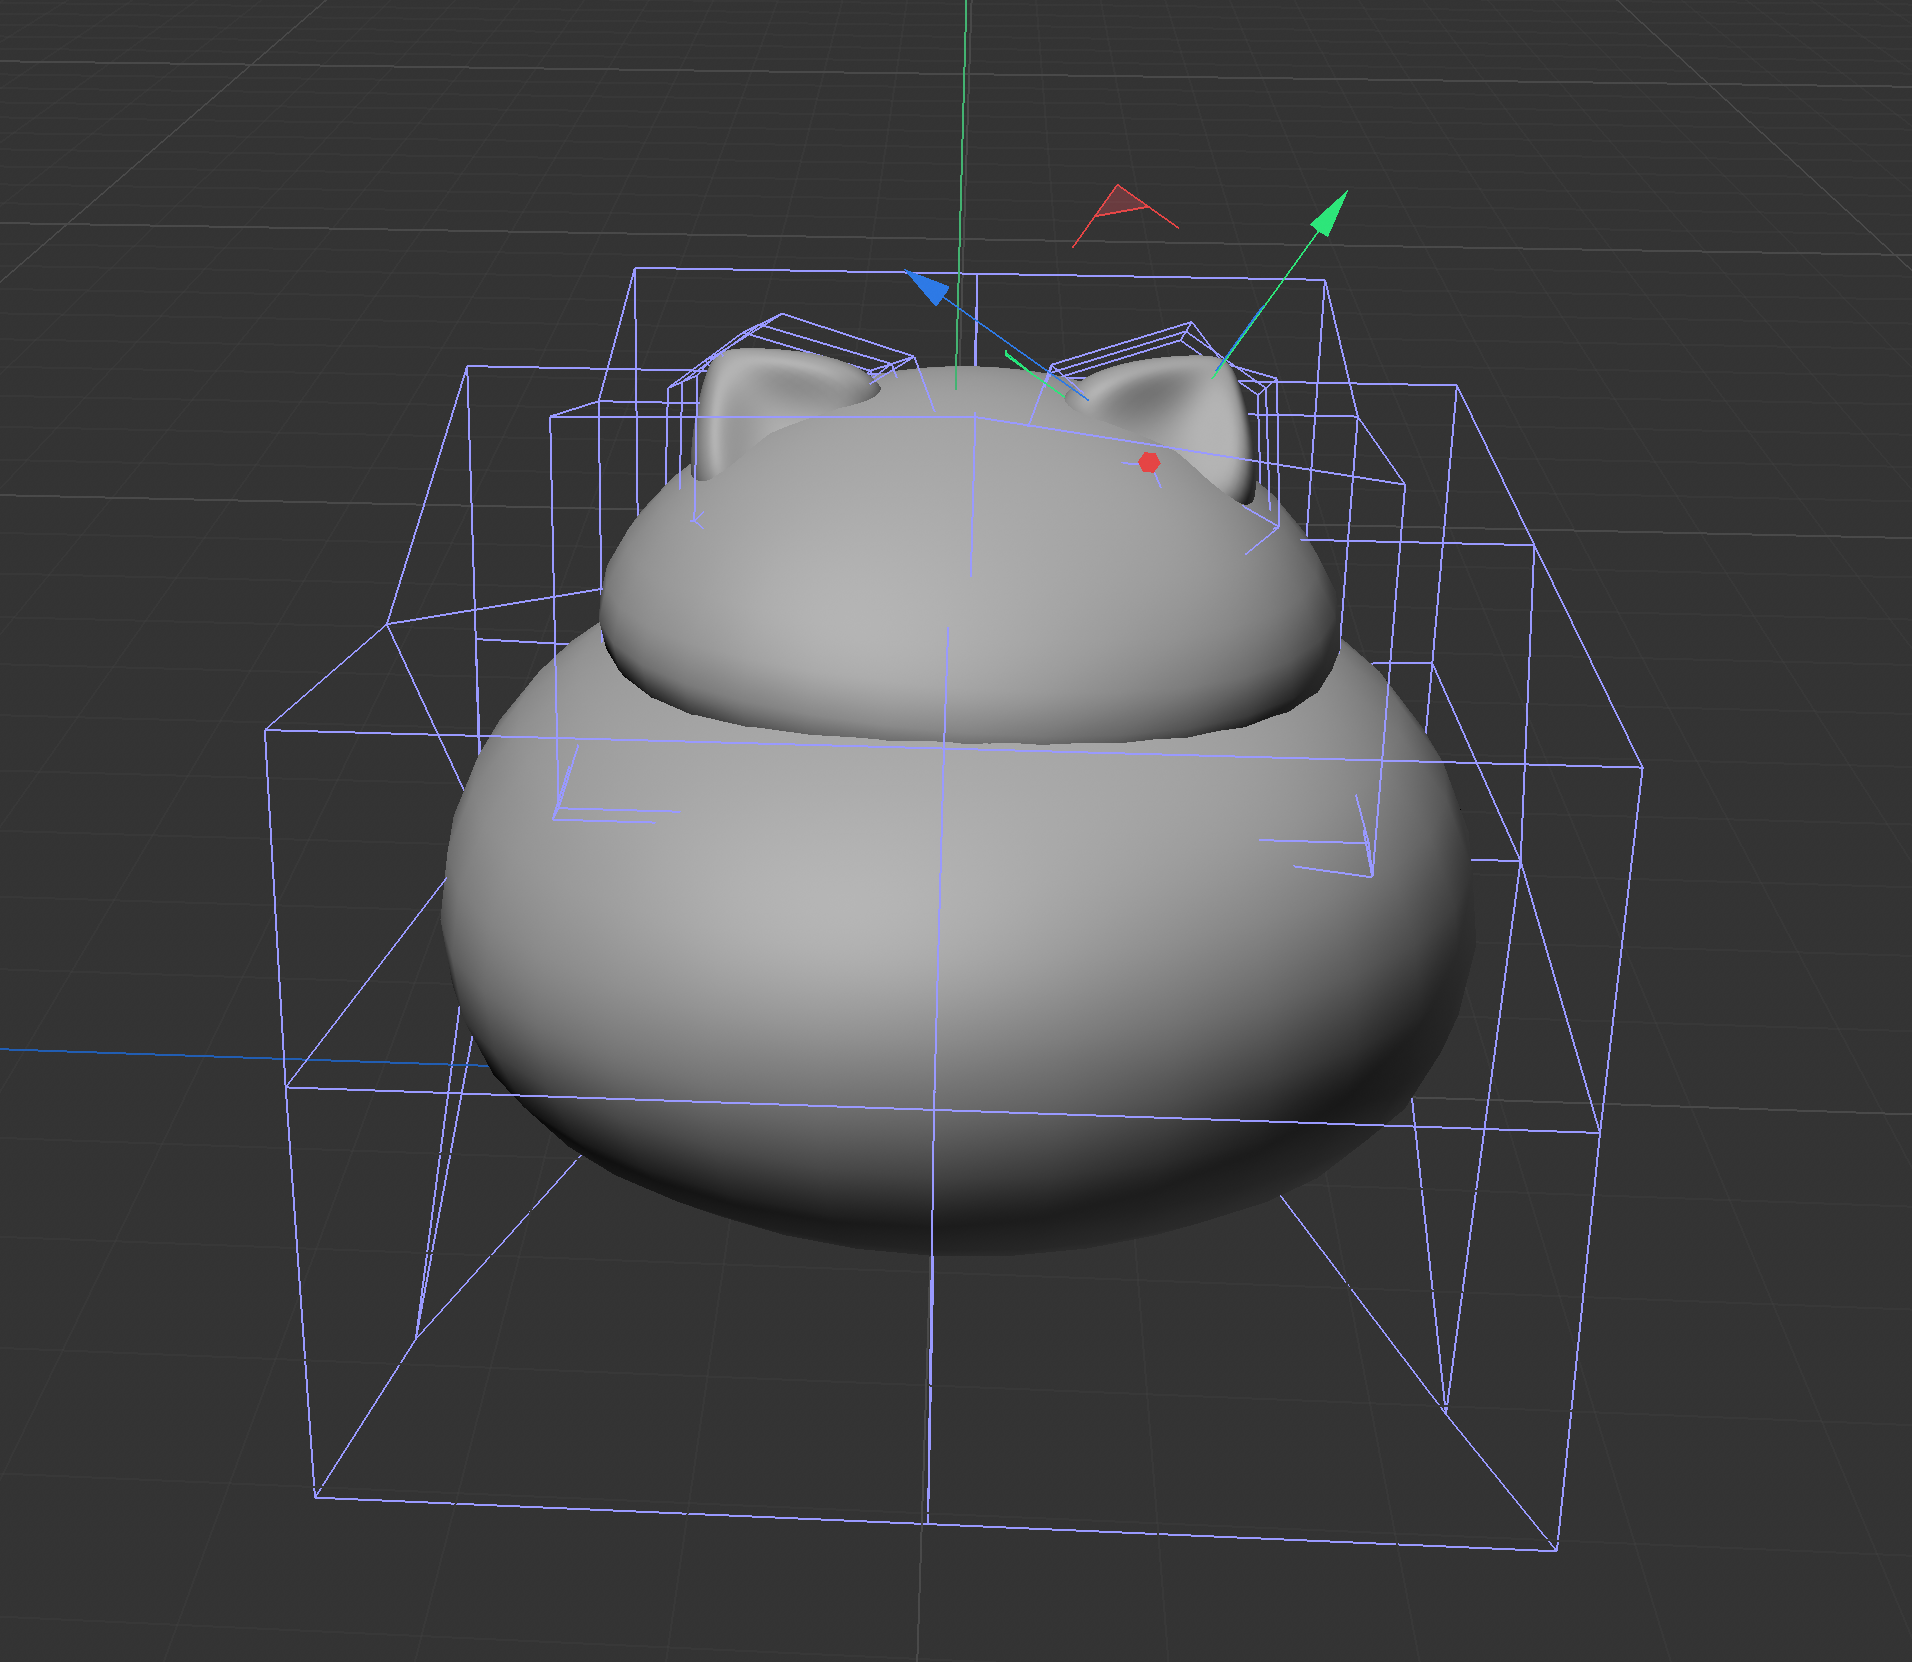
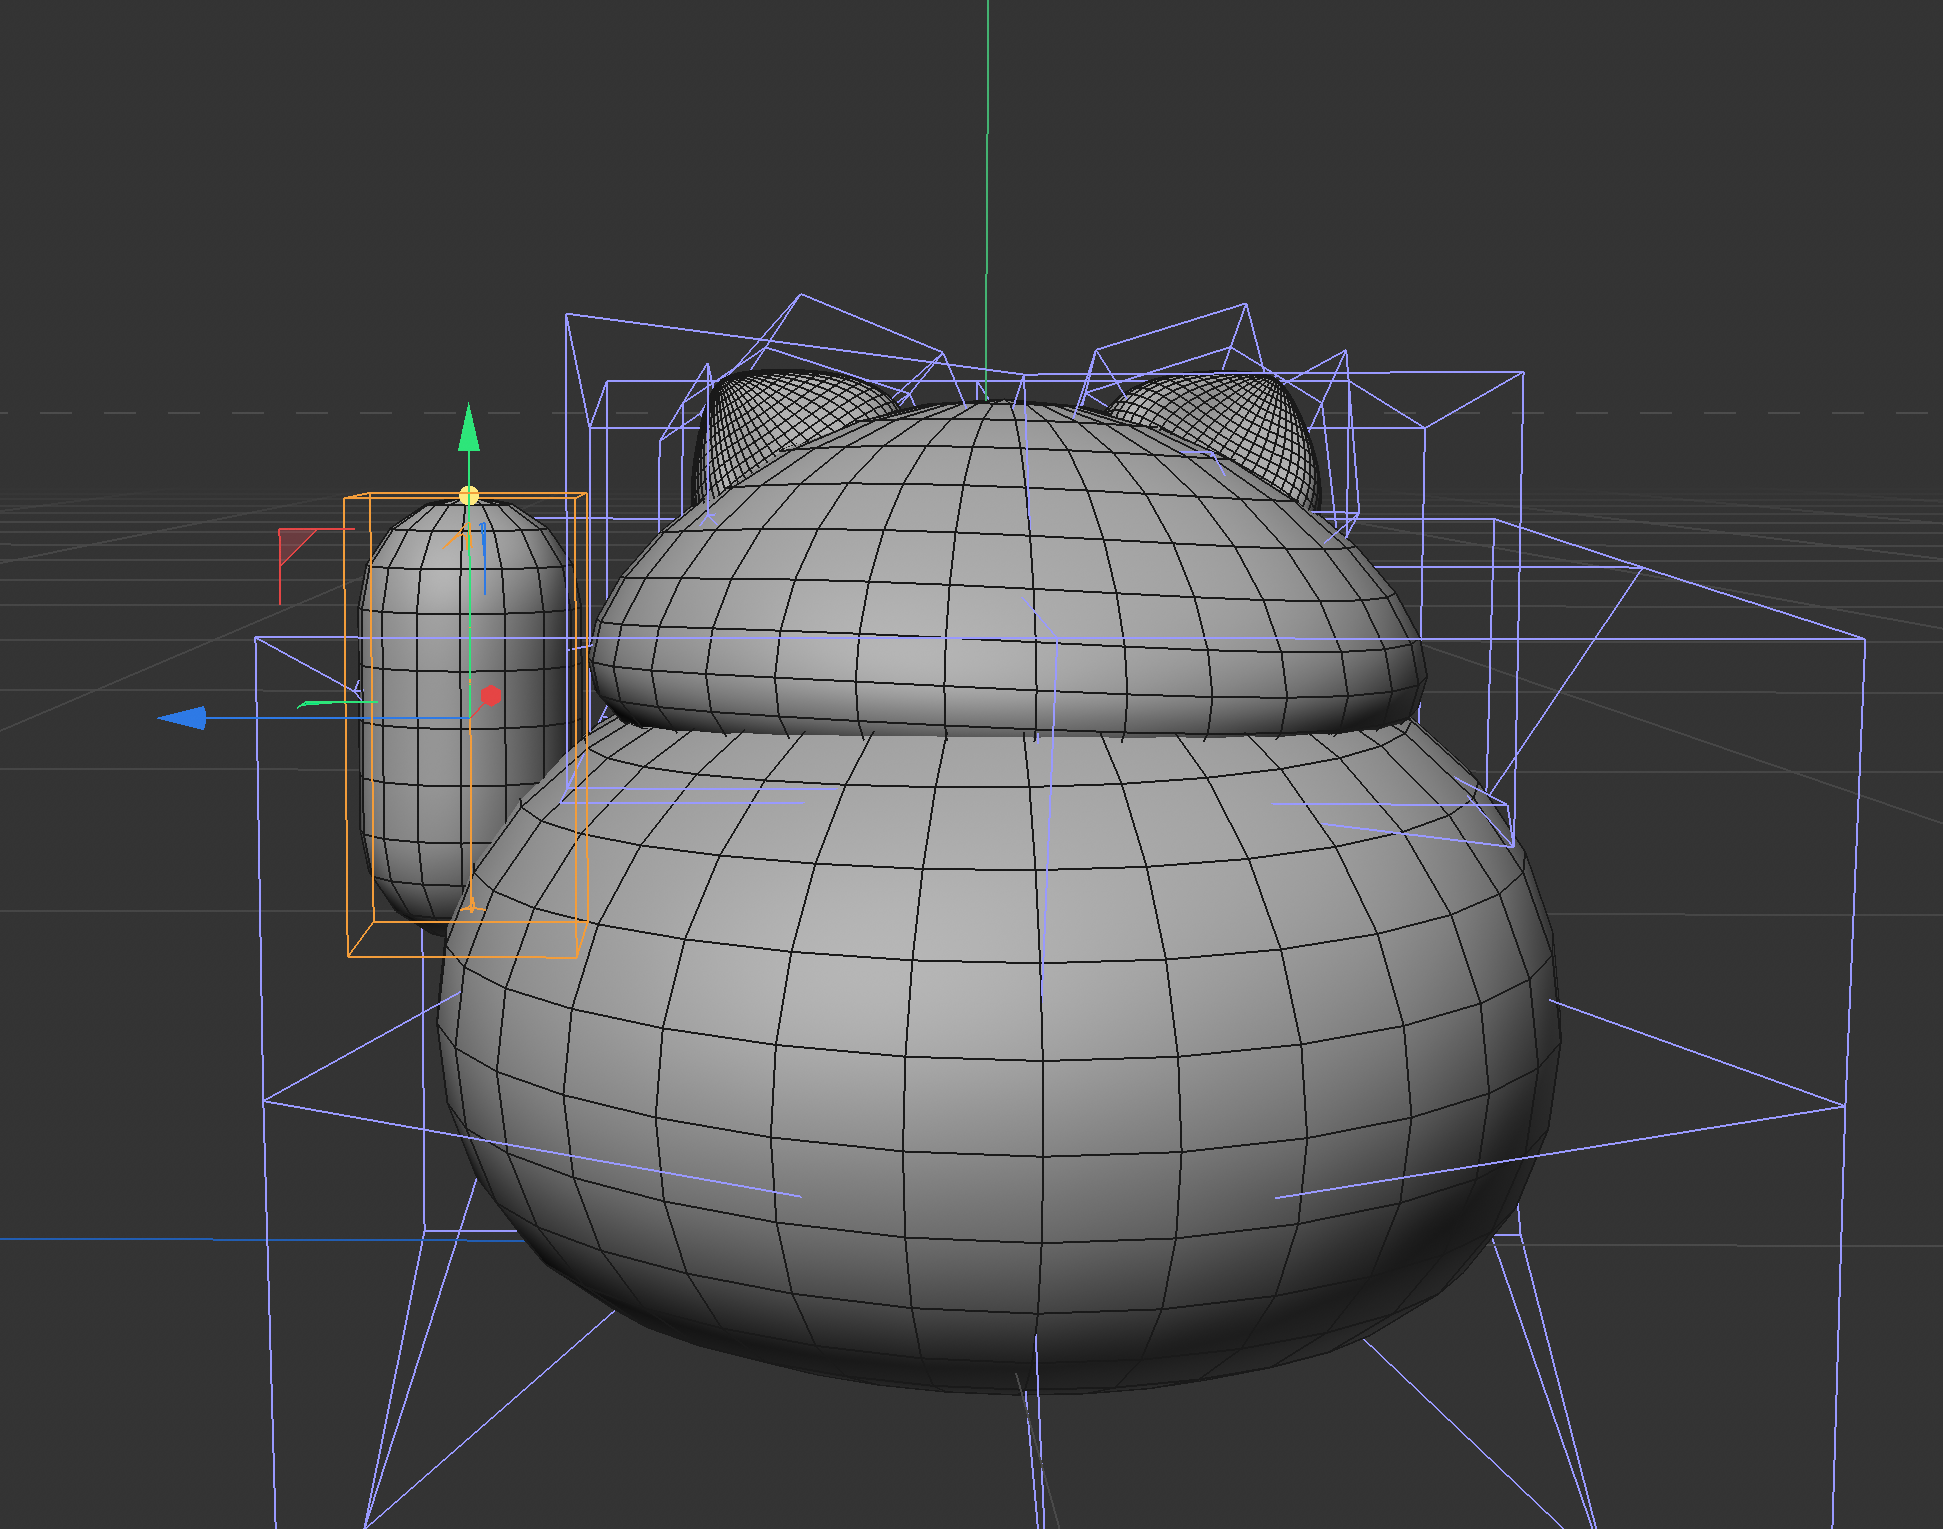
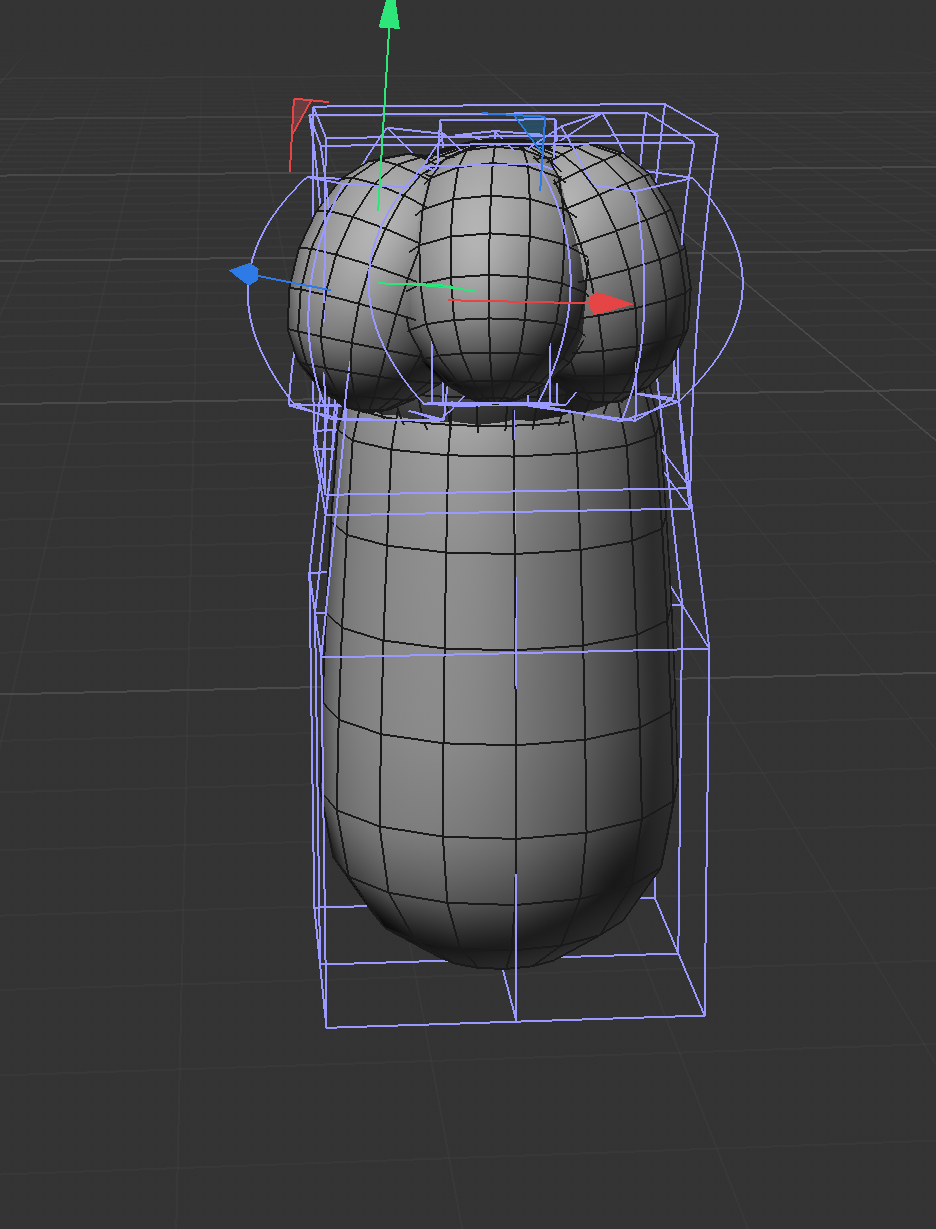
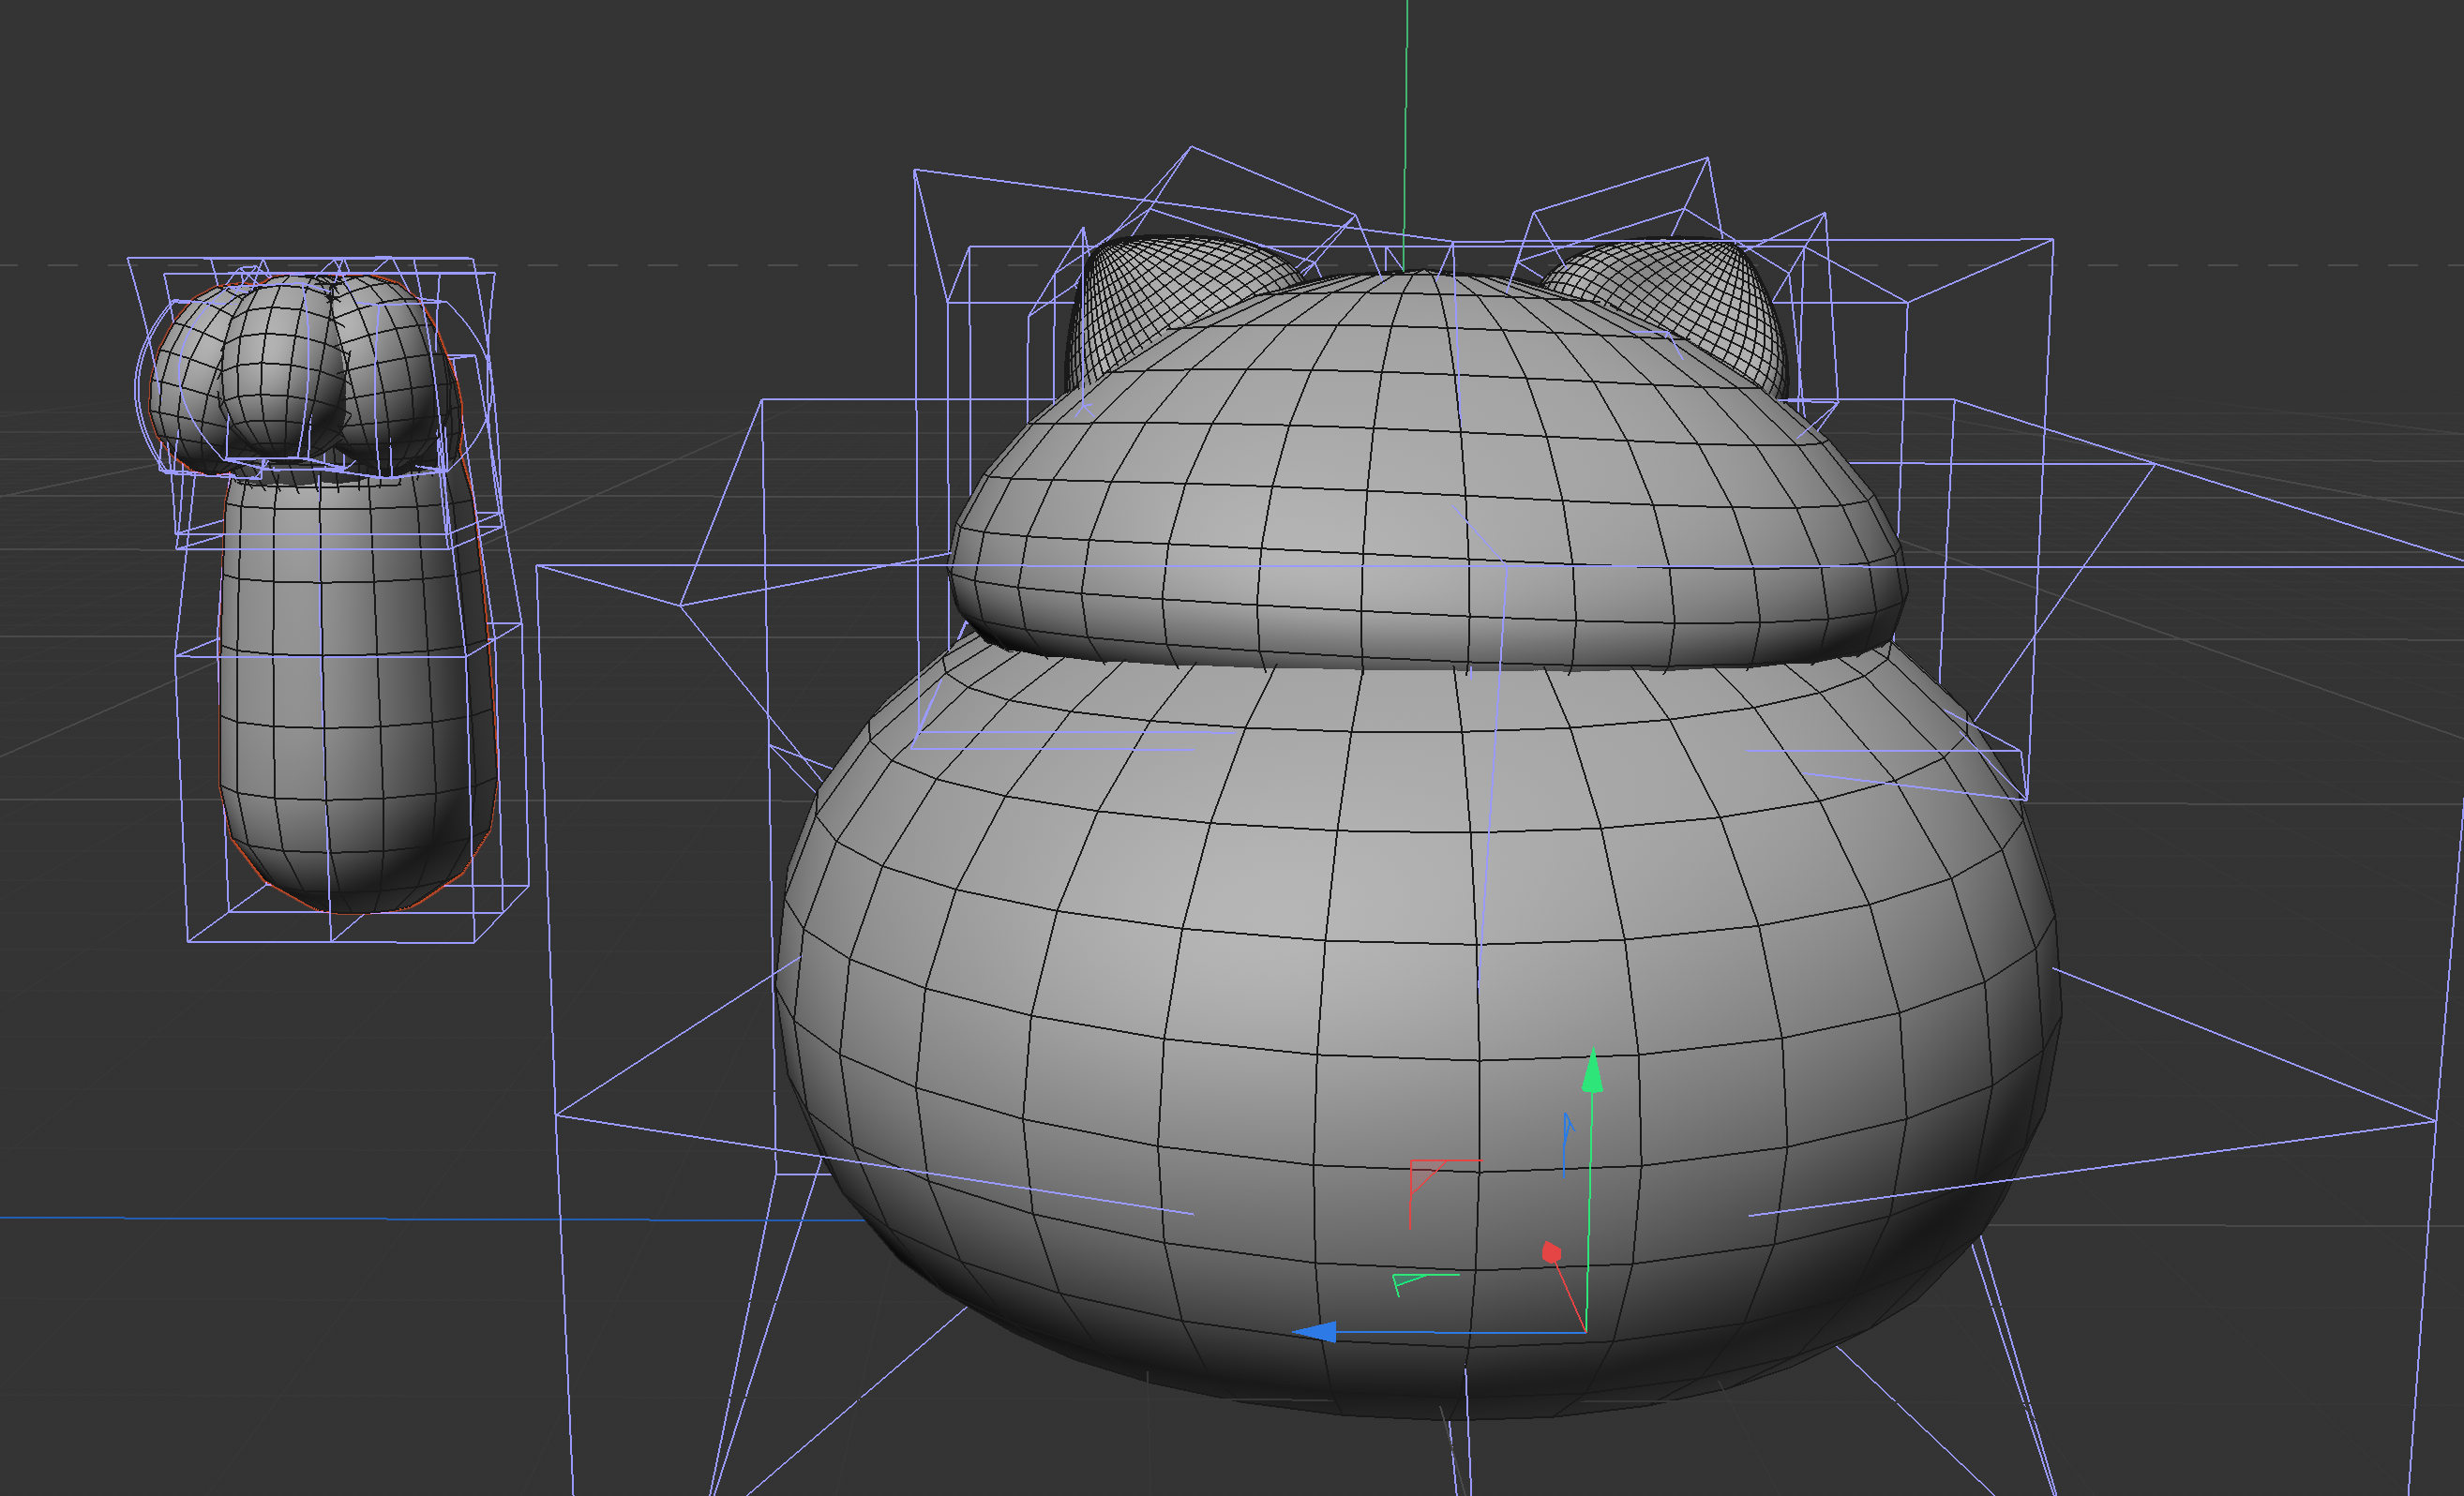
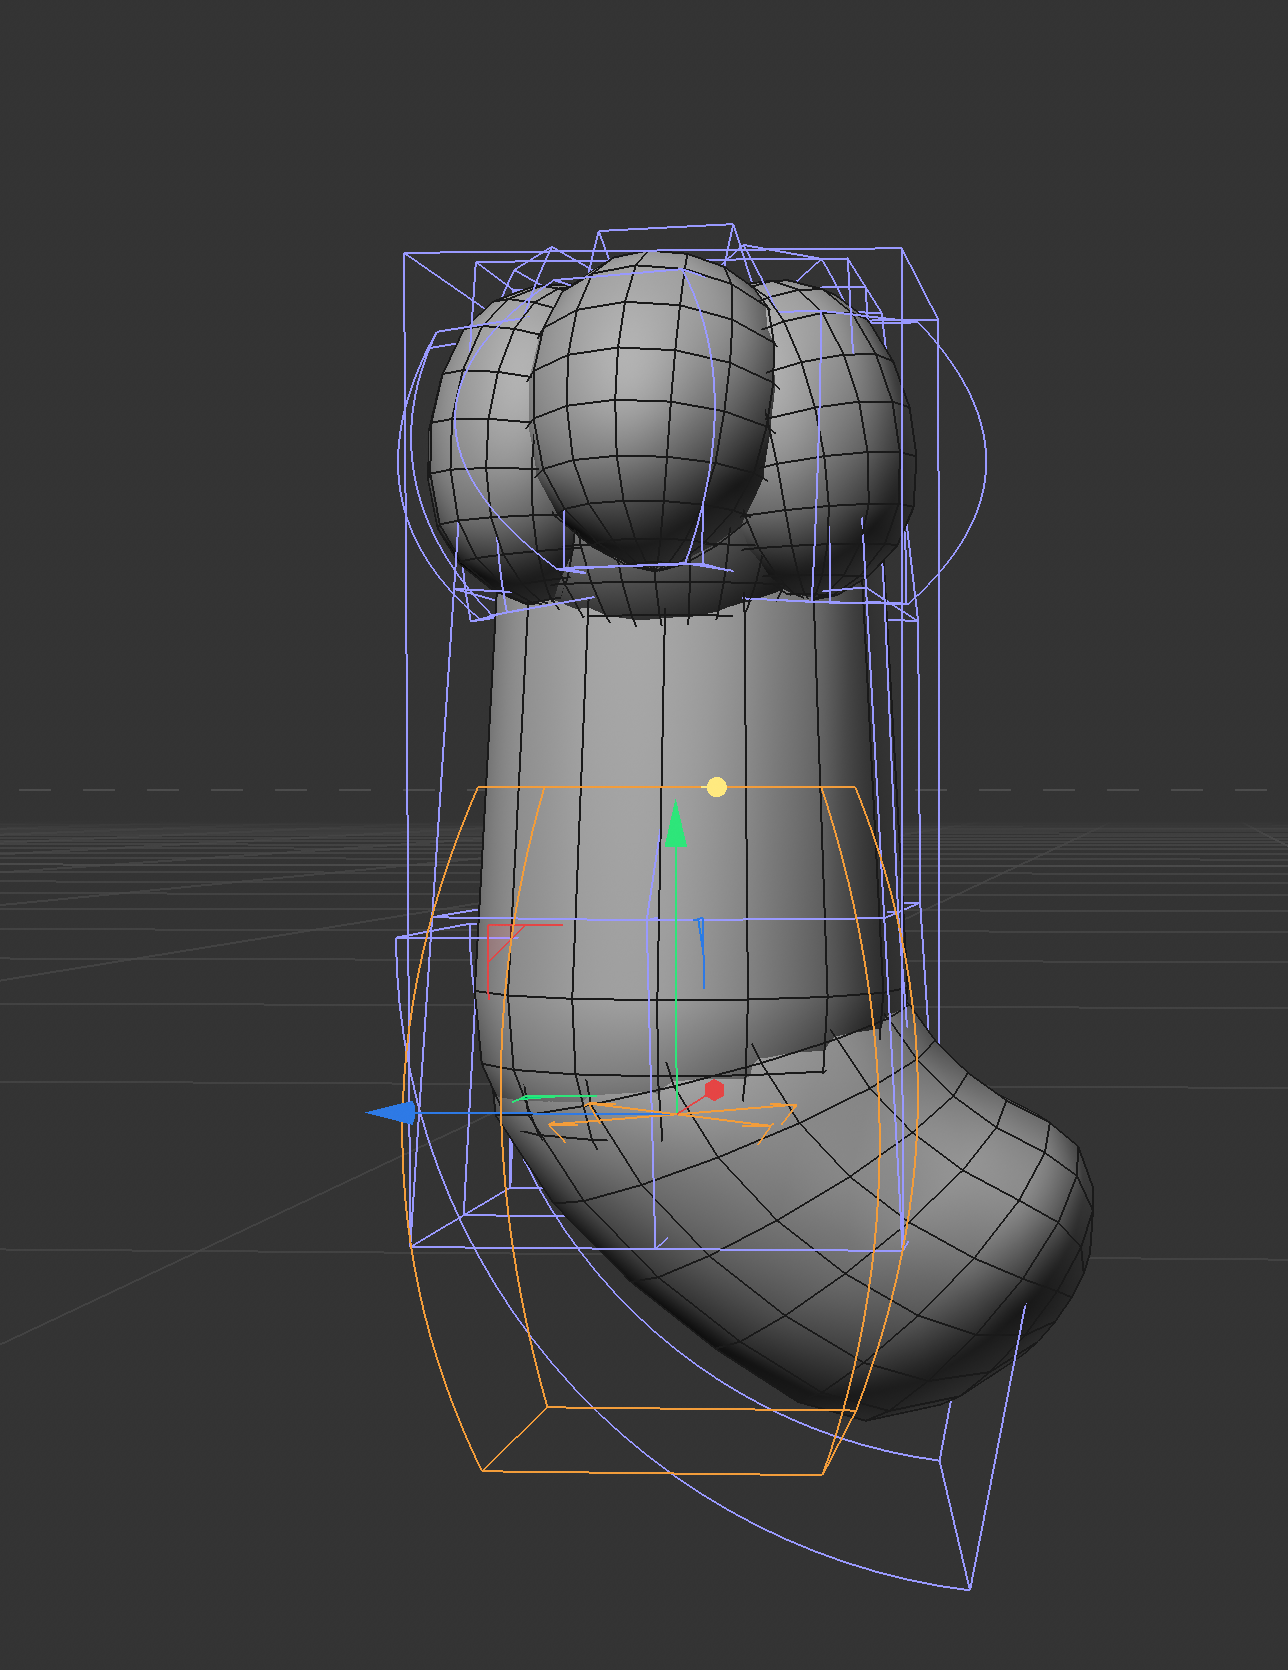
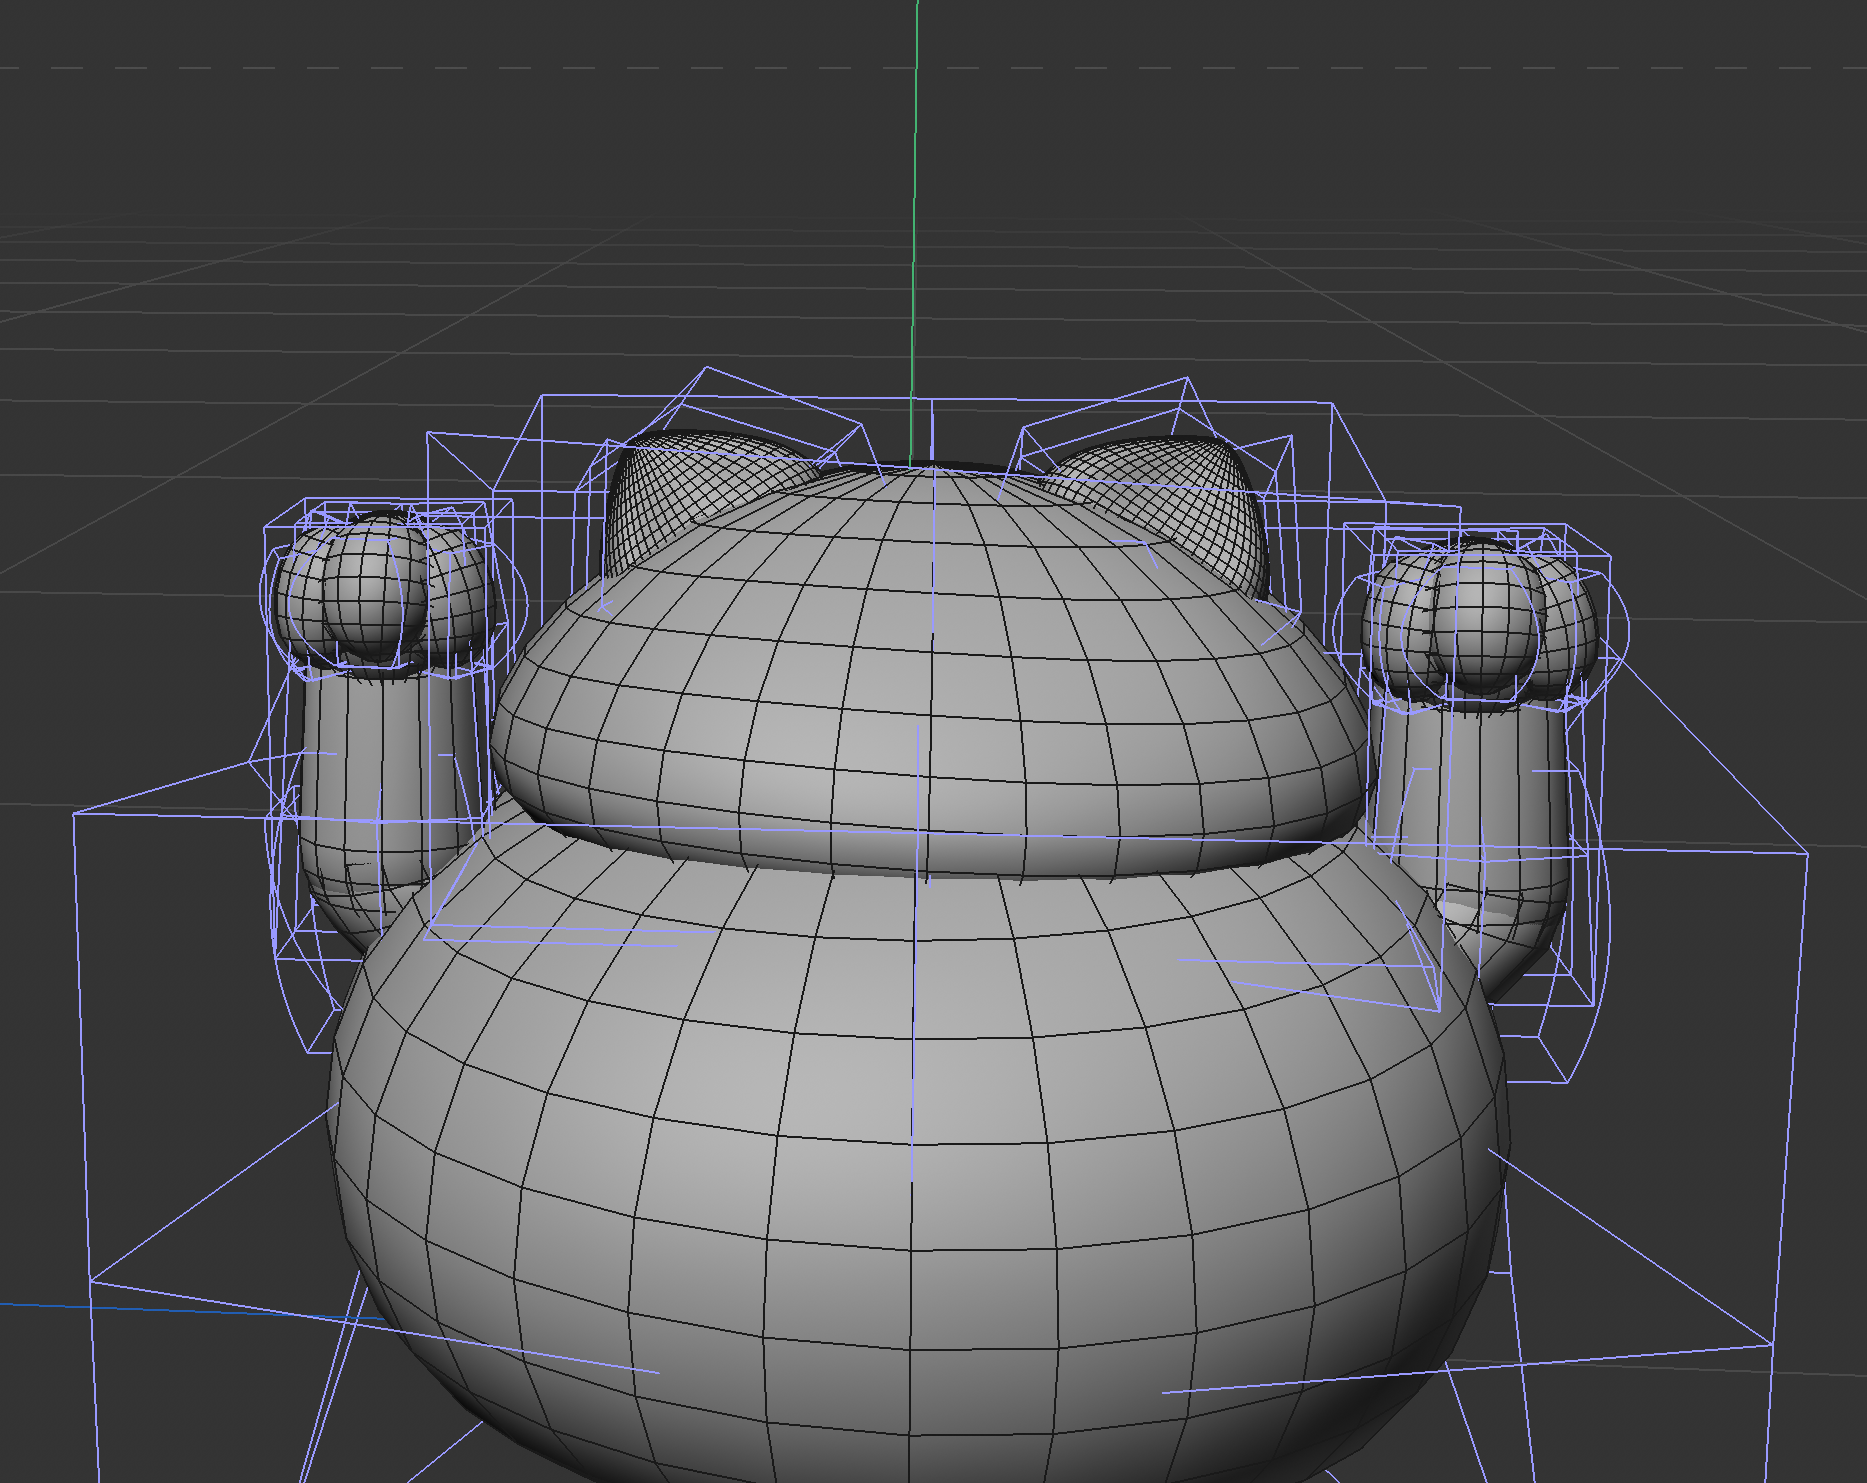
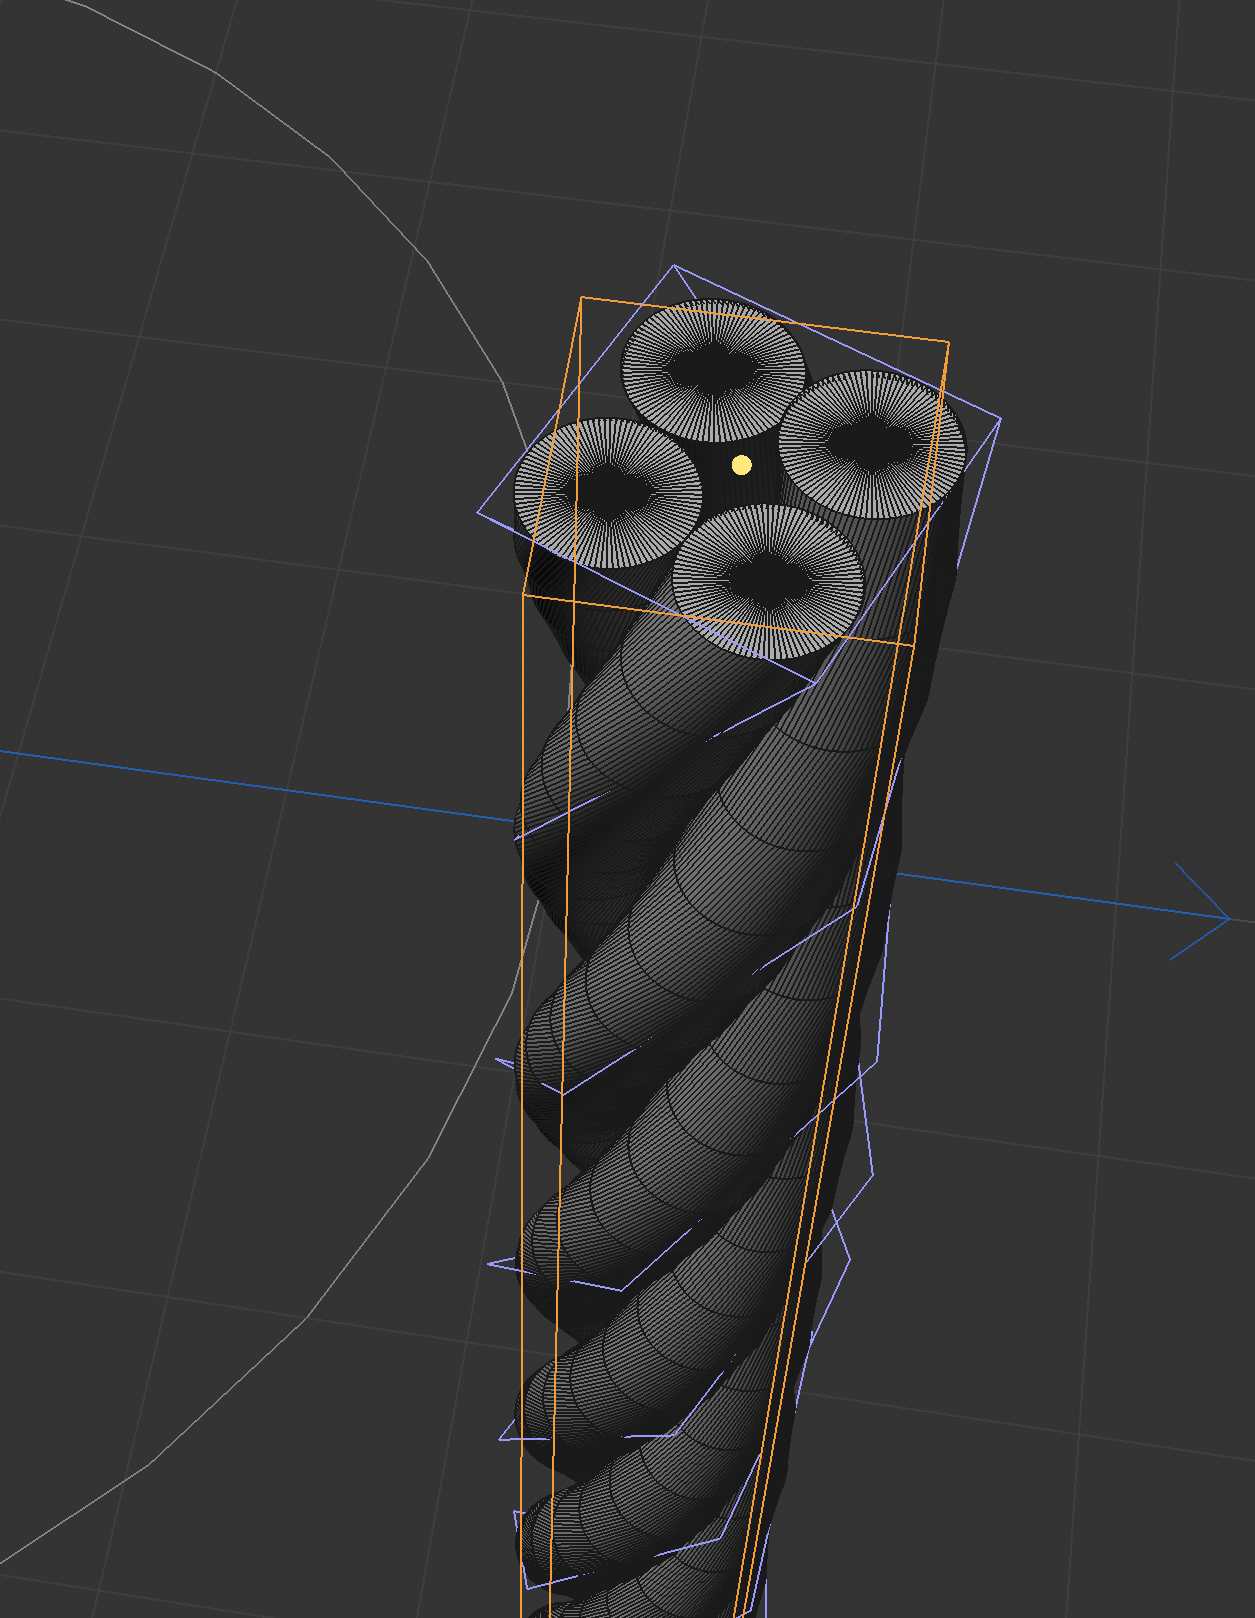
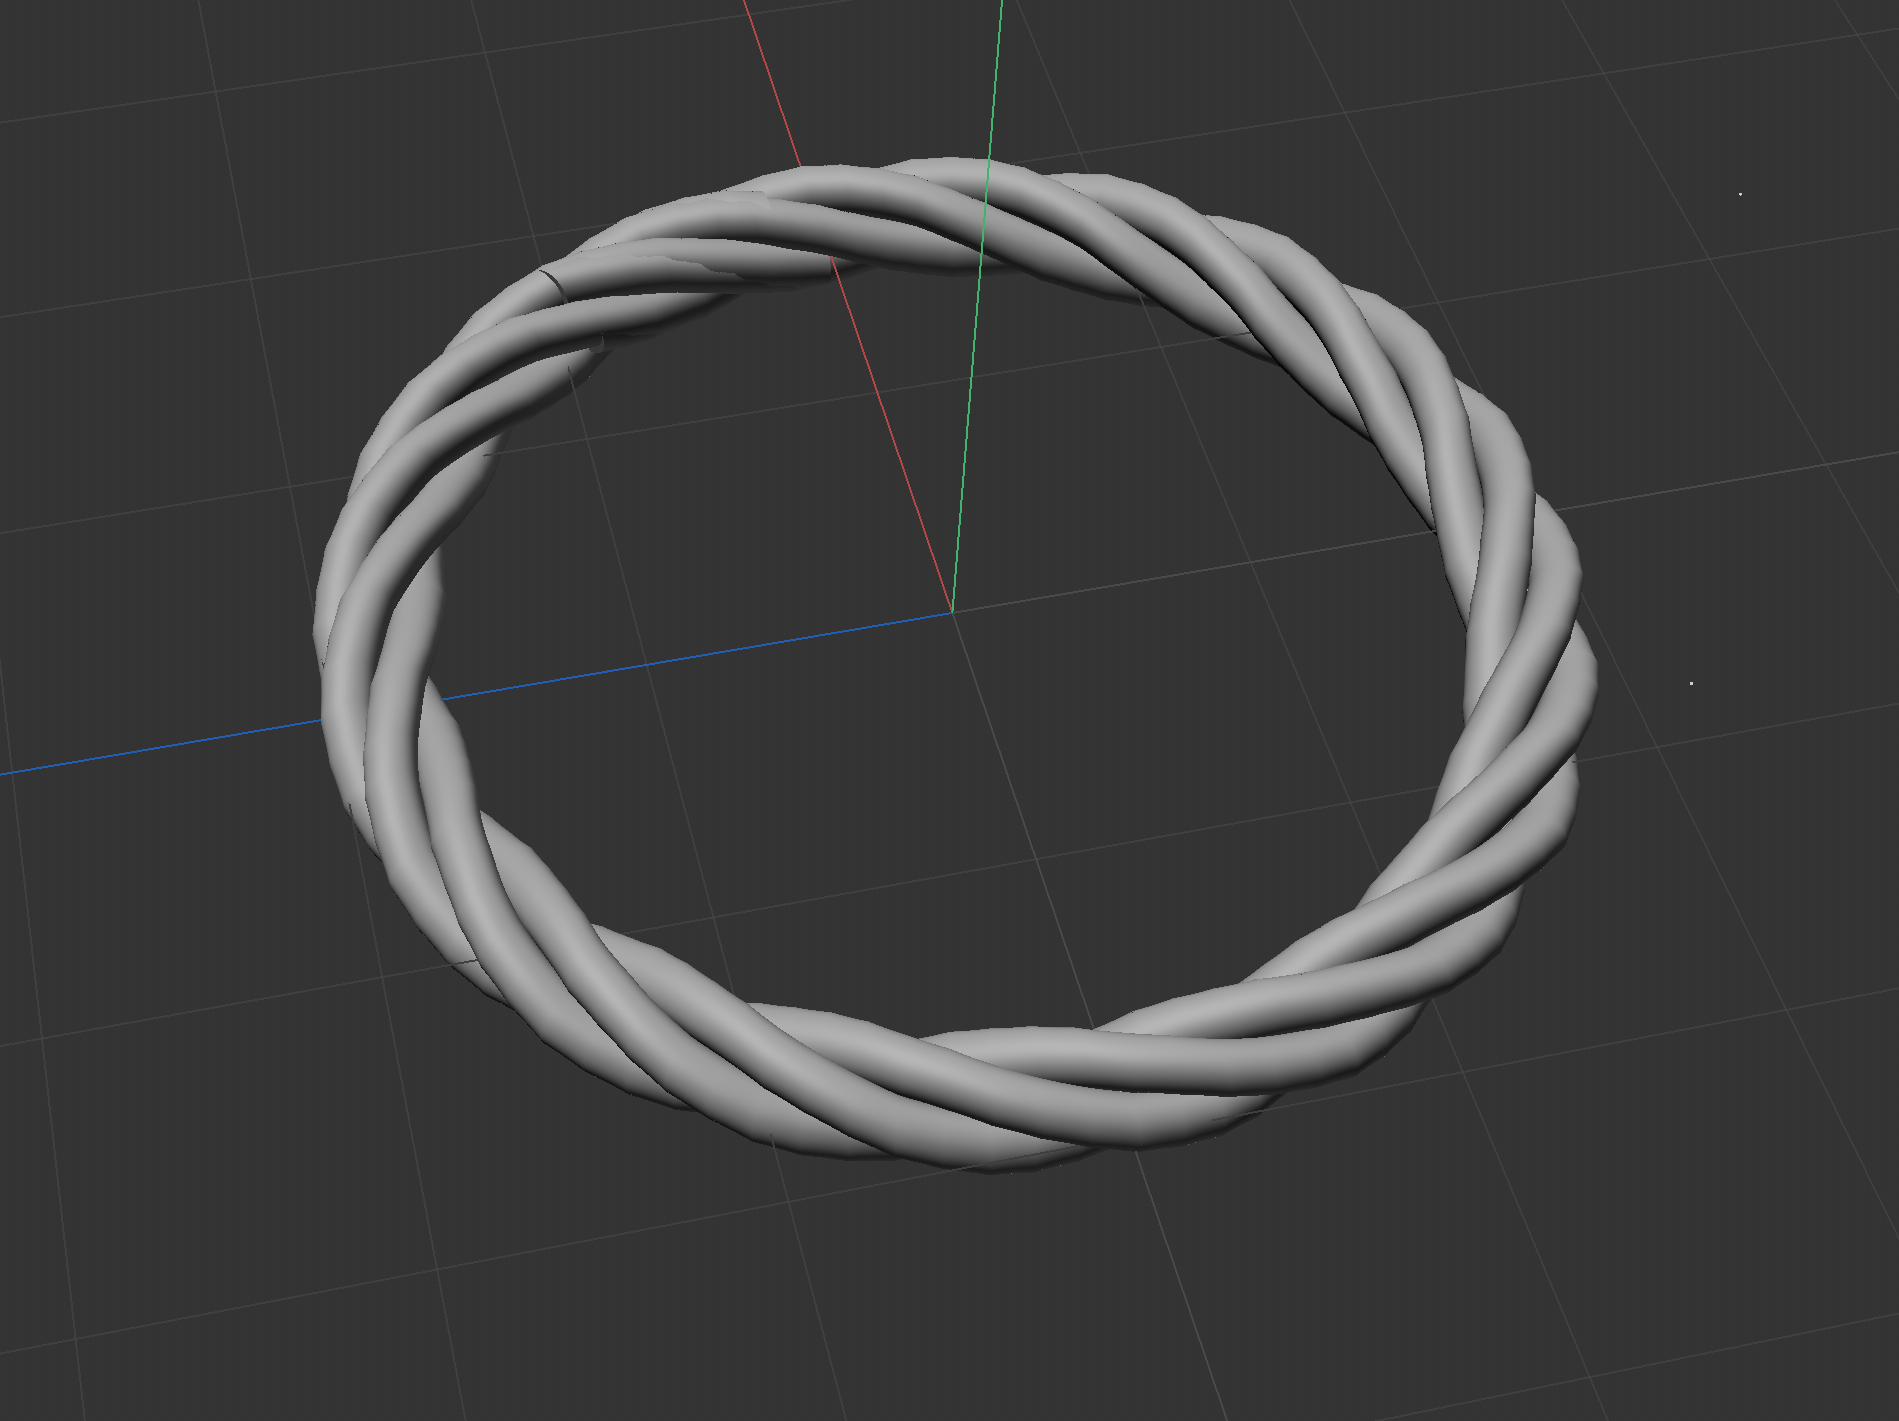
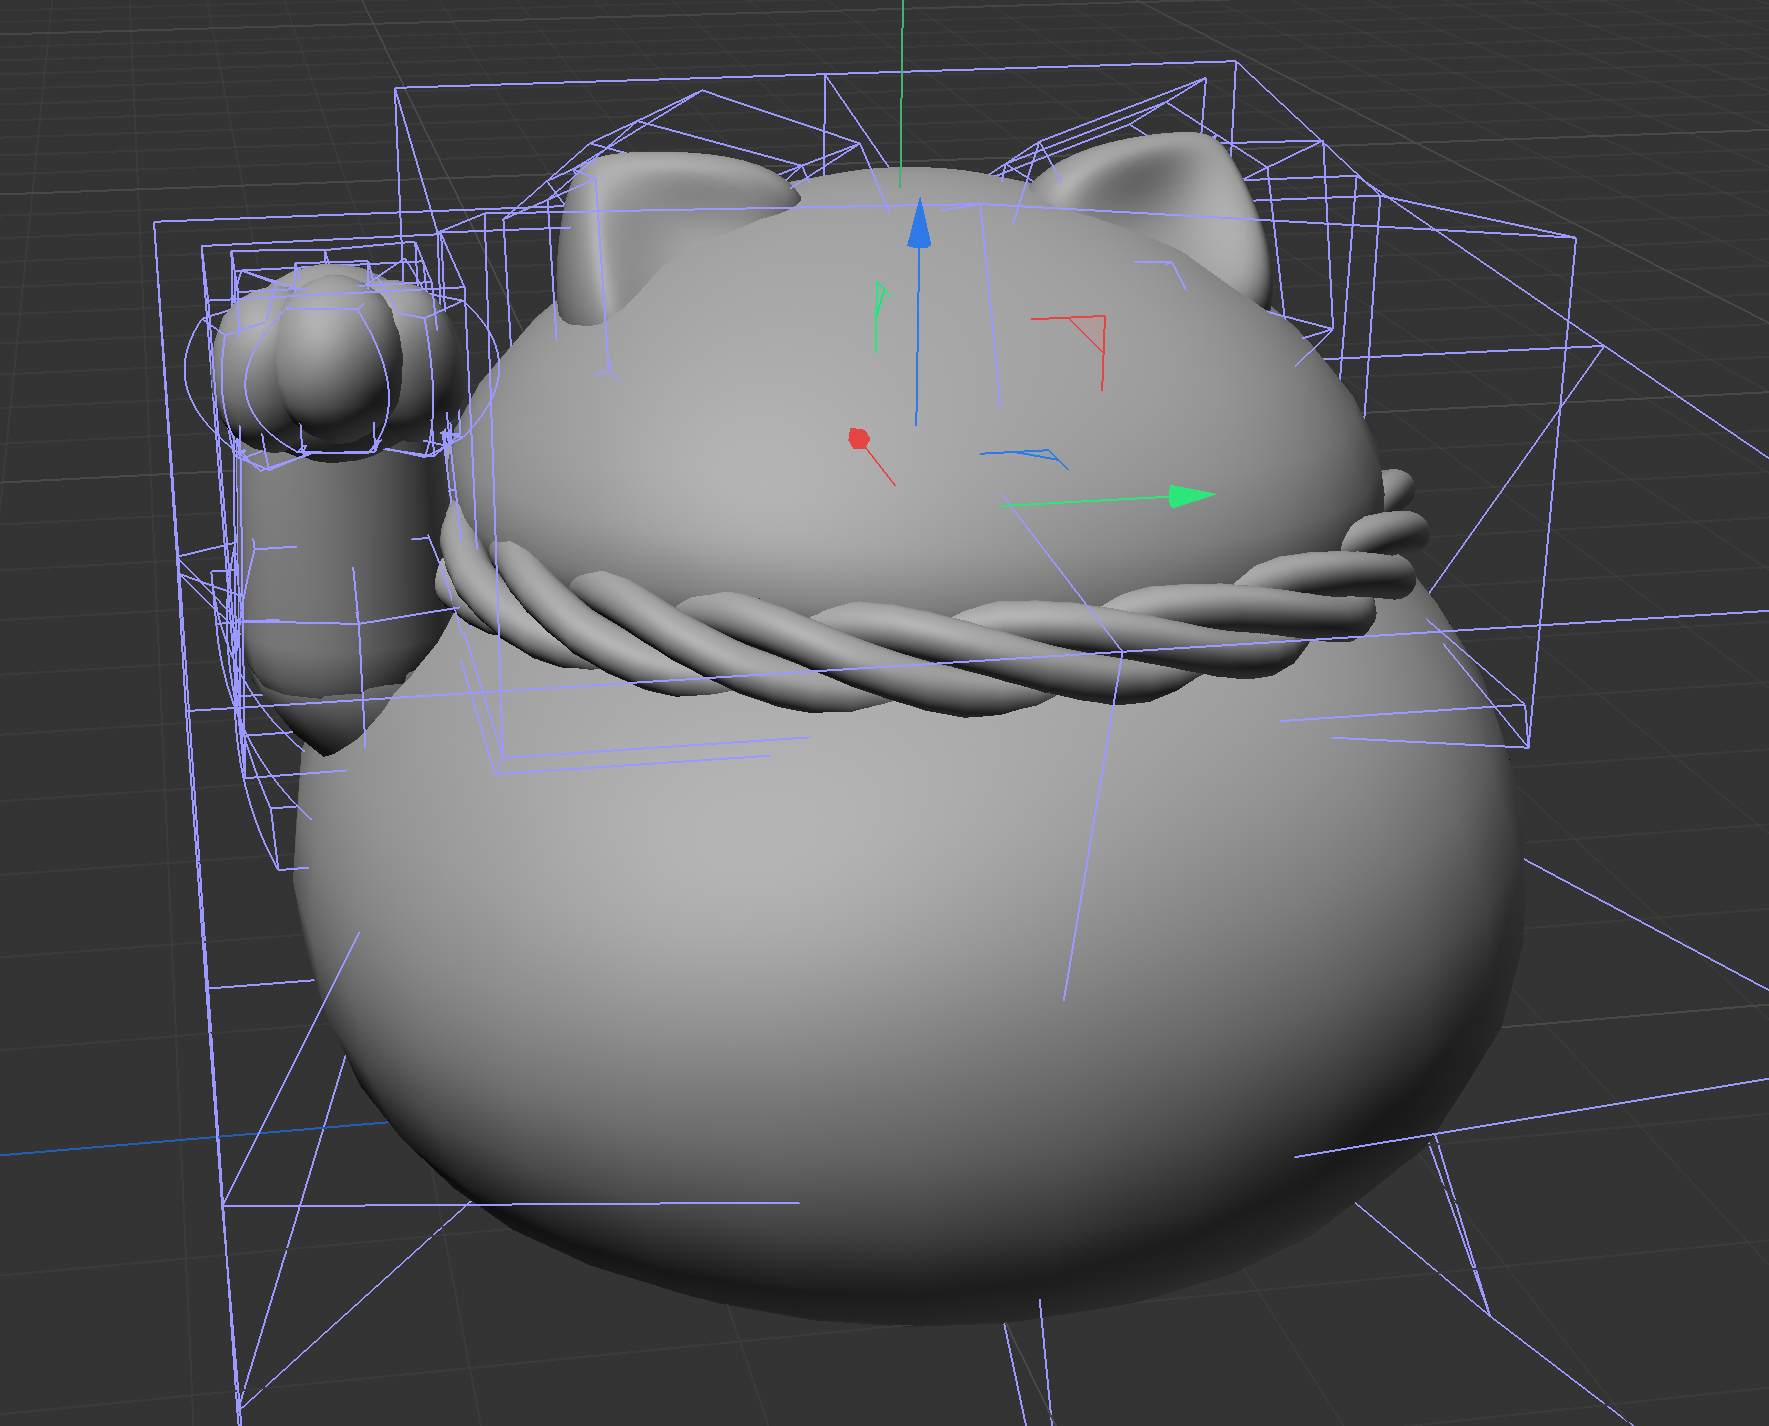
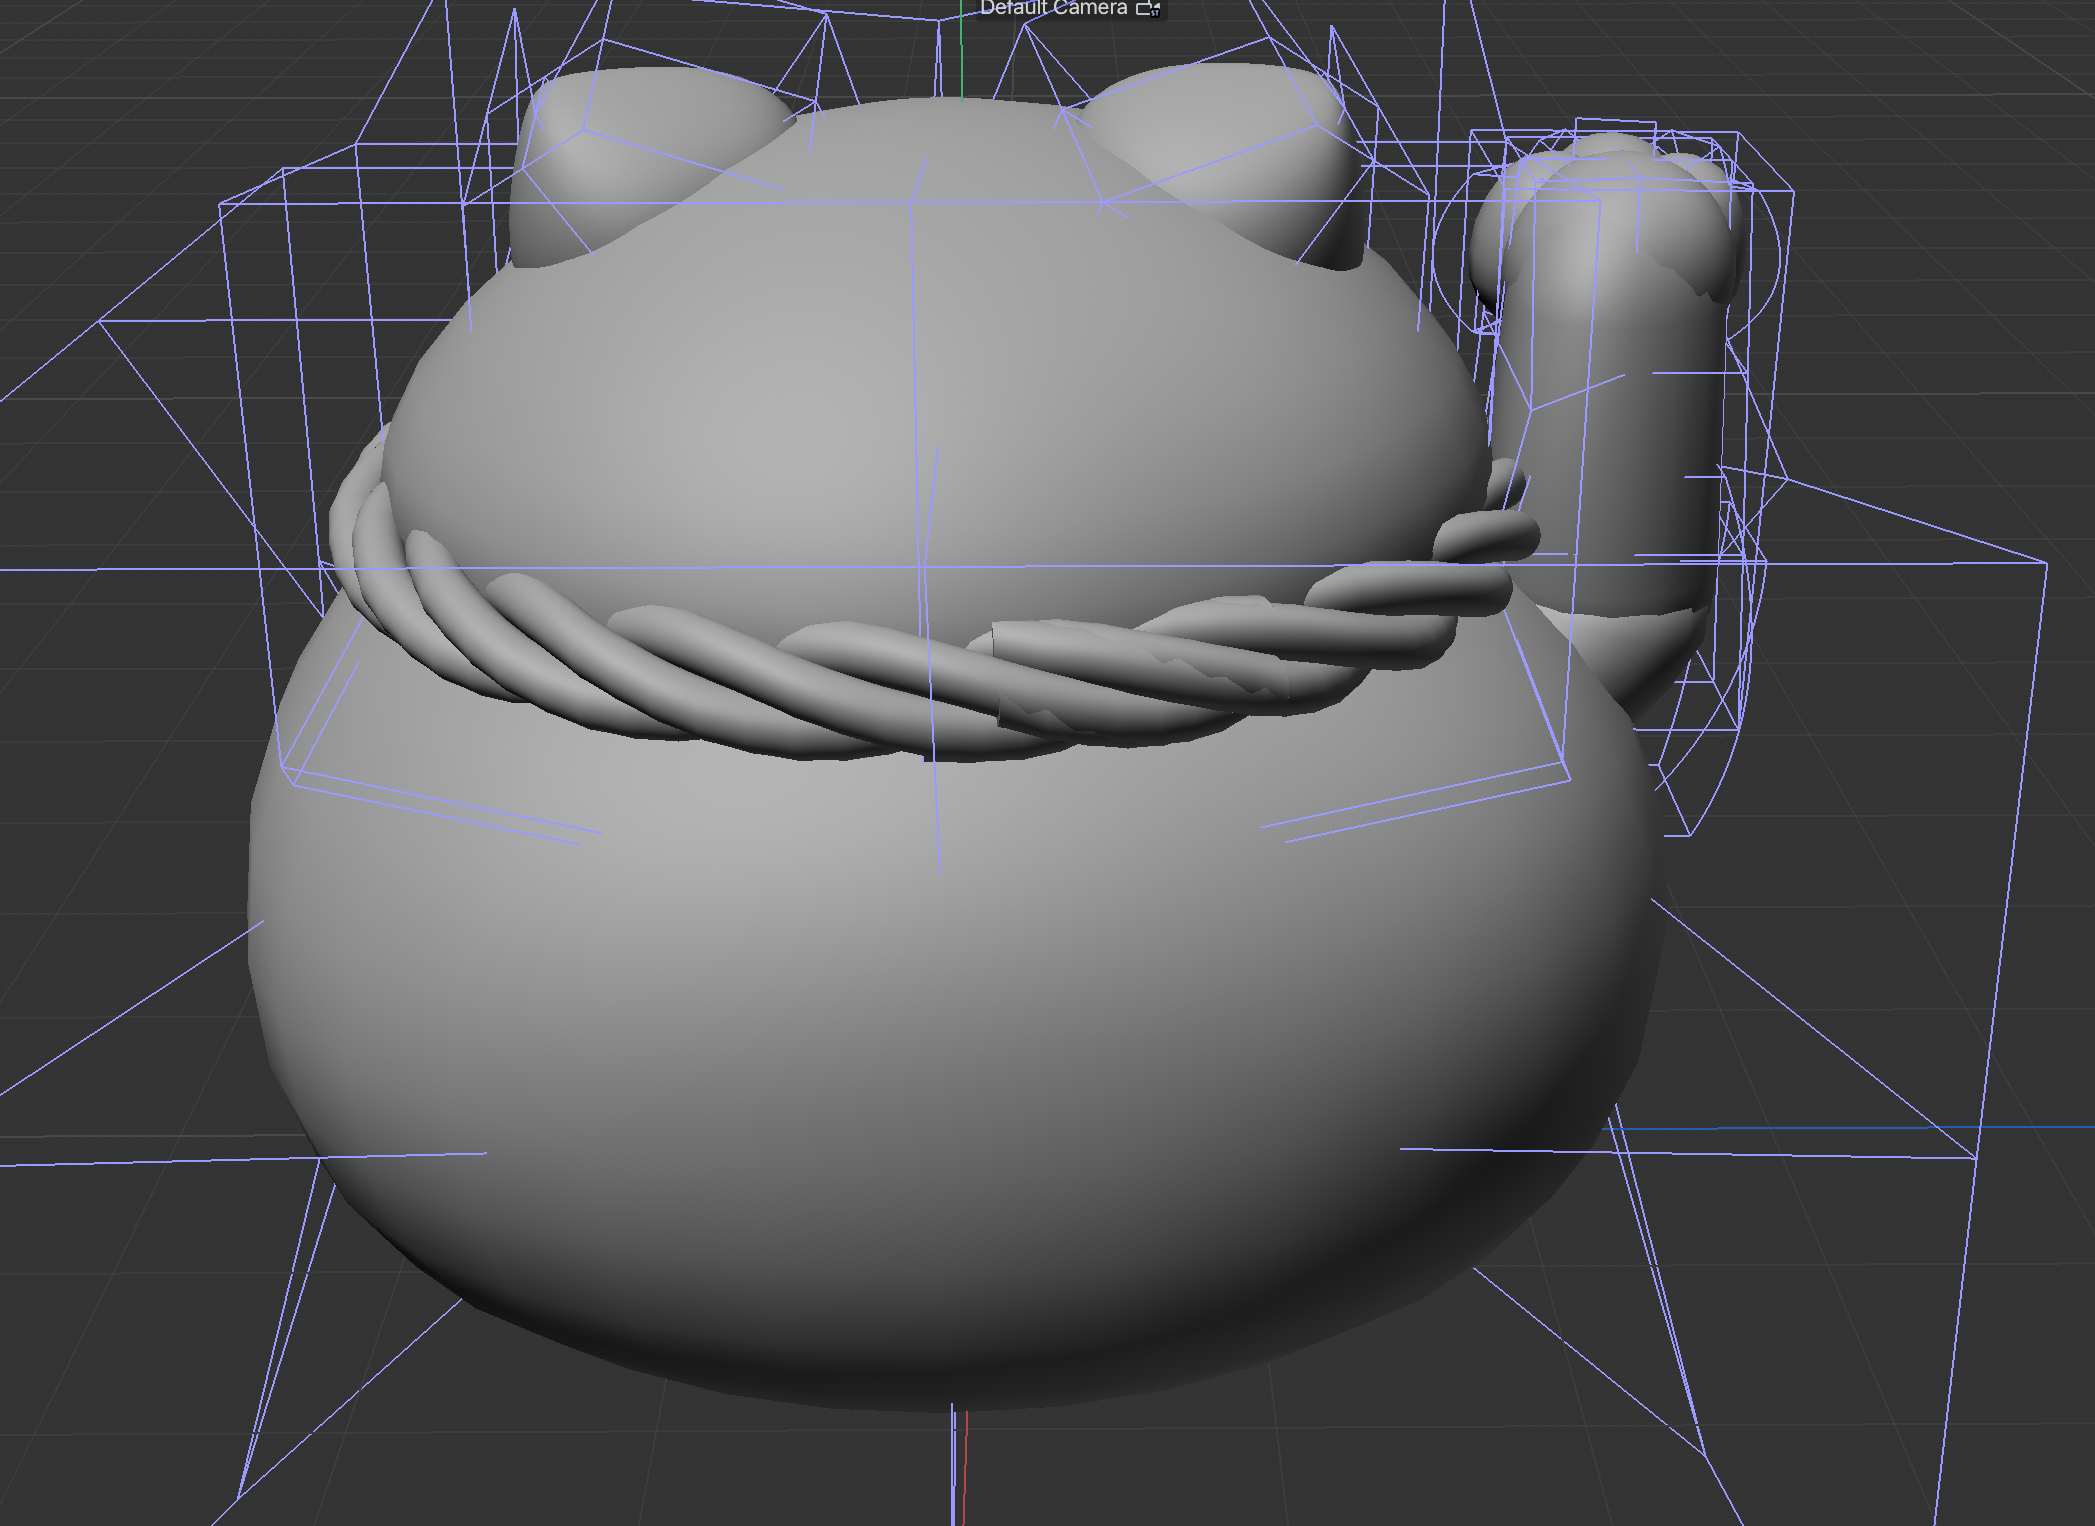
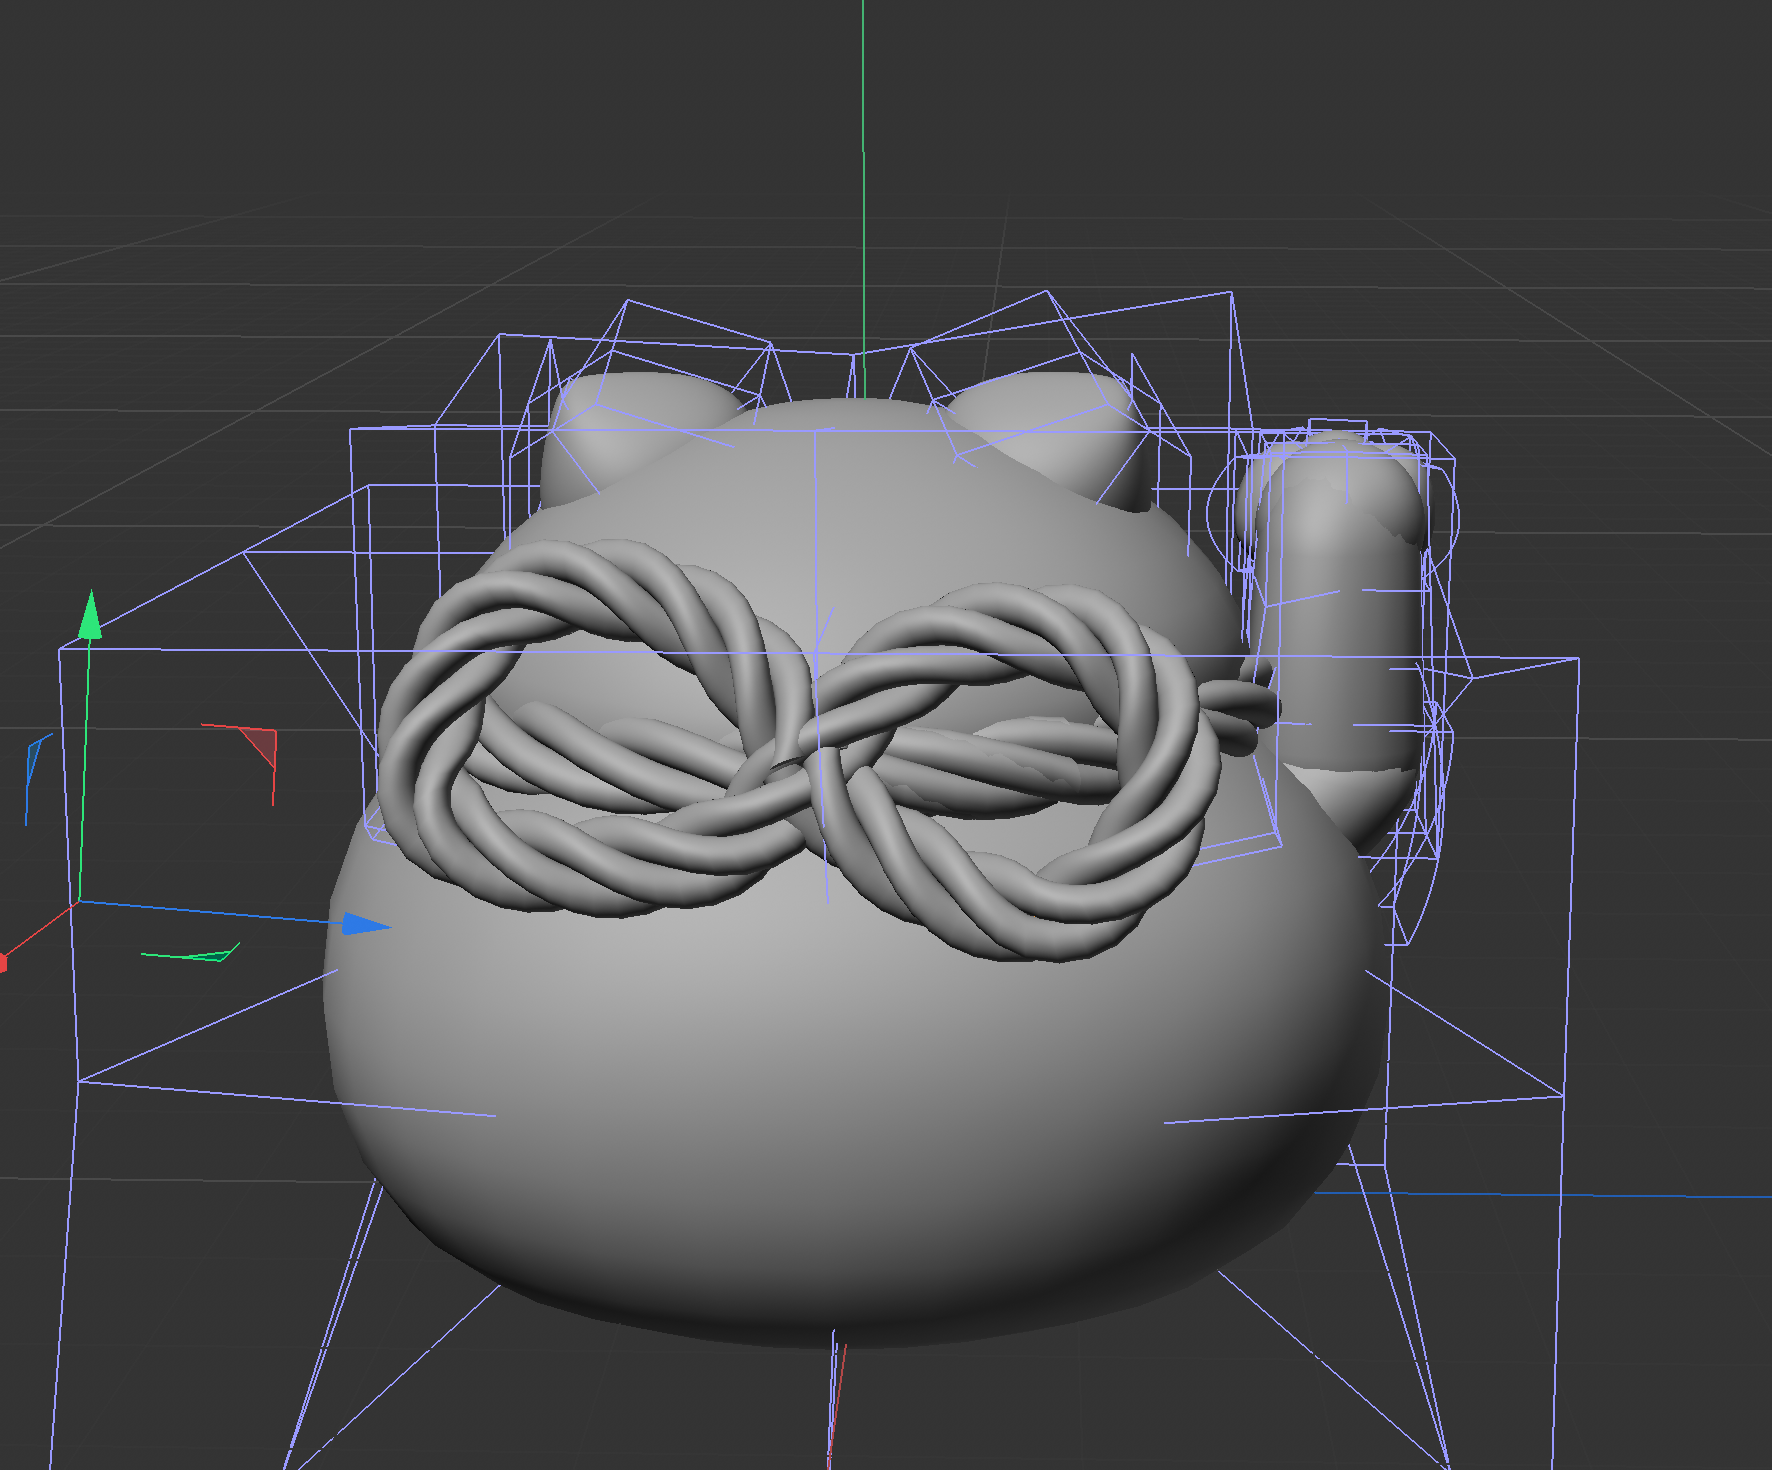
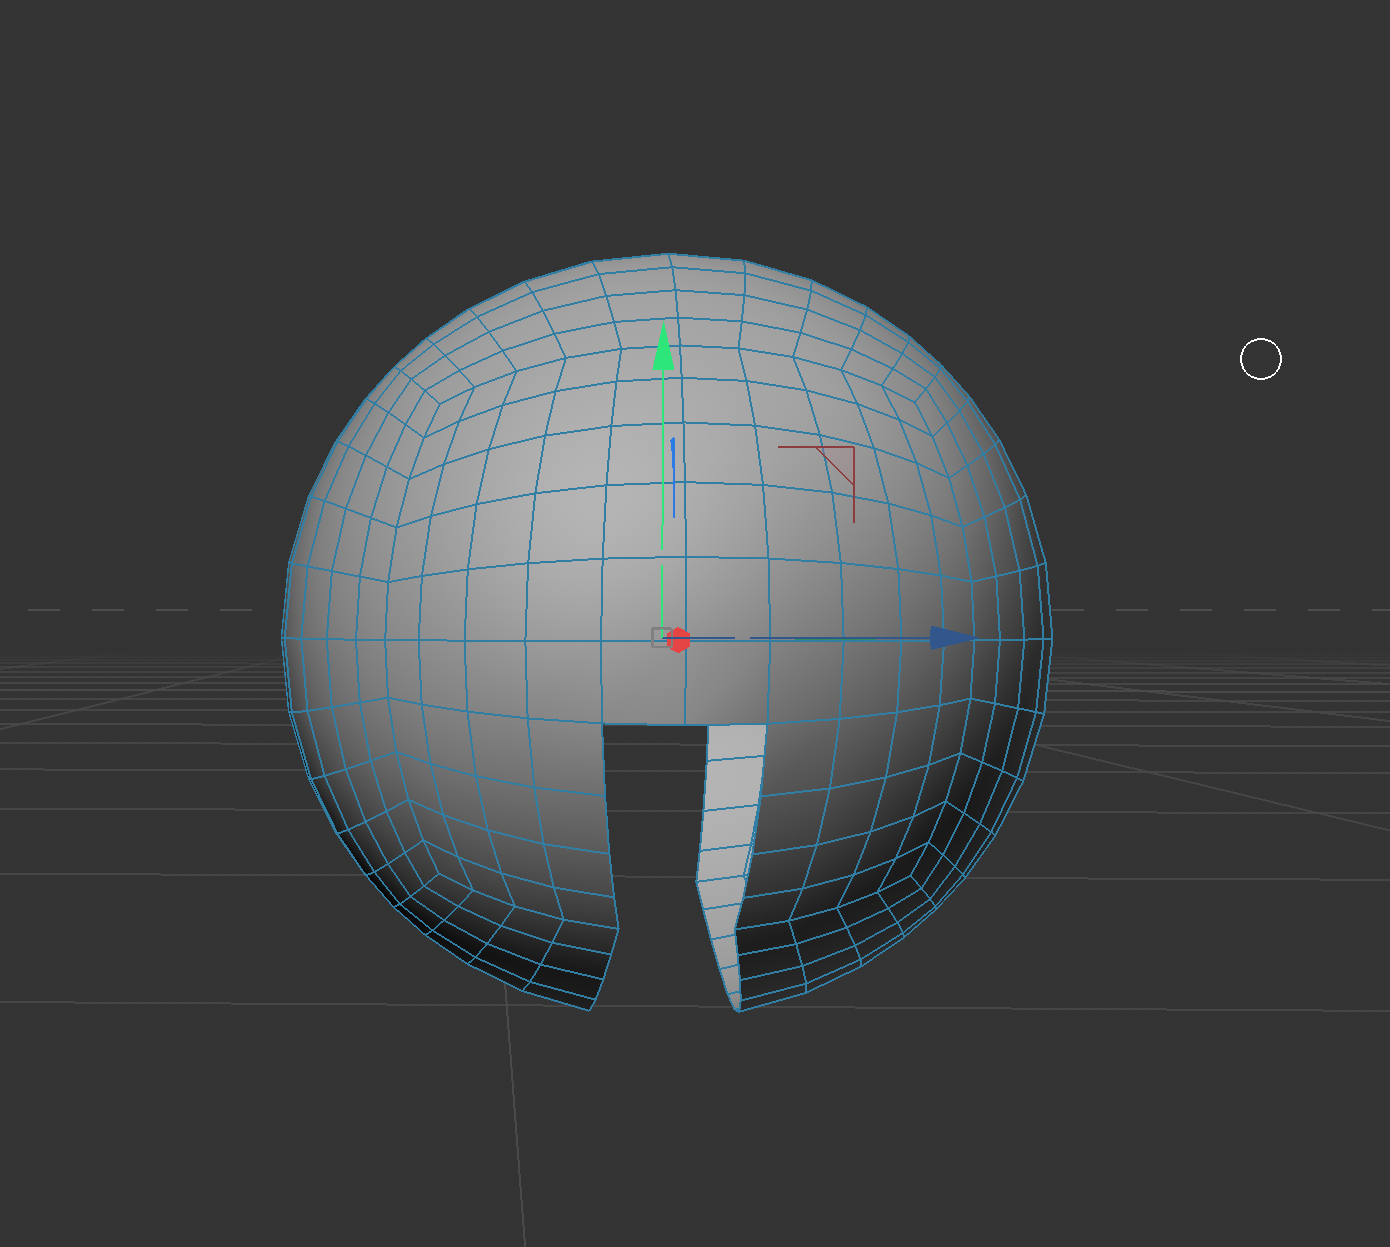
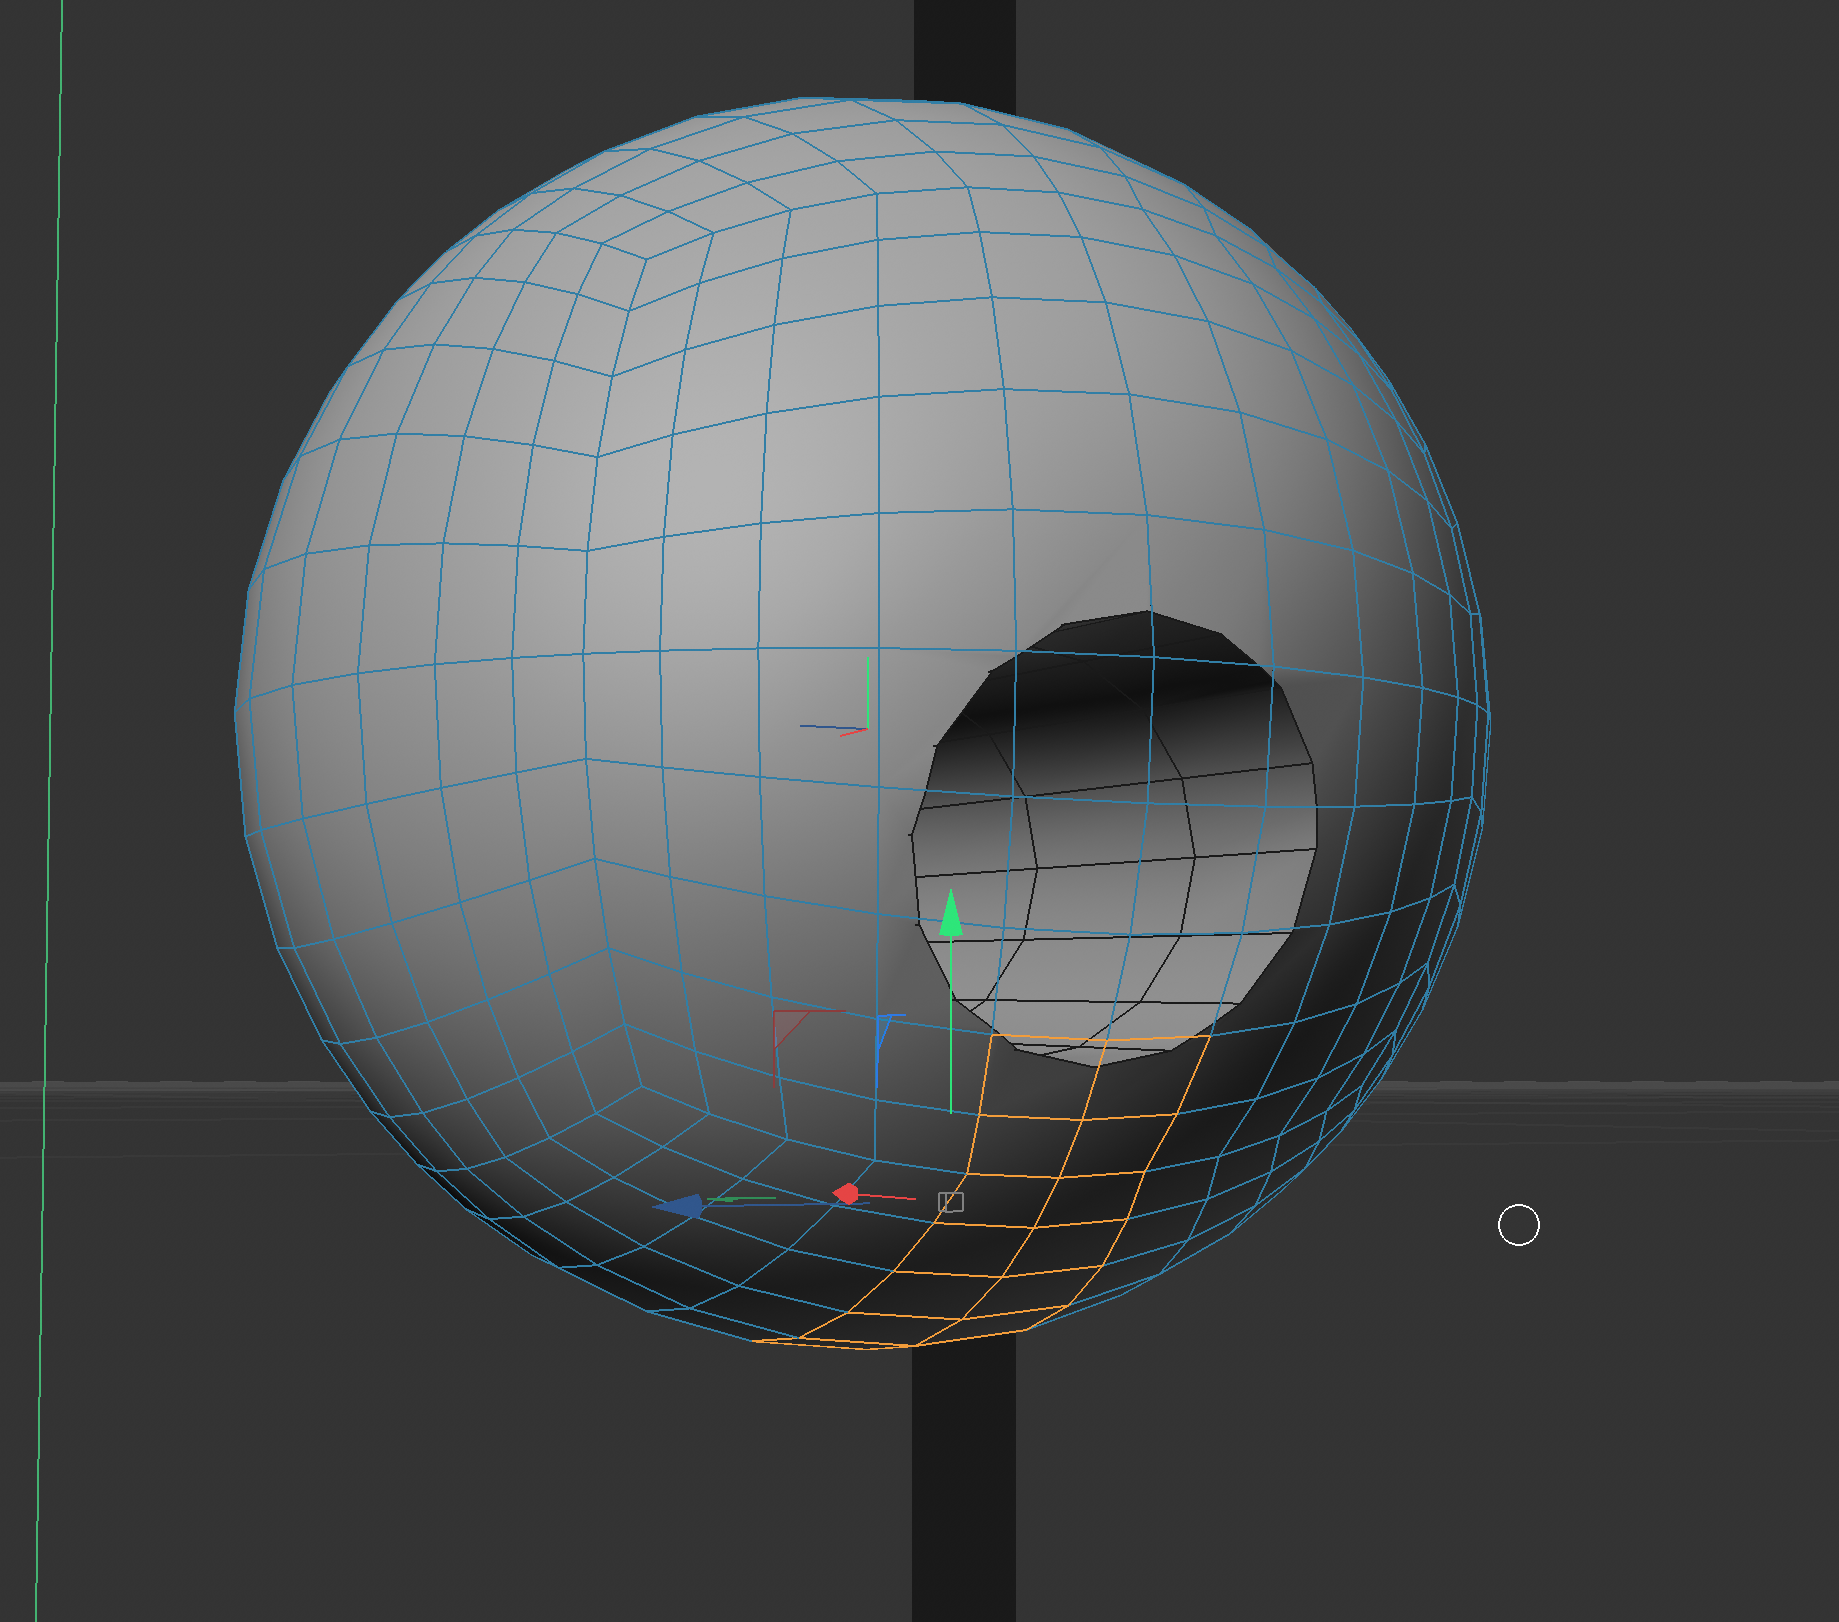
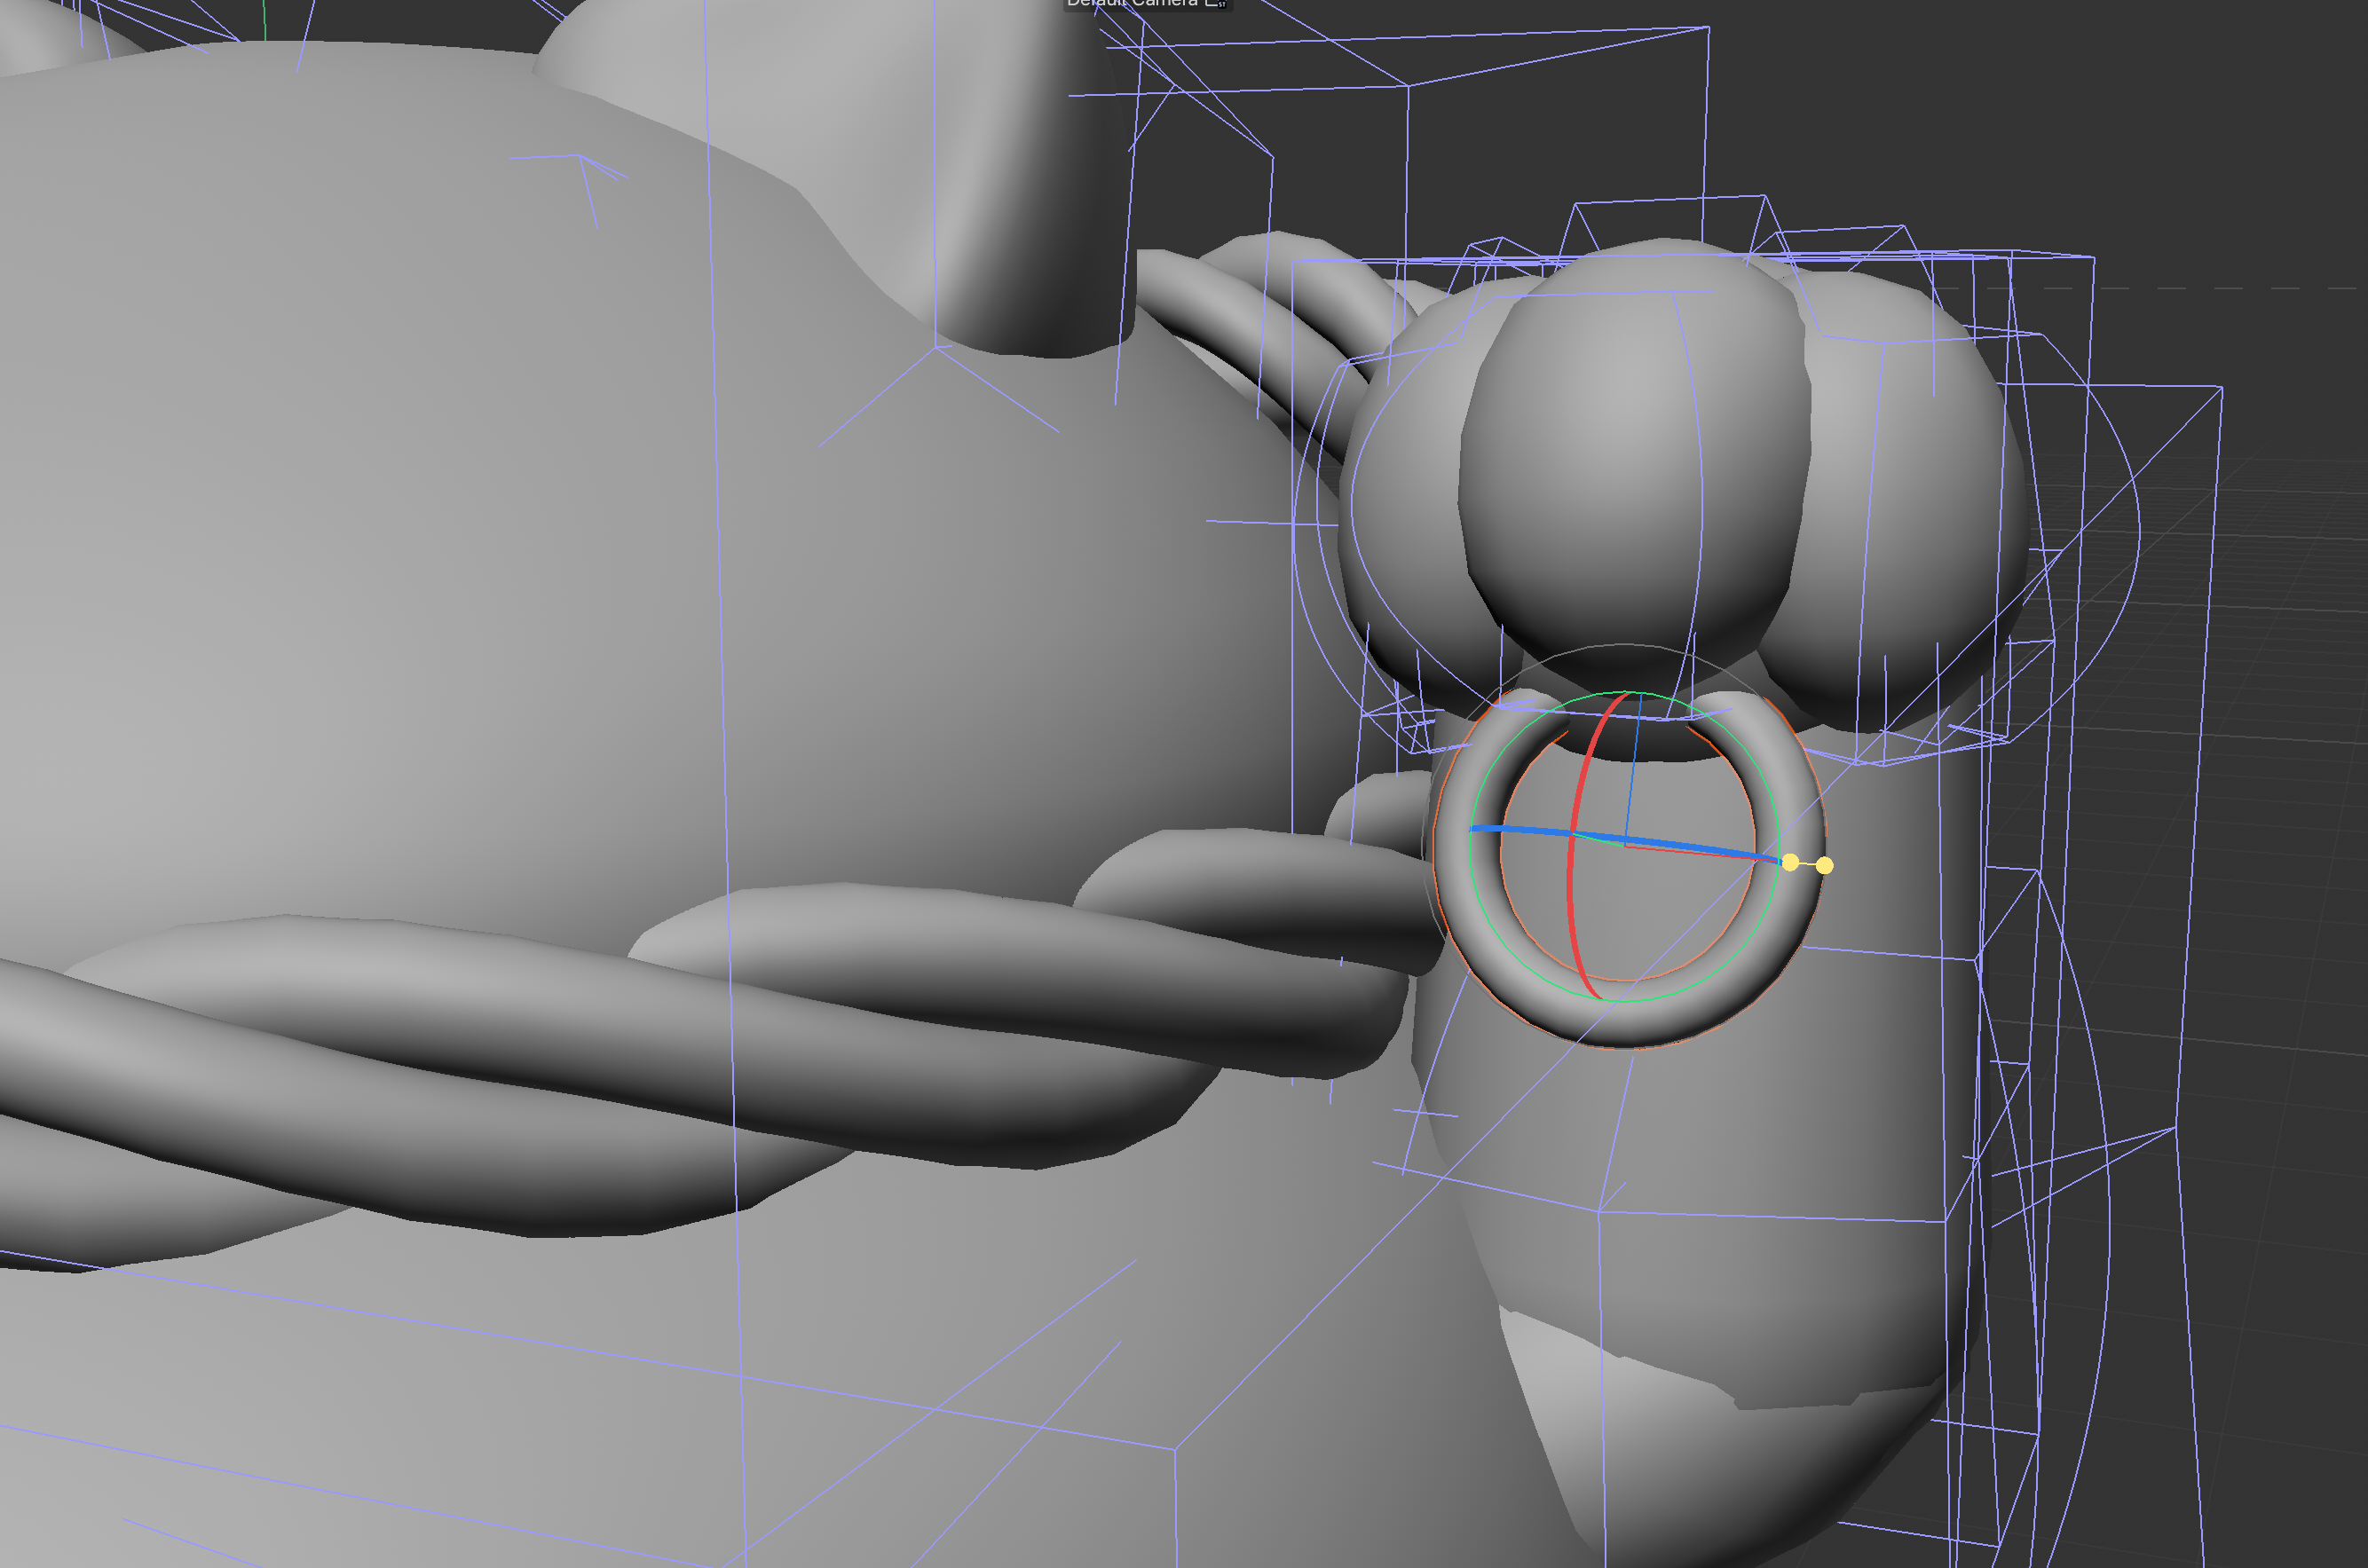
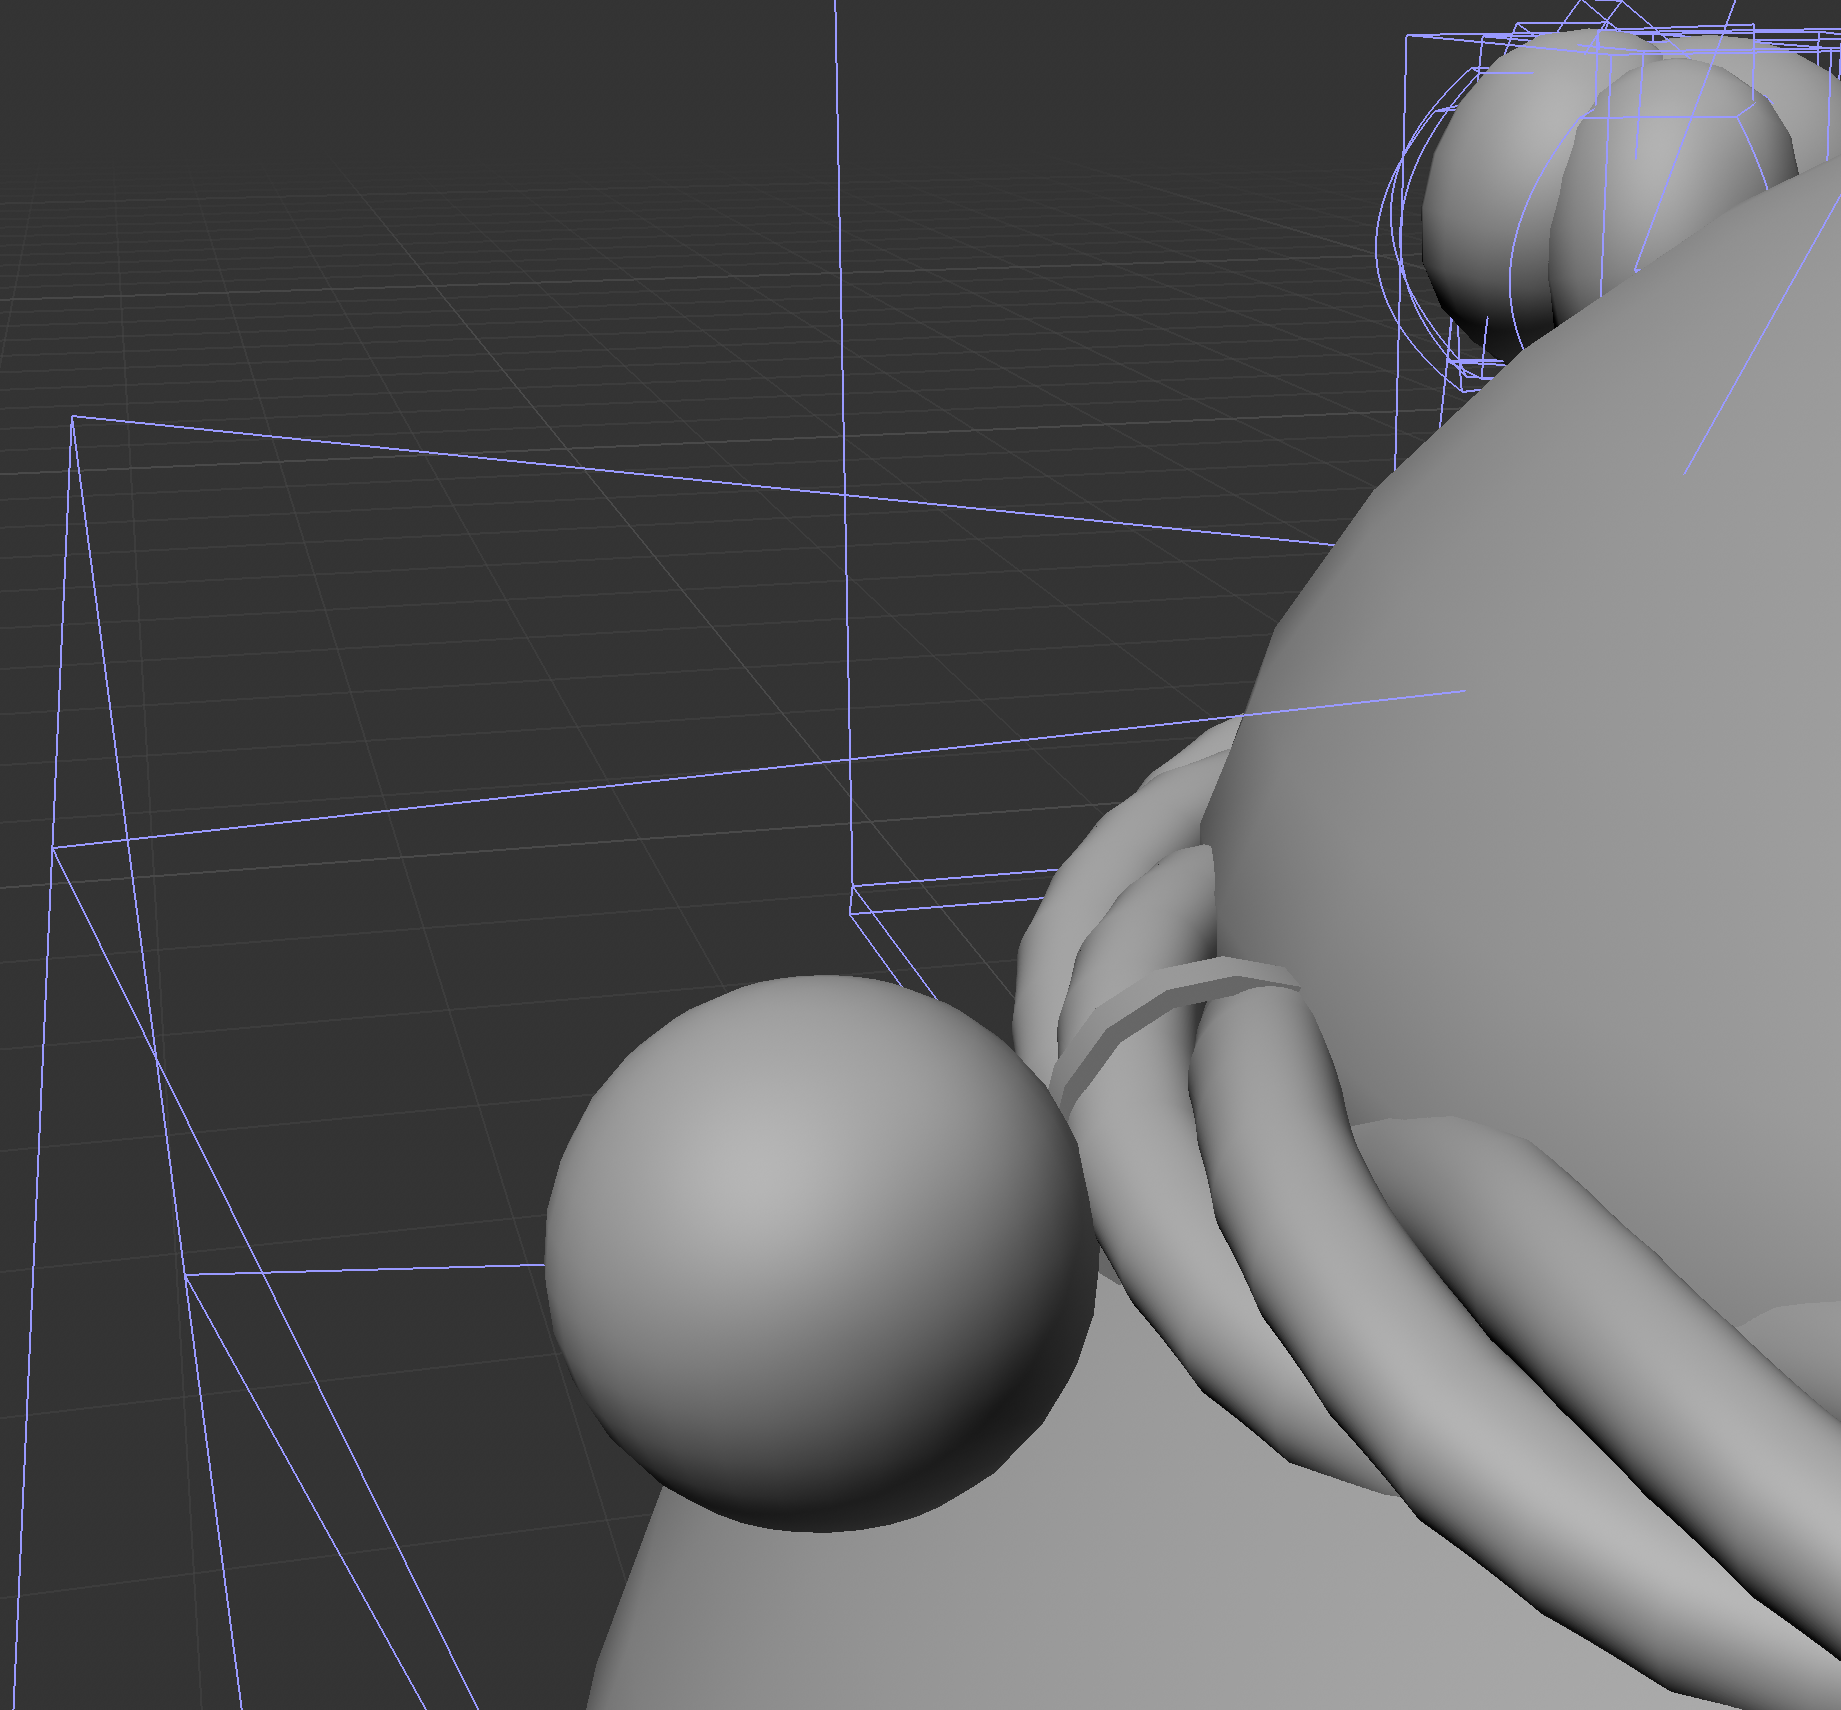
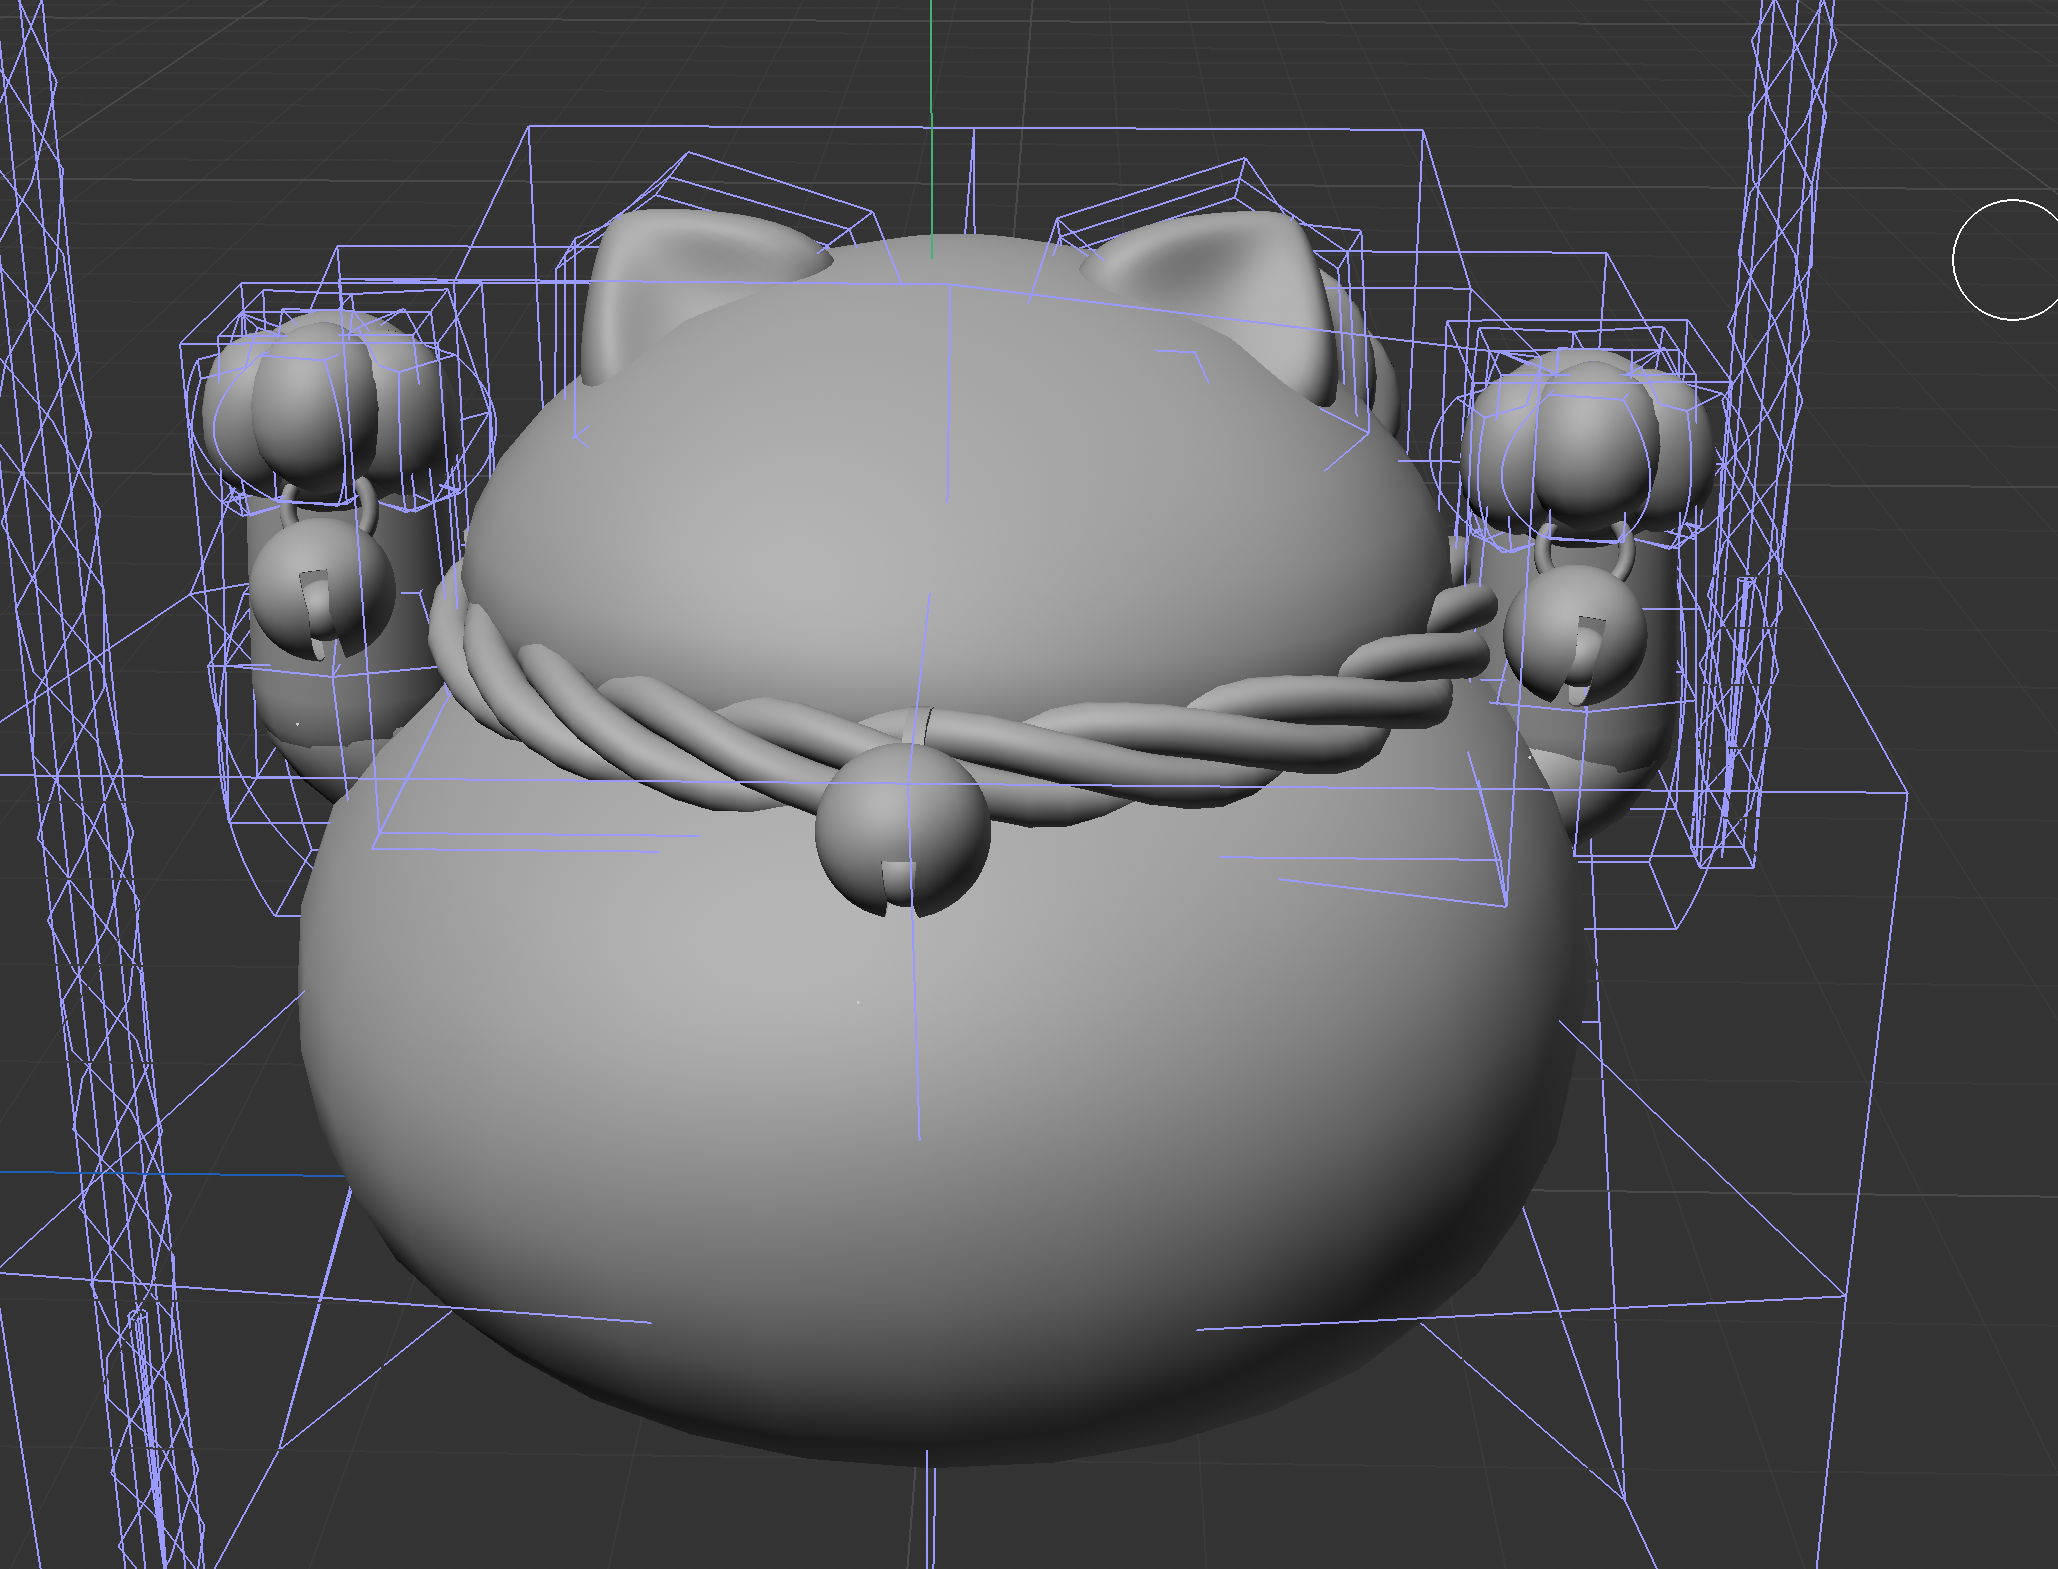
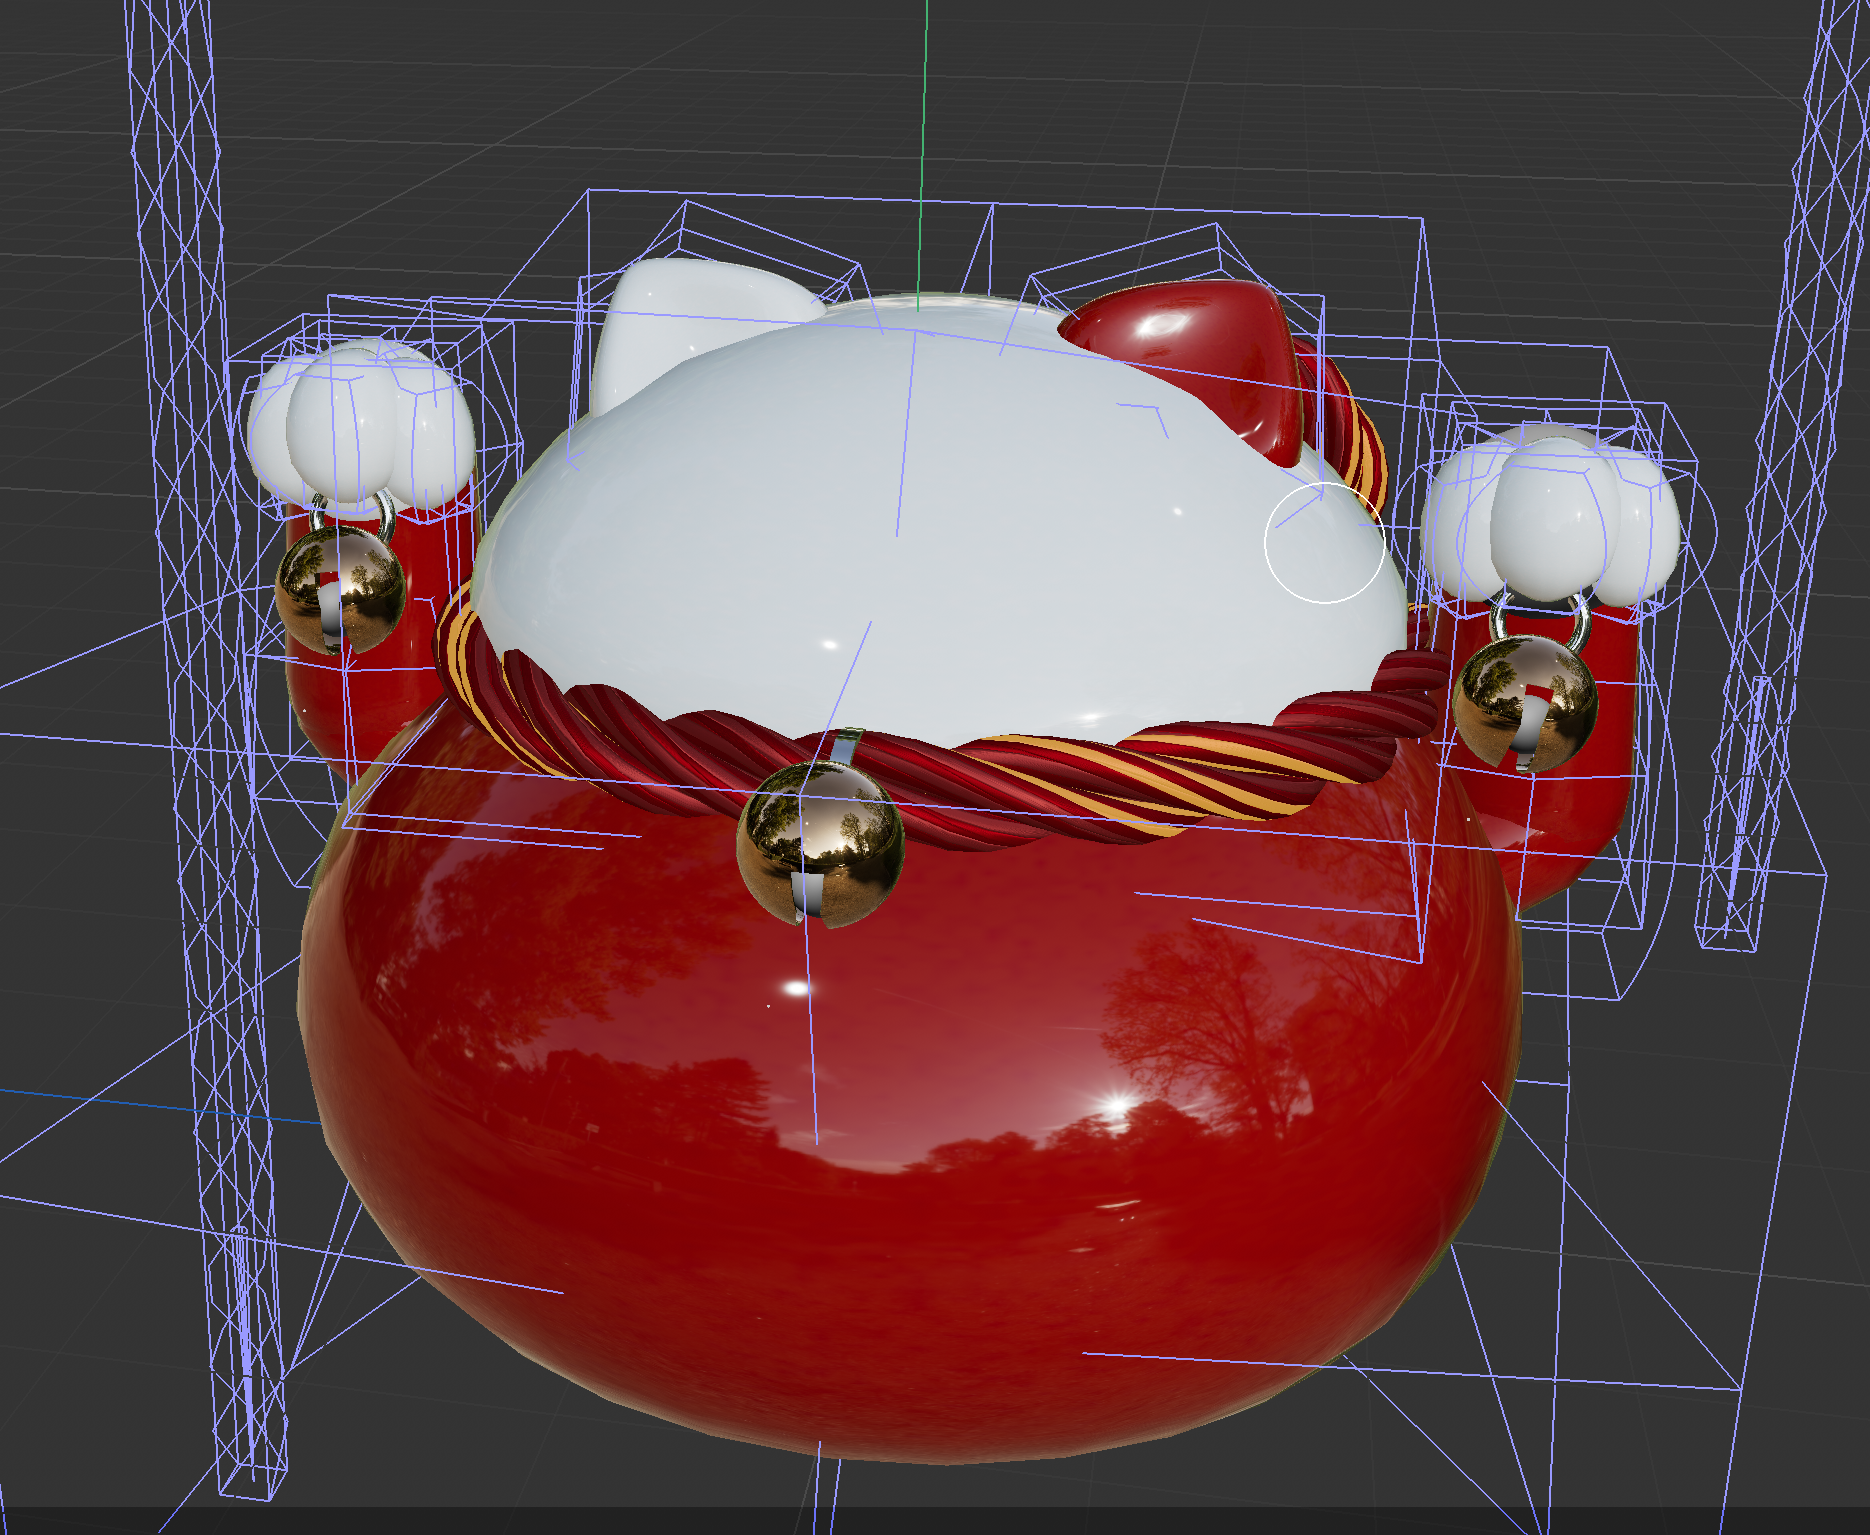
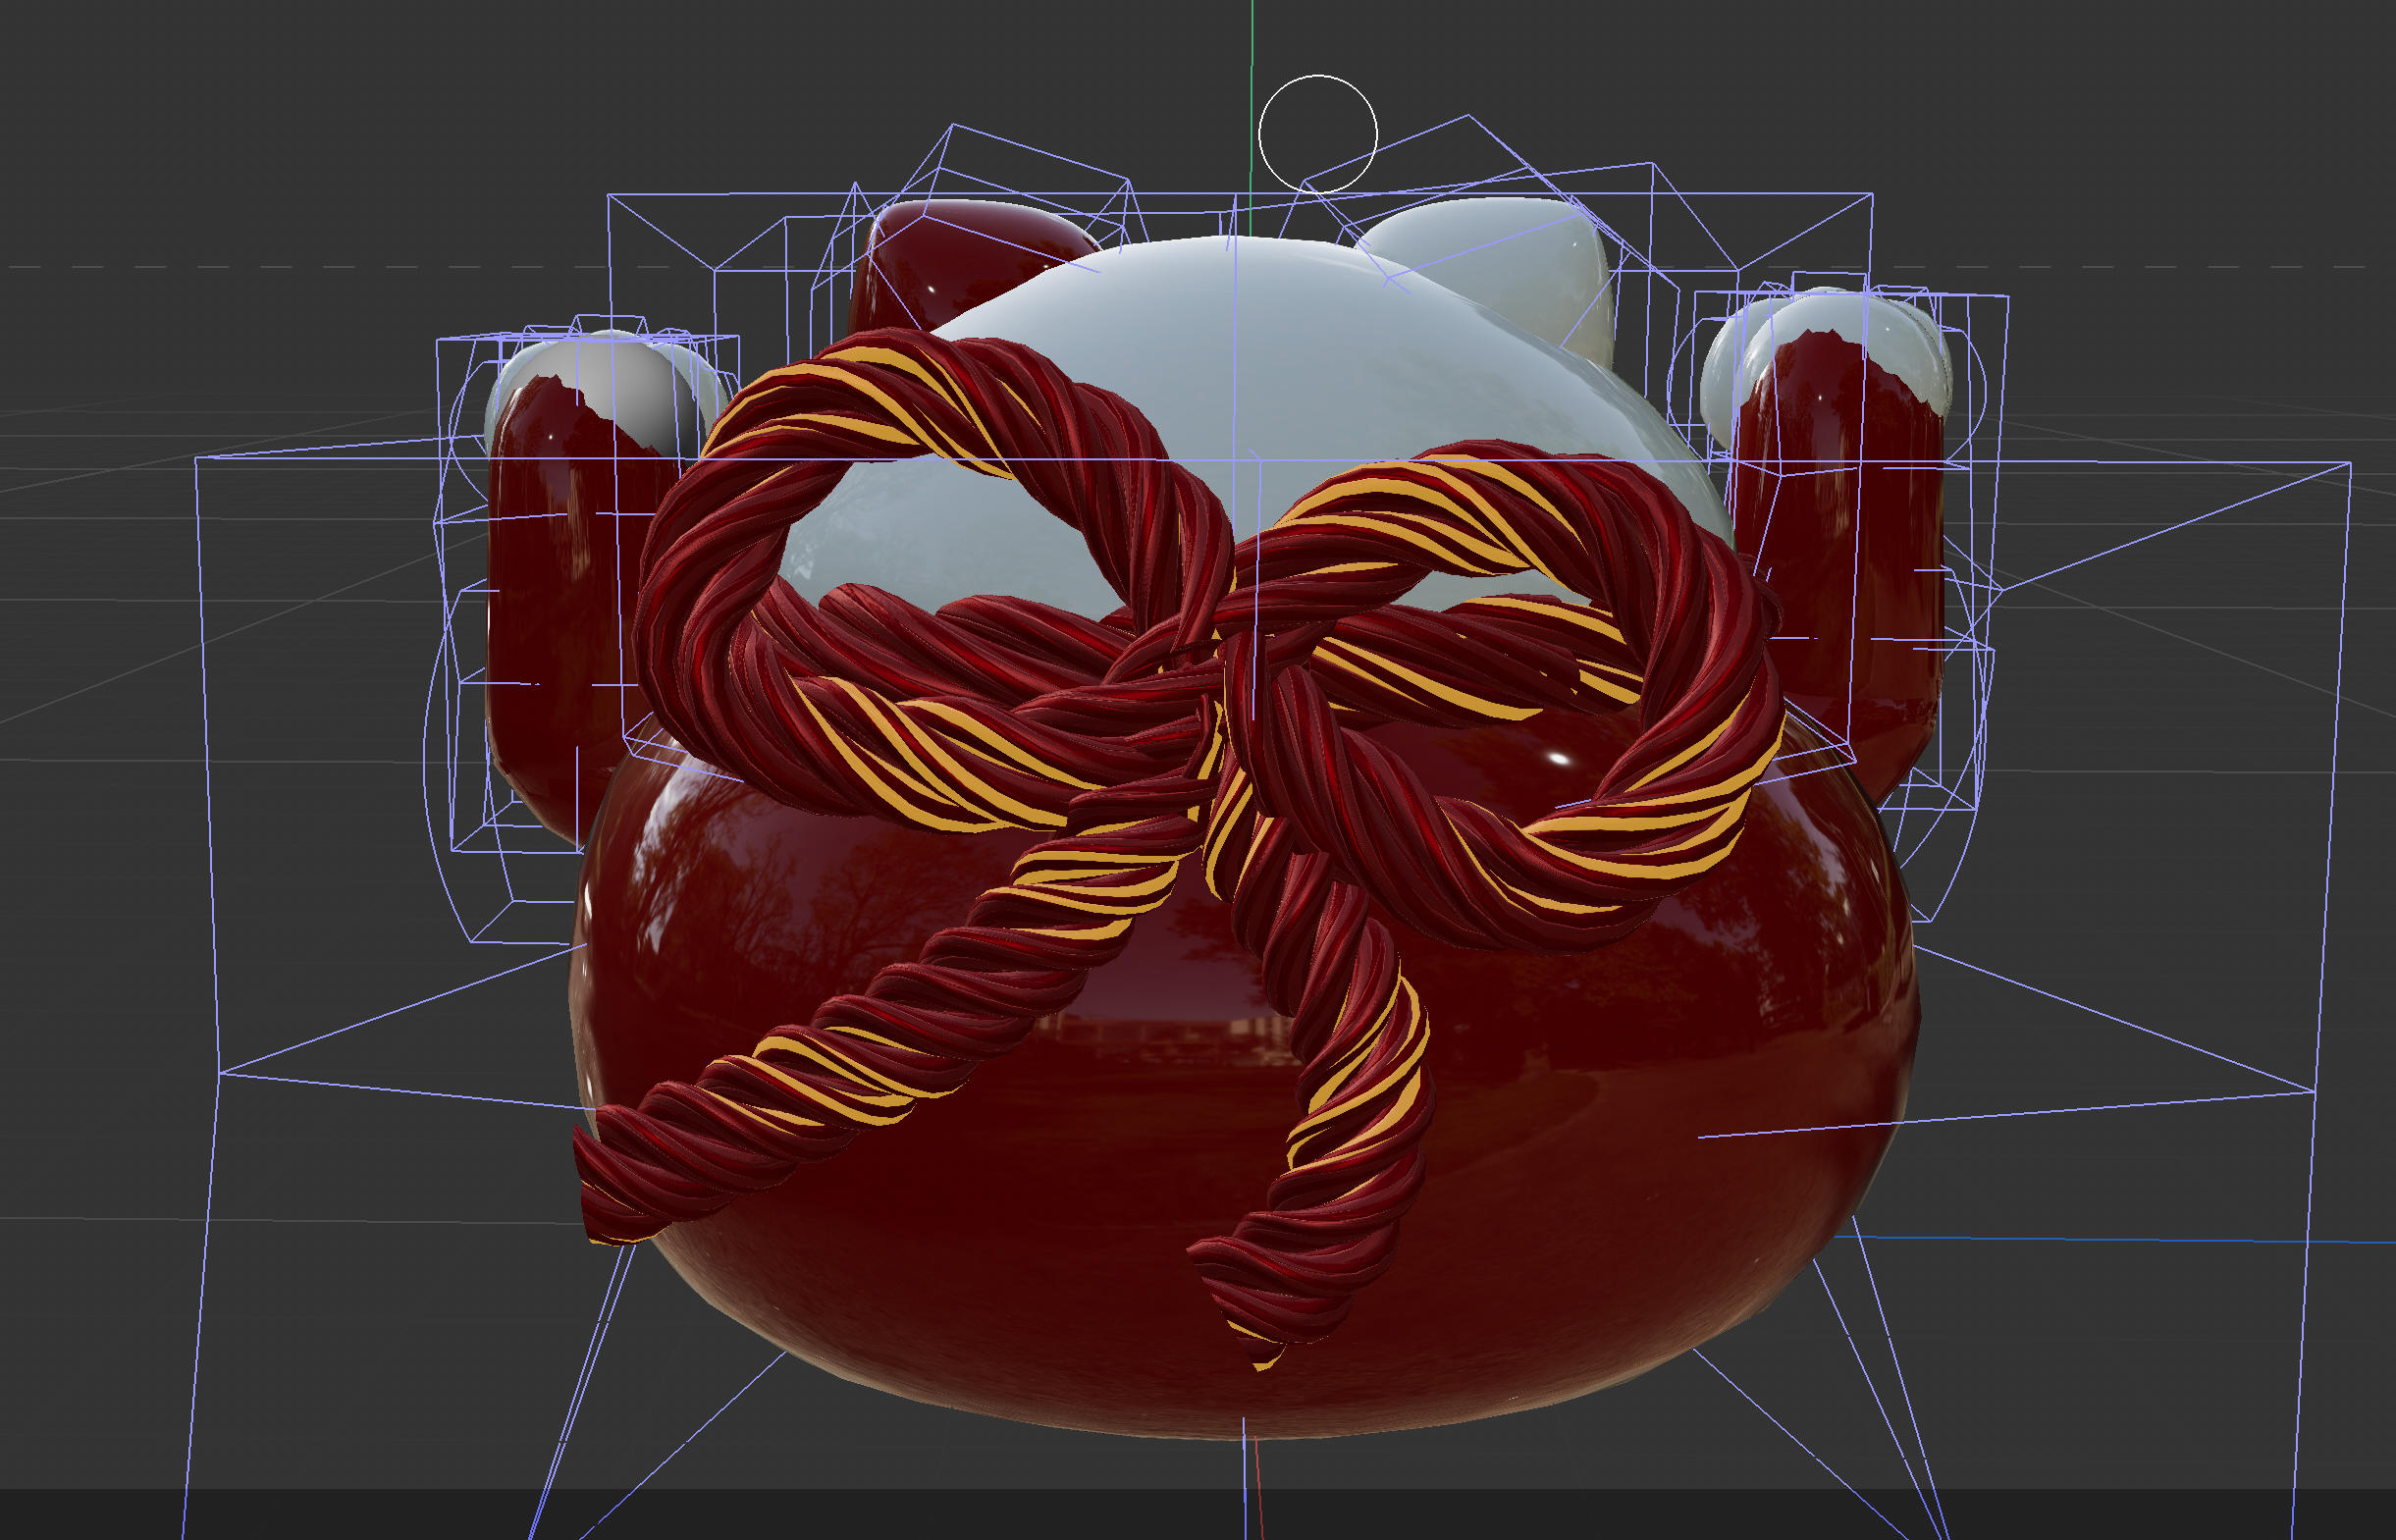
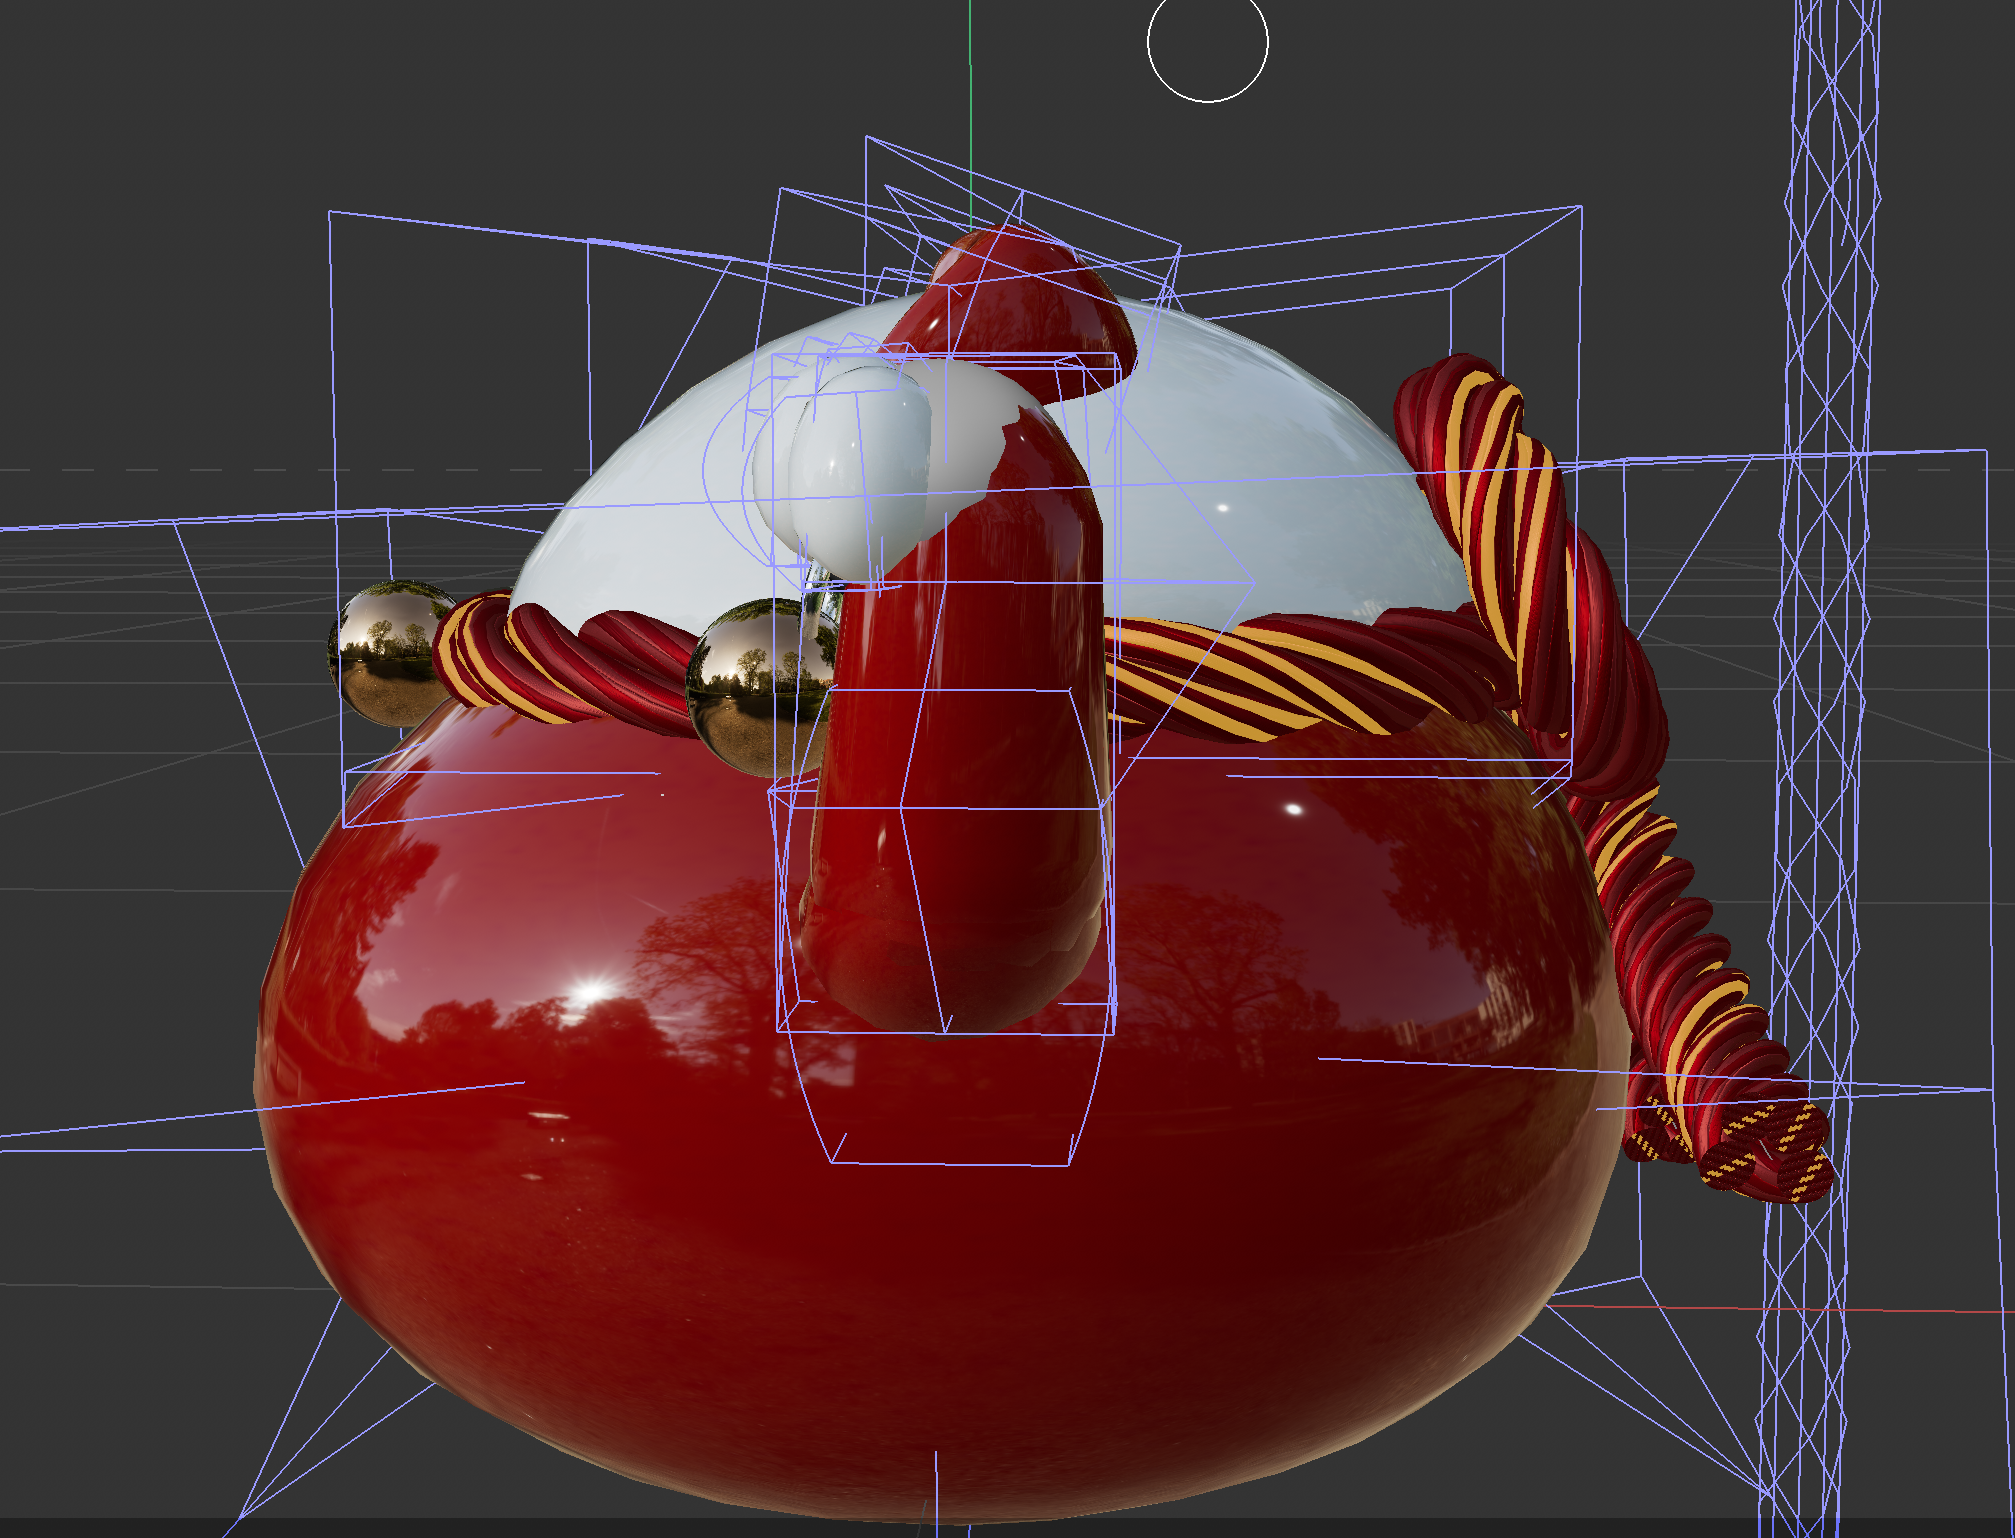
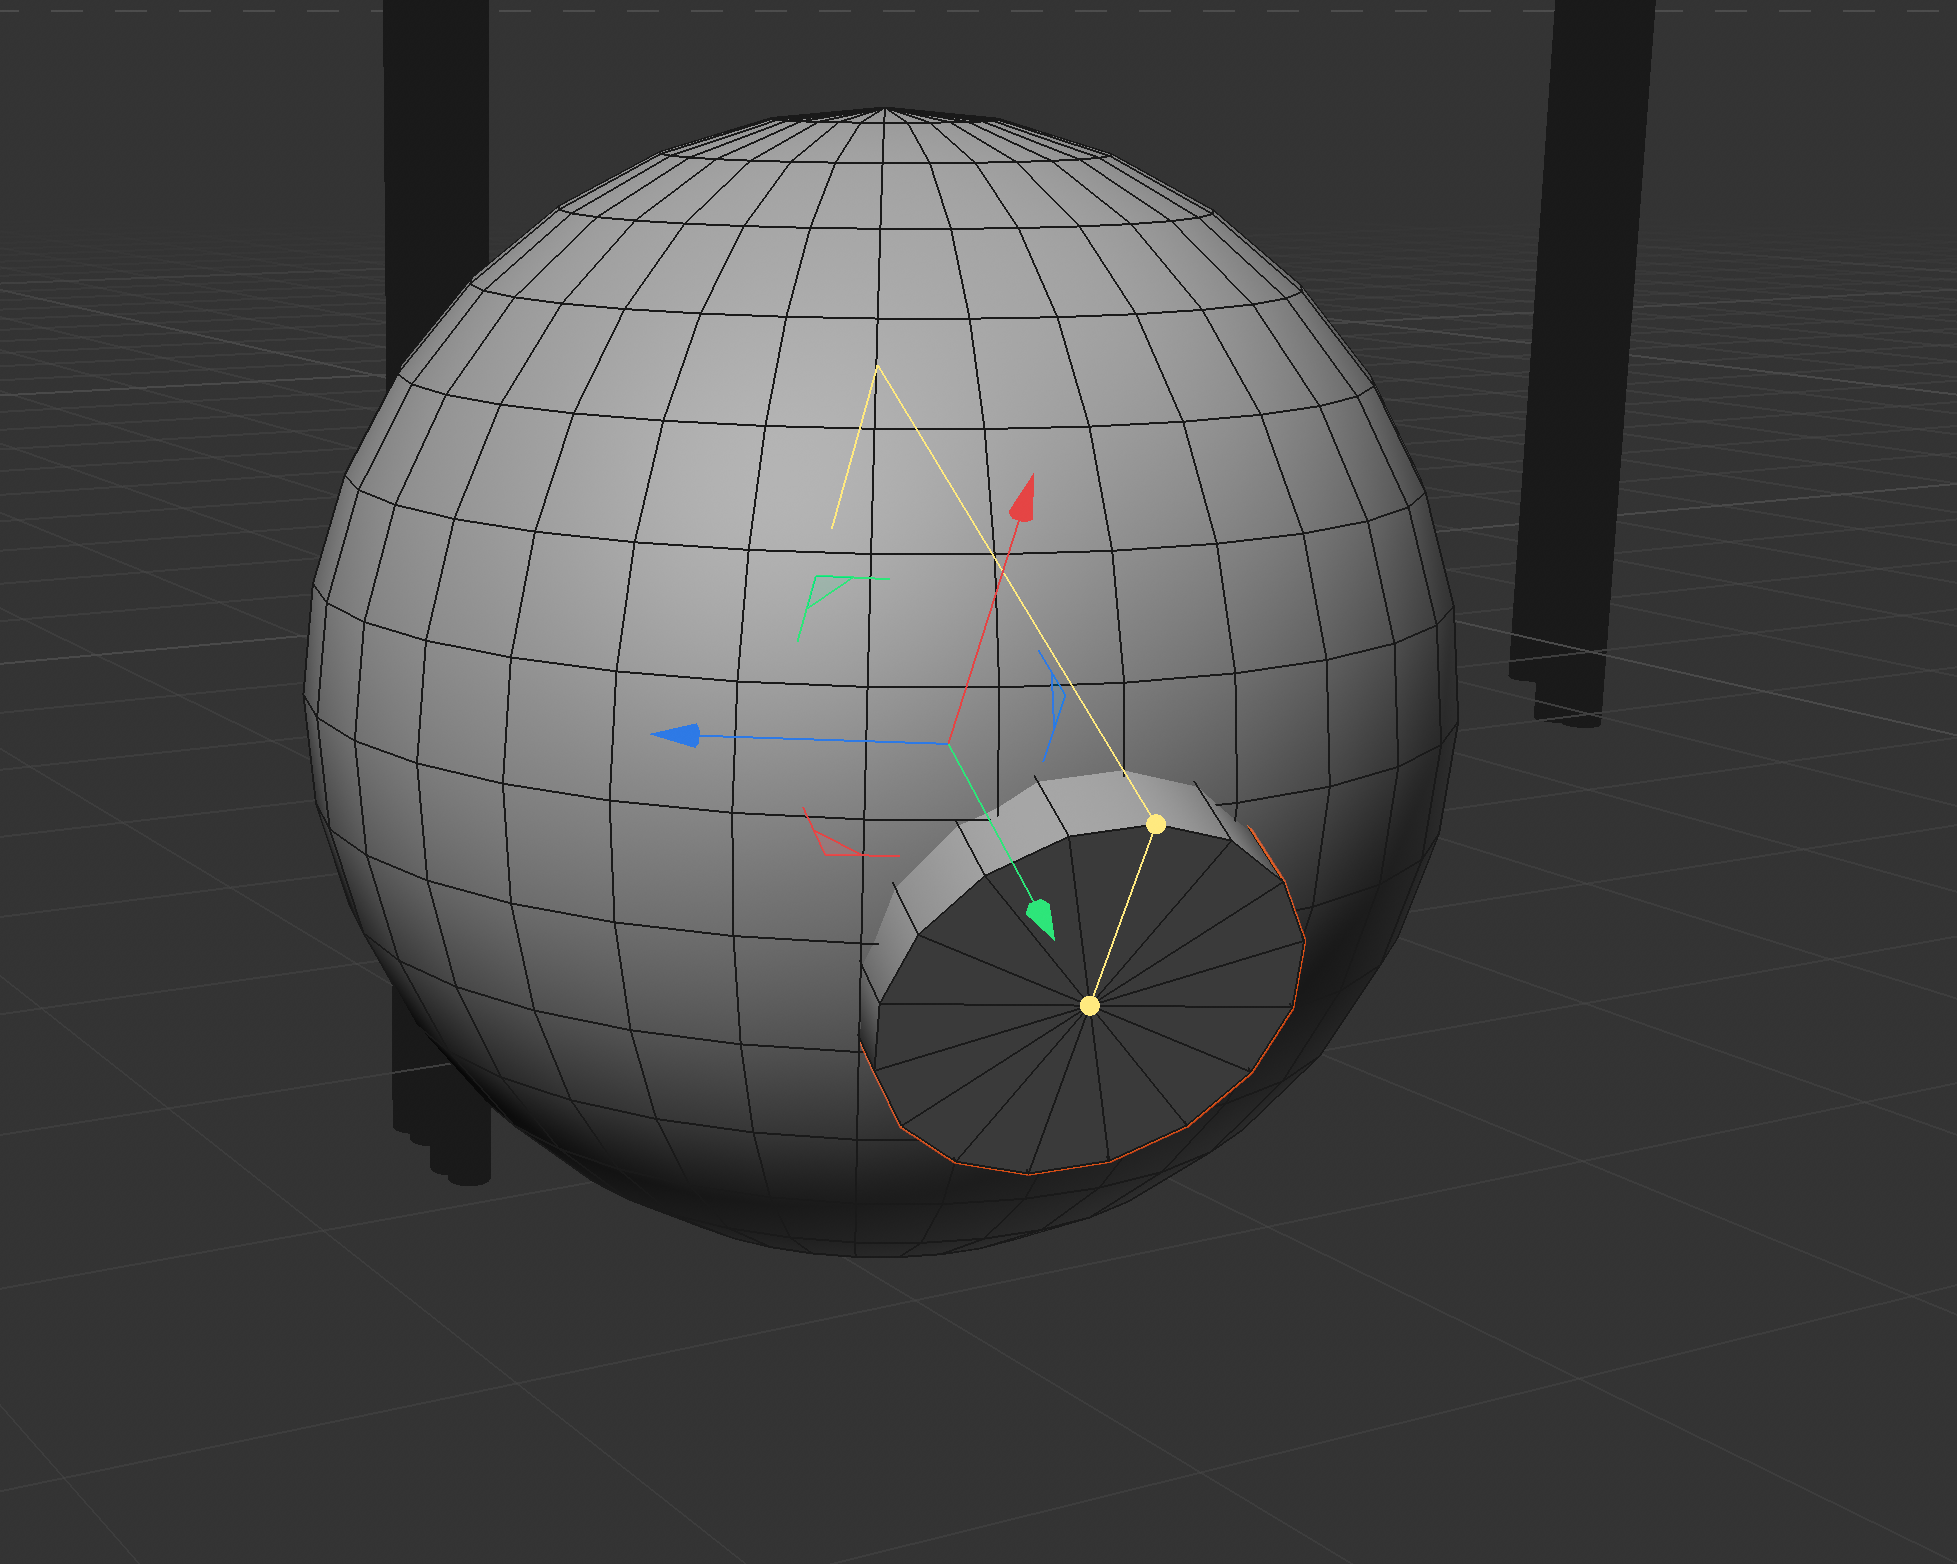
I started by creating simple basic shapes to block out the overall form. I used deformation tools to create the cat ears. Then I edited the points to get the final ear shape. I adjusted the overall shape and proportions. I used cylinders to represent the arms and scaled them based on the body proportions. I used spheres and ellipsoids to build the cat paws. For the ellipsoids, I used the Bend and Bulge deformers. I adjusted the width of the arms and refined the details. I also left enough space for the bell that would be added later. I continued adjusting and improving the proportions. I used a bent ellipsoid to create the connection between the arm and the body. Then I mirrored the part and made some small adjustments. I used four cylinders to create a spiral rope effect. I created a circular spline and used the spline replacement tool to turn the shape into a round rope form. I adjusted the position of the rope. For the back, I created a new group and drew a bow-shaped spline, then repeated the same process. I slightly tilted the rope to make it look more natural. I created the outer shell of the bell and selected the parts that needed to be removed. I first tried cutting out a circular opening and then hollowing out the bottom. I added a small metal ring to connect the bell. I also added a small connecting ring to the front. This is the final model before adding materials. I applied ceramic, brass, rope, and other materials, then adjusted the colors to match the design. Back view. Side view. During the process, I also tried adding a cat face to the model, but the import did not work. The biggest challenge was the bell. I tried several methods, but I could not successfully cover the circular opening while keeping it connected to the hollow bottom. This is something I would like to test and learn more about next time.

Material Workshop 1
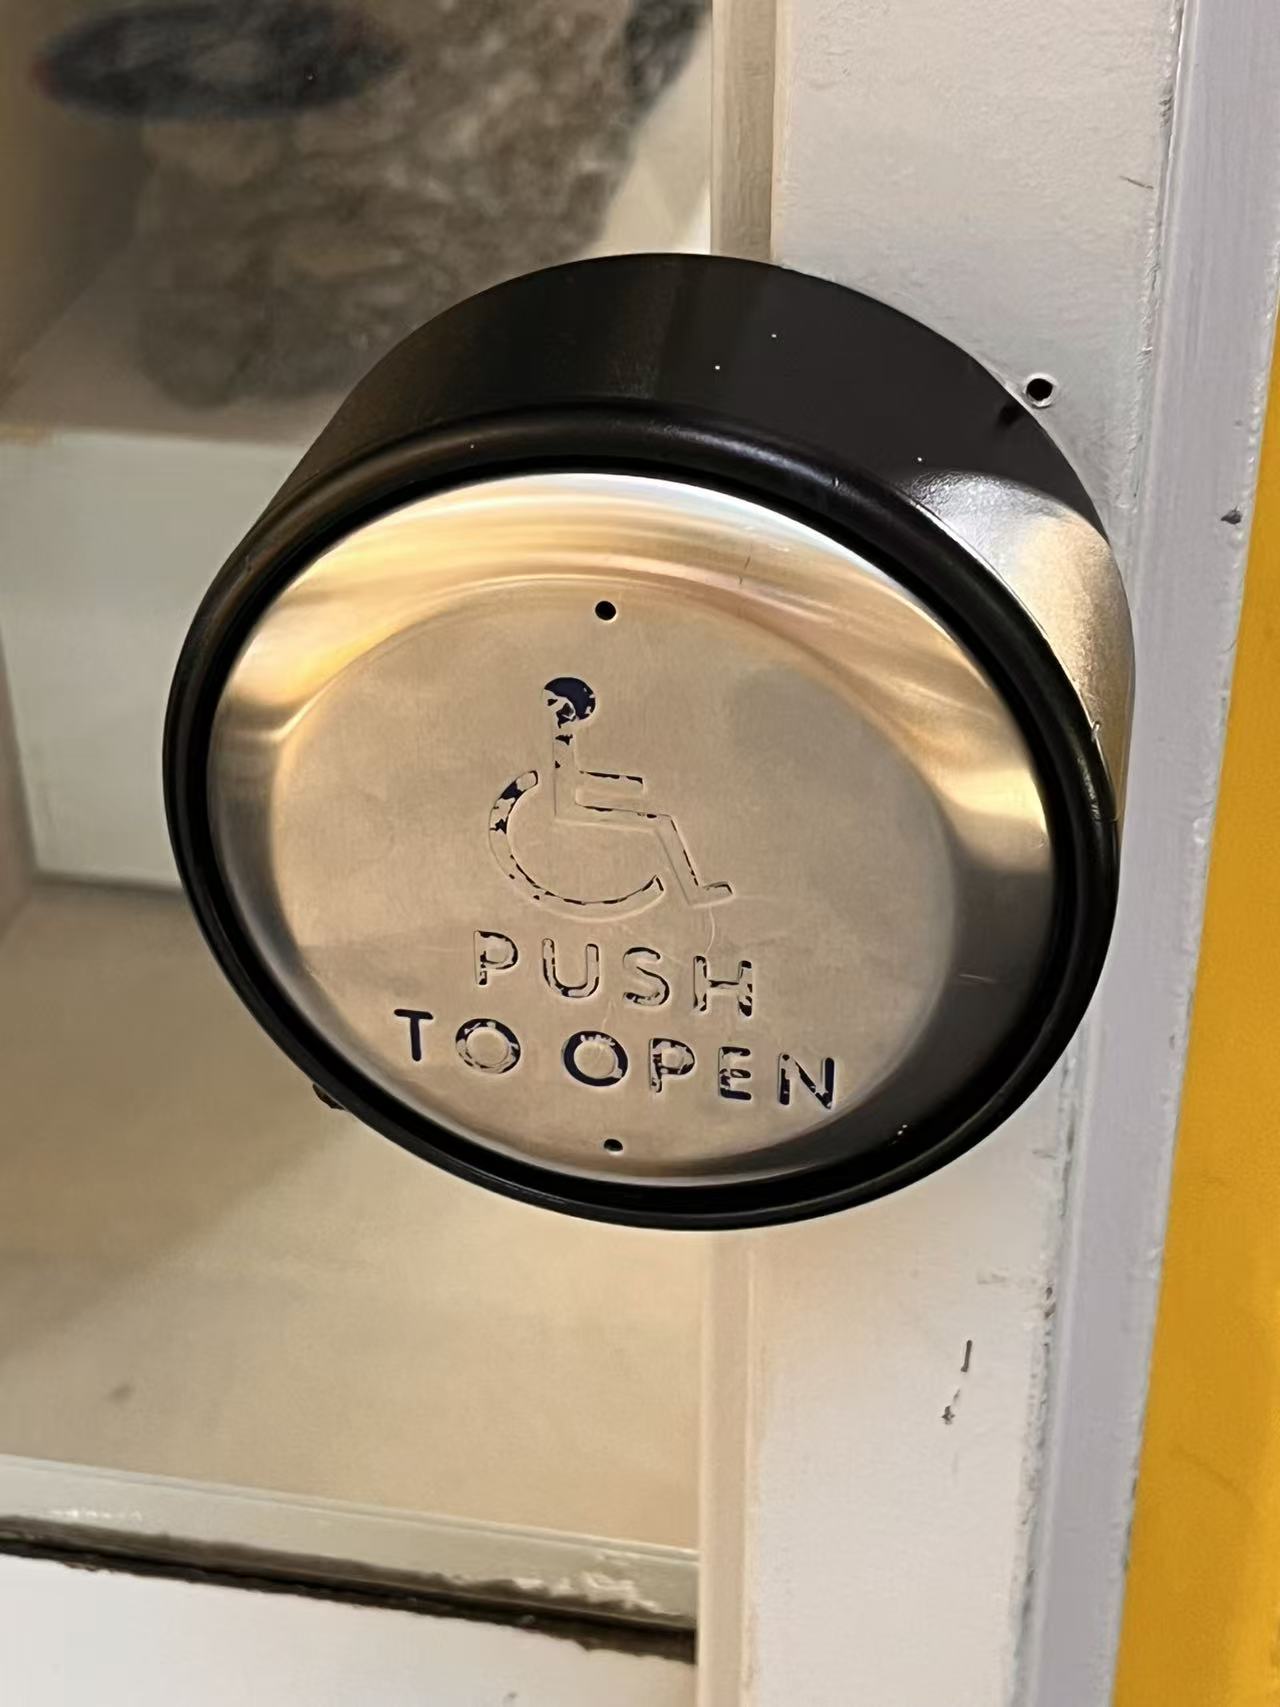
Material:Brushed Stainless Steel + Plastic<a href='https://www.youtube.com/embed/tgbNymZ7vqY' target='_blank'><p>Project Video Link</p></a> Material: Clear Acrylic (PMMA) + Wood <div class='container'><iframe class='responsive-iframe' src='https://www.youtube.com/embed/tgbNymZ7vqY'></iframe></div> Material: Aluminum Composite Panel (ACP) + Vinyl Graphics

Material Workshop 2

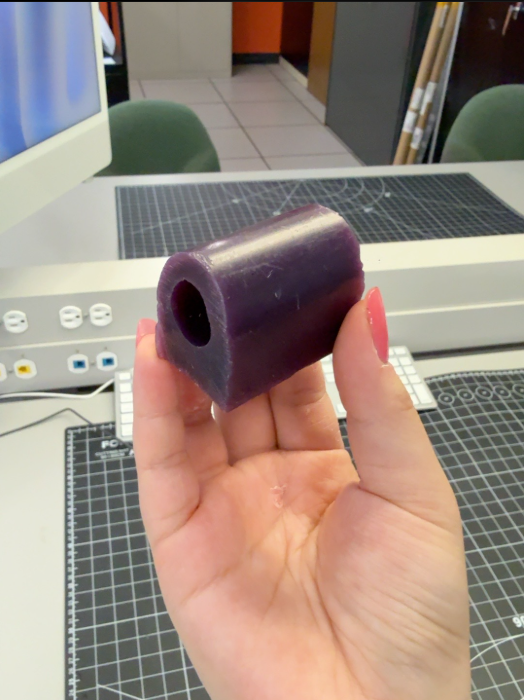
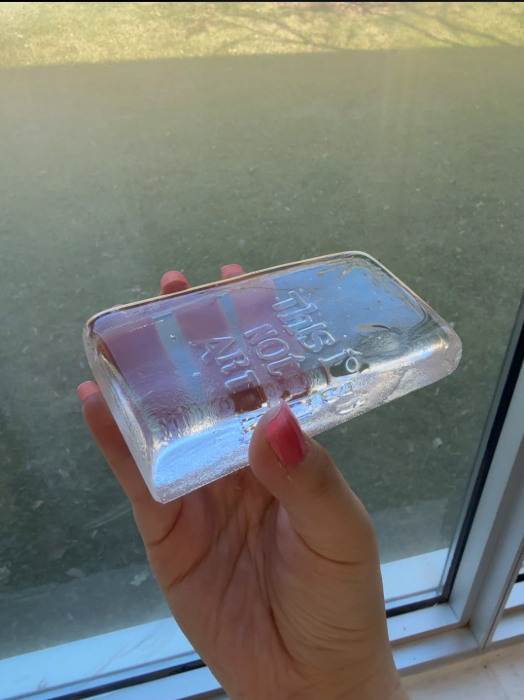
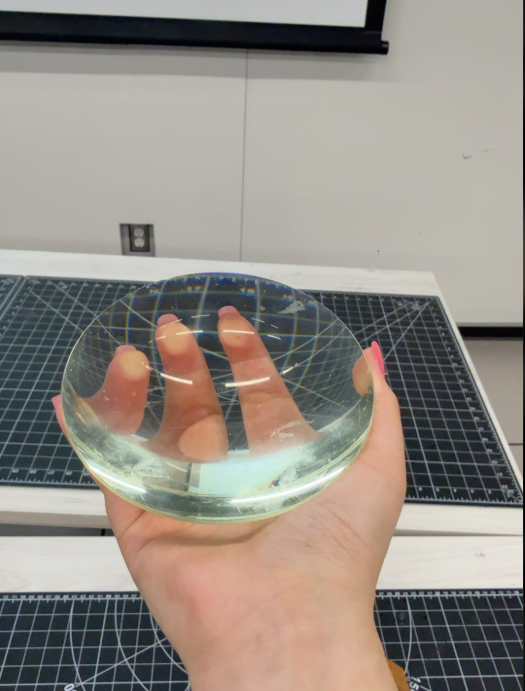
This material is machinable wax. It is a refined material. At room temperature, it is rigid and keeps its shape, but it can become softer when heated. It is often used for prototyping, CNC machining, and model making. <a href='https://www.youtube.com/embed/tgbNymZ7vqY' target='_blank'><p>Project Video Link</p></a> This material is glass. It is a refined material because it needs to be heated and processed. It is rigid when it cools down, so it doesn’t bend easily. Glass is often used for windows, bottles, screens, and decorative objects. <div class='container'><iframe class='responsive-iframe' src='https://www.youtube.com/embed/tgbNymZ7vqY'></iframe></div> This material is probably acrylic or resin. It is a refined material. It is rigid, transparent, and smooth. It looks similar to glass, but it is usually lighter and easier to shape. It can be used for displays, decoration, prototypes, signs, and product parts.

Project 1


Project 1 Models

Published 3D Model 1

This is my glass essential oil bottle. Creating it was my first experience with C4D, and I’m glad I was able to bring it to life. The overall materials used are glass, silicone, and metal. This project also served as a preliminary exploration of materials and modeling.

Published 3D Model 2

This is my Maneki-neko figurine. I drew its cute face myself, and I’m really happy that after finishing the last model, I was able to come back and complete what I couldn’t do in Challenge 2. There were some issues with the materials during export, so I tried out a lot of alternatives to find a better way to render it.

Published 3D Model 3

This is a Pikachu clay figure I modeled using C4D. I learned so much while working on it. It’s worth noting that I created the textures for Pikachu’s face and ears using UV Edit, and I also designed a very iconic backdrop for it. Pikachu's body parts also use textured materials, but I adjusted the settings to make them look more like resin and clay. This is the piece I’m most proud of.

×

Powered by w3.css